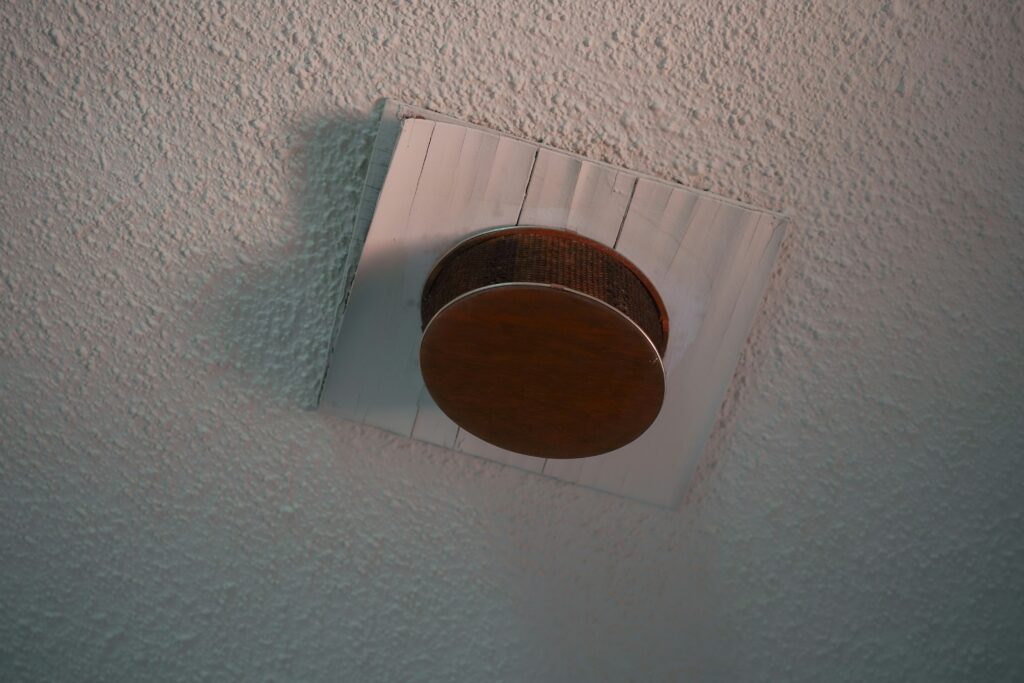
Popcorn ceilings—once trendy, now just tired. If you’ve looked up and thought, “This needs to go,” you’re not alone. These textured ceilings were once popular for hiding flaws and absorbing sound, but today they seem outdated. Whether you’re updating for style or prepping to sell, removing a popcorn ceiling is doable. But you’ve got to do it right—safely, cleanly, and with the right prep. Here’s how to tackle it without wrecking your space or your lungs.
1. Check for Asbestos First
Before you touch anything, get your ceiling tested. Homes built before the late 1980s may have asbestos in the popcorn texture. It’s not always dangerous just sitting there, but scraping it can release harmful particles.
How to check:
- Buy an asbestos test kit or hire a pro.
- Don’t scrape or disturb the ceiling before results come back.
- If it tests positive, bring in a certified abatement team. Don’t DIY.
2. Gather What You’ll Need
Once the coast is clear, it’s time to gear up. Here’s your checklist:
- Spray bottle or garden sprayer (for water)
- Putty knife or ceiling scraper
- Drop cloths or plastic sheeting
- Painter’s tape
- Dust mask and goggles
- Ladder
- Joint compound and sandpaper (for touch-ups)
- Paint and primer (optional but recommended)
3. Protect Everything Below
Popcorn removal is messy. Cover your floors and furniture with plastic or drop cloths to protect them from damage. Tape plastic up on the walls to keep dust contained. Trust us—cleanup is a lot easier when you prep right.
4. Soften the Texture with Water
Dry scraping is a nightmare. You’ll get less dust and more control if you mist the ceiling first.
- Lightly spray a 3×3 foot section with warm water.
- Wait 15–20 minutes so the water soaks in.
- Don’t overdo it—too much water can damage the drywall underneath.
5. Scrape Gently
Use a wide putty knife to start scraping. Keep it at a slight angle and go slow. You don’t want to gouge the ceiling underneath. If it’s not coming off easily, re-spray and wait a bit longer.
Tip: Work in small sections so the water doesn’t dry before you get to it.
6. Smooth and Repair
After you’ve scraped it all off, you’ll probably spot some dings and seams. Use joint compound to patch and smooth them. Once dry, sand everything down for a clean finish.
7. Prime and Paint (If You Want)
Now’s your chance to modernize the whole ceiling. A fresh coat of paint can make the room feel brand new. Use a primer first to seal any stains or leftover dust, then roll on the color of your choice.
Removing a popcorn ceiling takes time, patience, and a little muscle, but the payoff is huge. You get a cleaner, brighter look—and if you’re selling, it’s one less thing for buyers to frown at. Just be smart about safety, don’t rush, and prepare for a bit of mess. In a weekend, you can turn your ceiling from dated to sleek—and breathe easier knowing you did it right.

