")
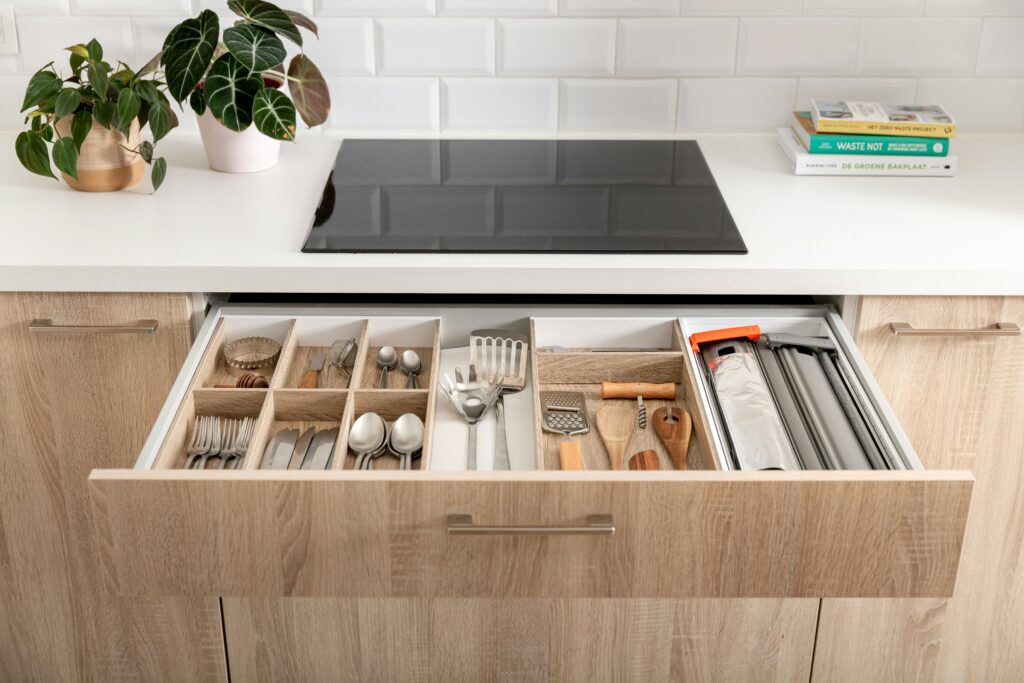
Messy drawers are like junk magnets. One day it’s neat, the next it’s a chaotic pile of pens, batteries, receipts, and mystery objects. But there’s a simple fix—drawer dividers. They’re like giving each item its own parking spot. And the best part? You can make your own using stuff you probably already have—cardboard or scrap wood. No fancy tools or craft degrees required.
What You’ll Need:
You have two options—cardboard or wood. Choose based on what you’ve got lying around and how sturdy you want it to be.
For Cardboard Dividers:
- Cardboard (shoeboxes or shipping boxes work great)
- Ruler
- Pencil
- Box cutter or strong scissors
- Glue or tape (optional)
For Wooden Dividers:
- Thin wood boards (like plywood or craft wood)
- Saw (a handsaw or jigsaw)
- Sandpaper
- Wood glue (optional)
Step 1: Empty the Drawer and Measure Everything
Take everything out. Wipe the drawer clean. Then measure the inside length, width, and height. Jot those down. This will help you cut the pieces to fit snugly.
Step 2: Sketch Out Your Layout
Think about what you’re organizing. Socks? Stationery? Kitchen gadgets? Sketch a quick layout of how you want to divide the space—maybe two long sections and a few smaller ones. Nothing fancy, just a rough guide.
Step 3: Cut Your Material
If you’re using cardboard:
- Use a ruler and pencil to mark your cuts.
- Cut strips for the length and width of the drawer.
- Cut slits halfway up each strip so they can slide together and form a grid.
If you’re using wood:
- Mark and cut each piece using your measurements.
- Sand the edges to avoid splinters.
- If you want to notch the boards so they slide together like a puzzle, cut halfway-through slits in the middle of each divider. (This step’s optional. You can also just glue or wedge them in place.)
Step 4: Assemble and Fit
Slide your pieces together to form the grid or sections. Test the fit in the drawer. Adjust if needed. If it’s too loose, use a bit of glue or tape to hold the dividers in place.
Step 5: Customize (Optional)
Paint it. Wrap it in pretty paper. Line the bottoms with fabric. Or leave it plain and functional. Your drawer, your rules.
That’s it—no more rooting around for missing batteries or that one rogue spoon. A DIY drawer divider might seem small, but it makes a big difference in your daily routine. And now that you’ve done one, you might just find yourself measuring every drawer in the house. Go ahead. Divide and conquer.