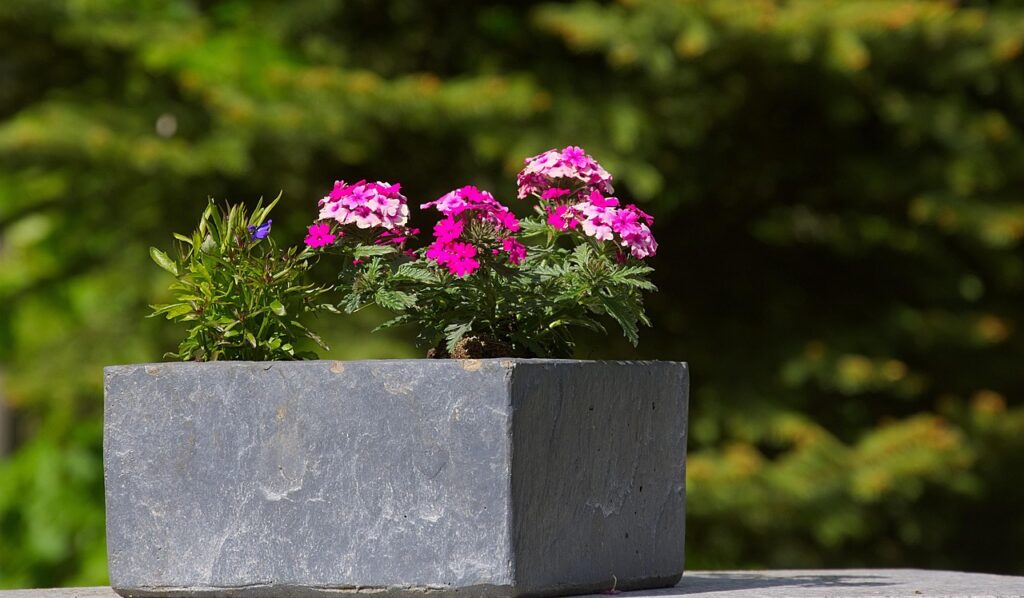
There’s something satisfying about making something with your own hands—especially when it turns out both useful and good-looking. Concrete planters hit both marks. They’re tough, they look clean and modern, and they’re surprisingly easy to make at home. If your porch needs a little boost, some chunky, handmade planters could be the perfect touch. No need to be a DIY expert—just grab a few supplies, block off an afternoon, and get ready to mix things up.
What You’ll Need:
- Quick-set concrete (available at most hardware stores)
- A large container for the outer mold (like a bucket or old Tupperware)
- A smaller container for the inner mold (plastic cups or smaller pots work well)
- Cooking spray or petroleum jelly (to help release the mold)
- A stirring stick or an old spoon
- A bucket for mixing
- Sandpaper (optional)
- Gloves (recommended)
- Drill (optional, if you want drainage holes)
Step 1: Pick Your Molds
You’ll need two containers—one for the outside shape and one to make the hollow space inside. Think nesting bowls. The outer one defines the planter’s shape, and the inner one shapes the cavity for your soil and plant. They don’t have to be fancy—recycled plastic works great. Just make sure there’s at least a half-inch of space between them all the way around.
Step 2: Prep for Easy Release
Spray or rub cooking spray or petroleum jelly on the inside of the outer container and the outside of the inner one. This keeps the concrete from sticking and makes removal way easier once everything is dry.
Step 3: Mix It Up
Follow the instructions on the concrete bag. You want a texture that’s thick but pourable, like oatmeal. Use gloves when mixing—it’s messy stuff and not great for your skin.
Step 4: Pour and Set
Pour the concrete into the outer mold about halfway. Then press the smaller mold into it, weighting it down with rocks or something heavy so it doesn’t float up. Add more concrete if needed until it’s full around the edges. Tap the whole thing gently on the ground to shake out air bubbles.
Step 5: Let It Cure
Leave your mold somewhere dry and let it sit for at least 24–48 hours. Don’t rush this part—good things take time, and concrete that hasn’t set properly can crack later.
Step 6: Unmold and Smooth
Once it’s fully dry, pop both molds off. You might need to twist a bit or use a butter knife to help it out. If you want a cleaner finish, use sandpaper to smooth any rough edges. Optional: Drill a hole in the bottom for drainage if your plants need it.
And there you go—your concrete planter, made from scratch. Whether you fill it with herbs, flowers, or a little cactus, it’ll add a solid, hand-built feel to your porch that no store-bought version can match. It’s cheap, it’s satisfying, and it holds up to the weather like a champ. Once you make one, you might not stop. And hey—why should you?
Let the porch glow-up begin.

