")
The Charm of a Cutting Board Wall
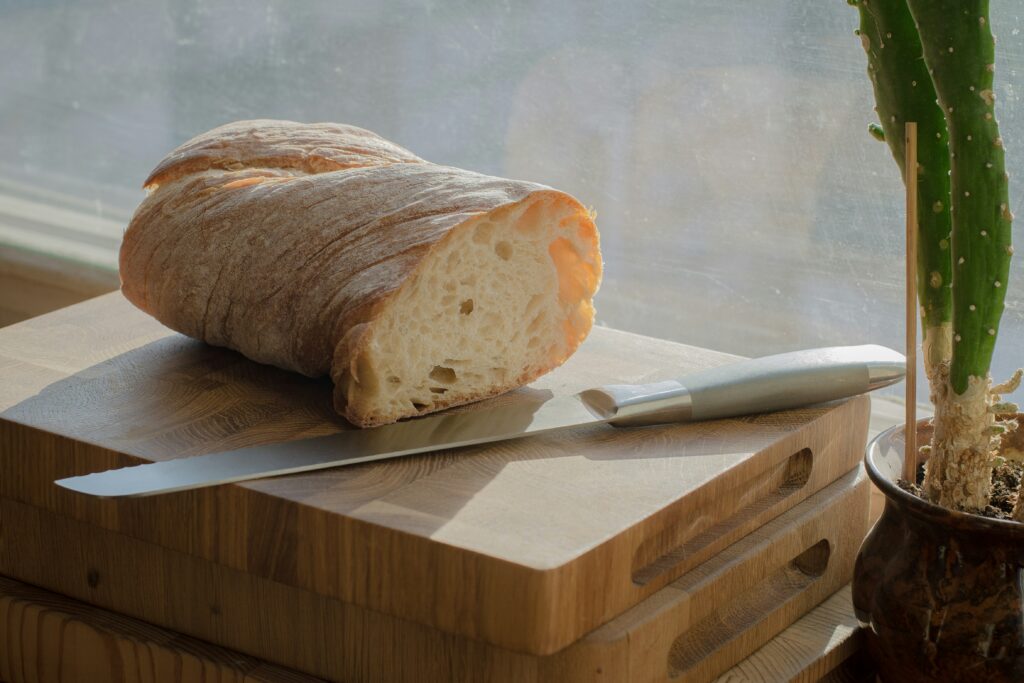
There’s something special about a wall full of cutting boards. It’s warm, homey, and a little nostalgic—like a nod to kitchens where meals were made from scratch. If you love the look of rustic wood and want to show off your collection (or just need more space), a DIY cutting board display wall is a simple, rewarding weekend project.
You don’t need fancy tools or carpentry skills. Just some basic supplies, a bit of patience, and an eye for balance. Here’s how to make it happen.
What You’ll Need
Tools:
- Drill and bits
- Level
- Measuring tape
- Pencil
- Stud finder (optional but helpful)
Materials:
- Wood boards or reclaimed planks (for the wall base, optional)
- Wall hooks or pegs (choose metal for a rustic vibe)
- Screws and anchors
- Sandpaper or sander
- Stain or paint (optional)
- Your collection of cutting boards
Step 1: Pick the Right Wall
Choose a wall that’s easy to see but not in the way of your cooking space. A kitchen nook, breakfast area, or open dining wall works great. Make sure it gets some natural light—wood looks best when it’s not hidden in the shadows.
Step 2: Plan Your Layout
Lay your cutting boards on the floor first to get a feel for the arrangement. Mix shapes, sizes, and colors for that “collected over time” look. Try to keep a few inches between each board so they can breathe visually.
Tip: Take a photo of your layout so you can reference it while hanging.
Step 3: Prep Your Boards (Optional)
If you’re going for full-on rustic charm, lightly sand the boards or rub them with a bit of food-safe oil to bring out the grain. Old boards with knife marks add character—don’t hide them.
Step 4: Mount the Hooks or Pegs
Use a level to mark where each hook or peg will go. Drill small pilot holes, then screw them in. If you’re using heavy boards, make sure to anchor into studs or use wall anchors for extra support.
Metal hooks give a farmhouse touch, while wooden pegs lean more toward natural and Scandinavian. Either way, keep the spacing even and consistent.
Step 5: Hang and Adjust
Hang your cutting boards according to your layout photo. Step back often to check the overall balance—sometimes you’ll need to shift one up or down for symmetry.
If you’re adding a wooden backing (like reclaimed planks), install it first for an extra layer of rustic texture. It also helps protect your wall from scratches.
Step 6: Add the Finishing Touches
Style around the display to tie it all together. A small shelf with herbs, a vintage clock, or a hanging towel rail can make the space feel intentional and cozy.
A Wall Worth Talking About
That’s it—you’ve just built a wall that tells a story. Each cutting board adds its own bit of history and charm, and together they make your kitchen feel alive and personal.
Simple, practical, and beautiful—that’s the magic of a DIY rustic display. Hang it proud, because now your kitchen has a little more soul.