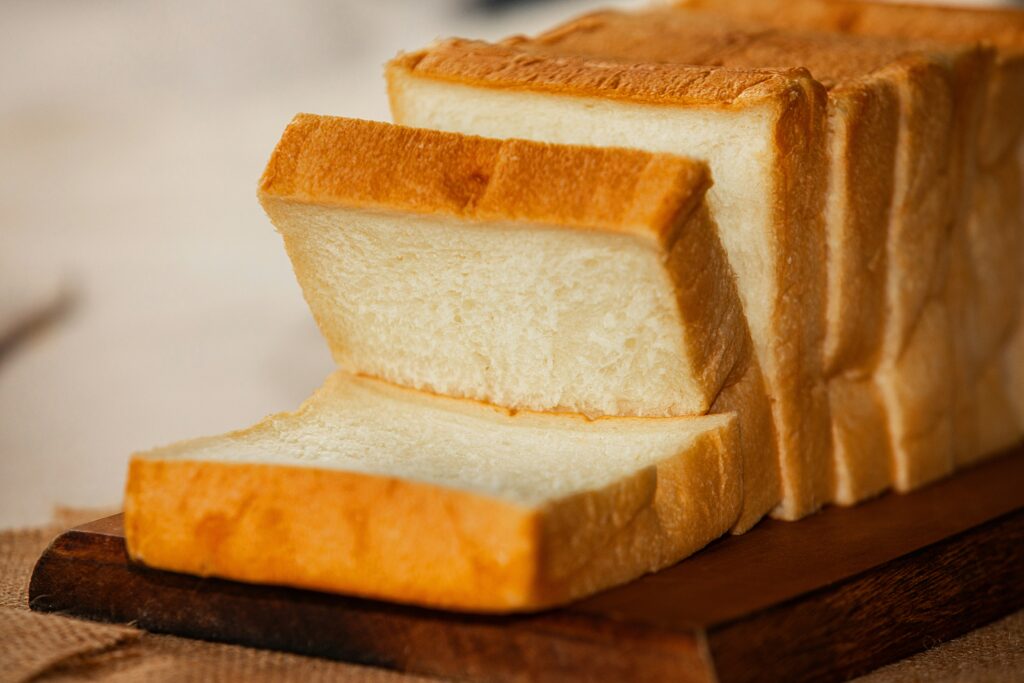
If you love fresh bread, you know how quickly it can go stale when left on the counter. A wooden bread box is the old-school solution that still works beautifully today. It keeps your loaves fresh, adds charm to your kitchen, and if you build it yourself, it’s a piece of craftsmanship you’ll actually use every day. The best part? You don’t need fancy tools or woodworking skills to make one. Just a few basic materials, a free afternoon, and a bit of patience.
What You’ll Need
Before you start, gather your supplies. Here’s a simple list:
- A few pieces of pine or reclaimed wood (¾-inch thick works well)
- Sandpaper
- Wood glue and small nails or screws
- Hinges (2 small ones)
- A handle or knob for the lid
- Wood stain or food-safe finish
- Measuring tape, saw, and drill
Step 1: Cut Your Wood
Determine the desired size of your bread box. A common size is around 16″ wide, 10″ deep, and 10″ tall — roomy enough for a couple of loaves. Cut out six pieces: top, bottom, front, back, and two sides. Don’t worry about perfect precision; a rustic look welcomes a bit of imperfection.
Step 2: Sand It Smooth
Before you start assembling anything, give all your pieces a thorough sanding. This helps the wood feel smooth to the touch and removes splinters. You can keep it rough for character or sand it fine for a cleaner look.
Step 3: Assemble the Box
Start by attaching the sides to the bottom using wood glue and nails or screws. Add the back piece next. You’ll notice the shape coming together already. Leave the front open for now — that’s where your lid will sit.
Step 4: Make and Attach the Lid
You can keep the lid simple: just a flat piece of wood that overlaps the front. Attach it with hinges at the top back edge. Add your handle or knob to the front. If you’re feeling creative, cut the front edge of the lid in a curved or slanted shape to give it that vintage bread-box feel.
Step 5: Finish with Style
This is where your bread box gets its personality. Wipe it clean and apply your chosen wood stain or finish. A light oak or walnut stain gives a warm, rustic tone, while a simple food-safe oil will keep the natural look of the wood. Once dry, give it one last gentle sanding to smooth out any rough spots.
Step 6: Enjoy Your Handiwork
Place your new bread box on the counter, fill it with a fresh loaf, and admire your work. It’s not just storage — it’s a piece of handmade charm that adds character to your kitchen.
Building your own rustic wooden bread box isn’t just about keeping bread fresh — it’s about creating something useful with your own hands. It’s simple, satisfying, and adds a touch of warmth to your space. Plus, every time you reach for a slice, you’ll get that little spark of pride knowing you made it yourself.

