")
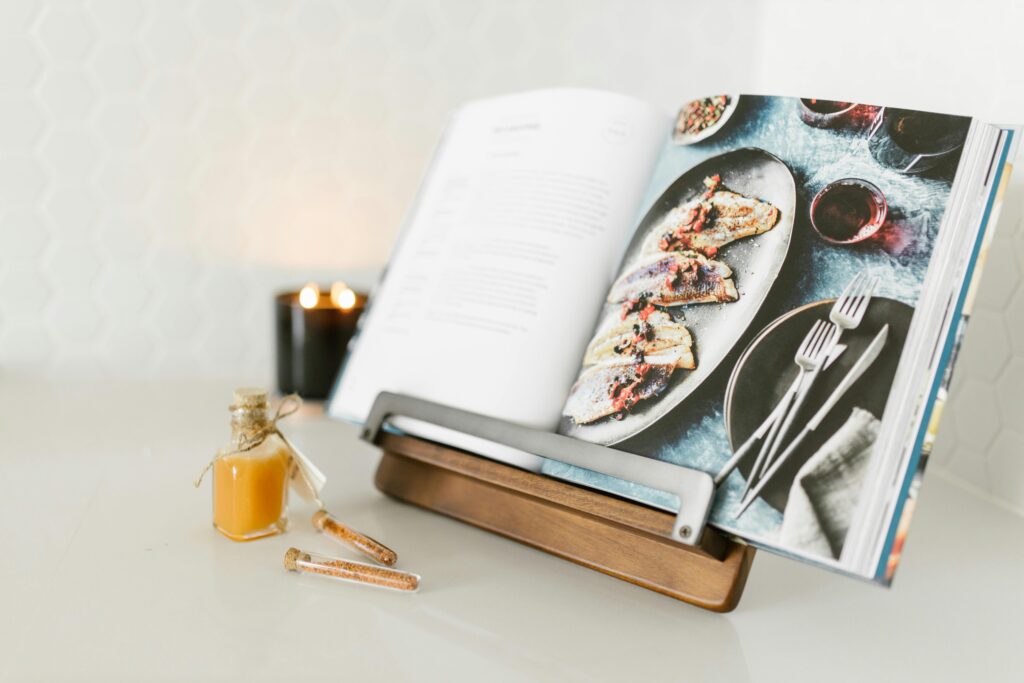
If you love cooking, you know the struggle: you’re elbow-deep in dough, trying to scroll through a recipe on your phone or keep your cookbook open with whatever’s nearby — a jar, a spoon, anything that’ll work. There’s a better way. A wooden cookbook holder is an easy weekend project that not only keeps your recipes upright and splatter-free but also adds a bit of rustic charm to your kitchen. Here’s how to make one yourself, no fancy workshop needed.
What You’ll Need
-
A wooden board (about 12″ x 10″ — the size of a standard cookbook)
-
A smaller strip of wood (around 12″ x 2″) for the bottom ledge
-
A wooden support piece (a triangle or rectangle about 8″ long) for the back stand
-
Wood glue or small screws
-
Sandpaper
-
Paint, stain, or sealant (optional)
-
A saw and a drill (if you’re using screws)
Step 1: Cut and Smooth Your Pieces
Cut your main board to the size you want. This will be the back of your holder. Then, cut your small strip of wood — this is the lip that’ll hold your cookbook or tablet in place. Use sandpaper to smooth out any rough edges. You don’t want splinters while flipping through recipes.
Step 2: Attach the Bottom Ledge
Position the small strip along the bottom edge of your main board, about a quarter inch up, and secure it with wood glue. If you want extra strength, add two small screws from the back. Wipe away any glue that seeps out and let it dry completely.
Step 3: Add the Back Support
Now it’s time to make it stand. Take your support piece and attach it to the back of your board at a slight angle — about 20 to 30 degrees. You can use glue, but screws will make it sturdier. Check that your holder leans comfortably and doesn’t tip over easily.
Step 4: Finish It Off
Once the glue is dry and the stand feels steady, it’s time for the fun part — finishing. You can stain the wood for a classic look, paint it to match your kitchen, or keep it raw for that natural, simple feel. Add a coat of sealant if you plan to keep it near the stove or sink for extra protection.
Step 5: Put It to Use
Set your favorite cookbook or tablet on it, and you’re done. No more bending down to read recipes or worrying about splashes ruining your pages. You can even make a few extras as gifts — they’re personal, practical, and guaranteed to be appreciated.
Making your own wooden cookbook holder doesn’t take a lot of skill or tools — just a little time and effort. The result is something both useful and beautiful, handmade and heartfelt. It’s one of those small projects that reminds you why DIY is worth it: you get exactly what you want, made by your own hands.