")
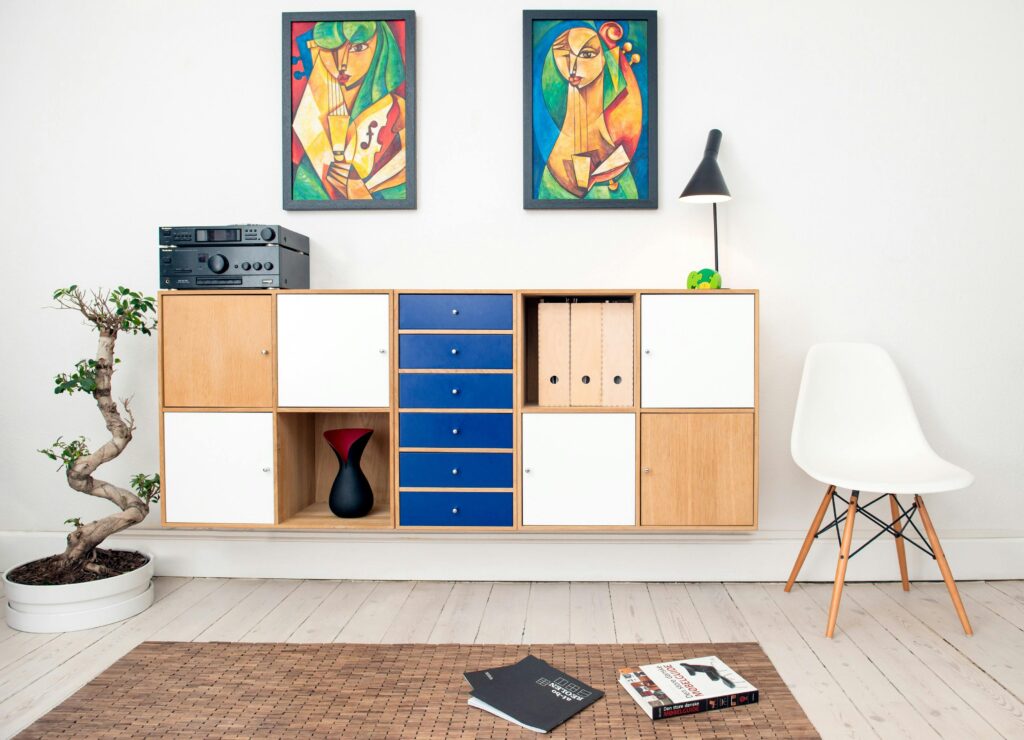
If your home’s starting to feel like a clutter jungle—books on the floor, shoes by the door, random stuff everywhere—then it’s time to take control. A modular cube storage system is one of the easiest, most flexible ways to get organized. You can stack it, rearrange it, expand it, or even take it apart when you move. The best part? You can build it yourself with just a few tools and some simple materials.
Here’s how to make a sturdy, clean-looking cube system that actually fits your space and your style.
Step 1: Plan Your Layout
Before you touch a saw, grab a notebook or a piece of paper and sketch your design.
- Count your cubes: How many do you need? A 2×3 grid (six cubes) is a good starting point for most rooms.
- Size it right: Standard cube storage uses 12” or 13” cubes, but you can go smaller or larger depending on your space.
- Think modular: Build each cube as a separate box so you can stack and reconfigure them later.
Tip: Tape out the footprint on your floor to visualize the size before cutting any wood.
Step 2: Gather Your Materials
You’ll need:
- ¾-inch plywood or MDF (smooth and sturdy)
- Wood screws
- Wood glue
- Sandpaper
- Paint or stain (optional)
- Measuring tape and a square
For a more finished look, consider using iron-on edge banding to cover the raw plywood edges.
Step 3: Cut Your Panels
Each cube needs:
- 2 sides (height)
- 1 top and 1 bottom (width)
- 1 back panel (optional for extra support)
Cut all your pieces to the same size. A table saw or circular saw with a straight edge will give you cleaner cuts, but your local hardware store can usually cut panels for you, too.
Step 4: Assemble Each Cube
Lay out the pieces and check the fit before screwing anything together.
- Apply wood glue where the panels meet.
- Use screws to fasten the sides to the top and bottom.
- Add the back panel if you’re using one.
Wipe off any glue squeeze-out right away and make sure your box is square by checking the corners.
Step 5: Sand and Finish
Once the glue dries, sand all edges smooth. You can leave it raw for a minimalist look, or paint it to match your room. Neutral colors like white, oak, or matte black work with almost any decor.
If you’re using multiple cubes, paint or stain them all together so the color stays consistent.
Step 6: Stack, Secure, and Style
Now comes the fun part. Arrange your cubes however you want—side by side, in a tall tower, or even stepped like stairs. Use metal brackets or small screws at the corners to lock them together if you want extra stability.
Then start filling them: baskets for smaller items, books and plants for an open look, or bins for quick cleanup.
Wrap-Up: A System That Grows With You
The beauty of modular cube storage is that it changes as your life does. You can add more cubes when you need them, swap colors, or move them to another room without tearing anything apart. It’s storage that actually works with you, not against you.
So clear a corner, grab a few boards, and build something useful. Once you see those cubes come together, you’ll wonder why you didn’t do it sooner.