")
Got some old buckets lying around? Don’t toss them—turn them into something beautiful. With a little creativity and a few basic tools, you can transform those forgotten buckets into charming hanging planters that add life to any space. It’s simple, affordable, and satisfying. Plus, you’ll be giving new purpose to something that would otherwise collect dust or end up in the trash.
What You’ll Need
- Old buckets (metal or plastic, both work)
- Drill or hammer and nail (for drainage holes)
- Rope, chain, or sturdy twine
- Potting soil
- Plants of your choice
- Paint or spray paint (optional)
- Scissors and a lighter (if using synthetic rope)
Step 1: Clean and Prep Your Buckets
Start by giving your buckets a good scrub. Remove any dirt, stickers, or rust. If they’re metal and a bit rusty, a wire brush and some sandpaper can work wonders. For plastic buckets, a mix of warm water and dish soap does the trick. Let them dry completely before moving on.
Step 2: Add Drainage Holes
Plants dislike sitting in soggy soil, so proper drainage is essential. Flip the bucket upside down and drill several small holes in the bottom. If you don’t have a drill, you can carefully hammer a nail through instead. A few evenly spaced holes will keep your plants happy.
Step 3: Decorate (Optional but Fun)
Here’s where you can let your style show. Paint your buckets to match your space—go for bold colors, pastels, or even patterns. You can also wrap them in jute rope or burlap for a rustic look. Just make sure the paint or material you use can handle outdoor weather if that’s where they’ll hang.
Step 4: Attach the Hanging System
Decide how you want your planters to hang. Drill three evenly spaced holes around the top rim of the bucket. Cut three equal lengths of rope or chain, tie or hook them through the holes, and bring them together at the top to form a loop. This loop will hang on a hook, nail, or branch. If you’re using synthetic rope, melt the ends slightly with a lighter to prevent fraying.
Step 5: Add Soil and Plants
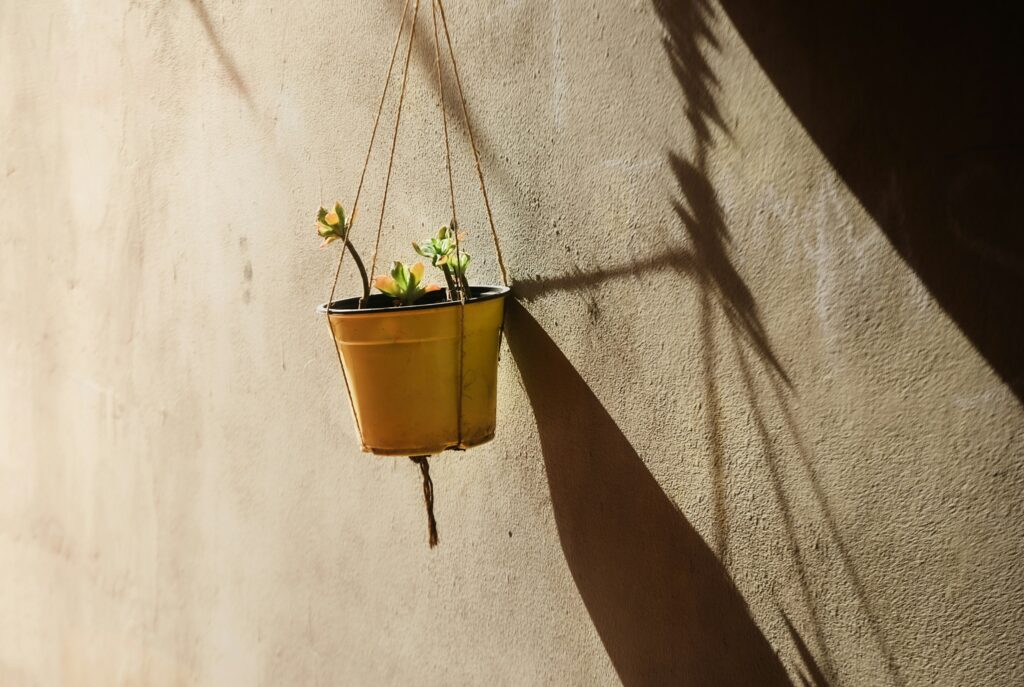
Fill the bottom of your bucket with a thin layer of gravel or small stones for extra drainage. Then, add potting soil and plant your favorite flowers, herbs, or succulents. Water them lightly and hang your new planter in a sunny spot.
Step 6: Enjoy the View
Step back and admire your work. You’ve just created something both beautiful and practical from items that might’ve gone to waste. These hanging planters work great on porches, patios, balconies, or even indoors near a sunny window.
Building DIY hanging planters from old buckets isn’t just about saving money—it’s about creativity, sustainability, and personal touch. Each one you make is a small reminder that beauty doesn’t have to come from a store. Sometimes, it’s already in your garage, waiting for a second life.