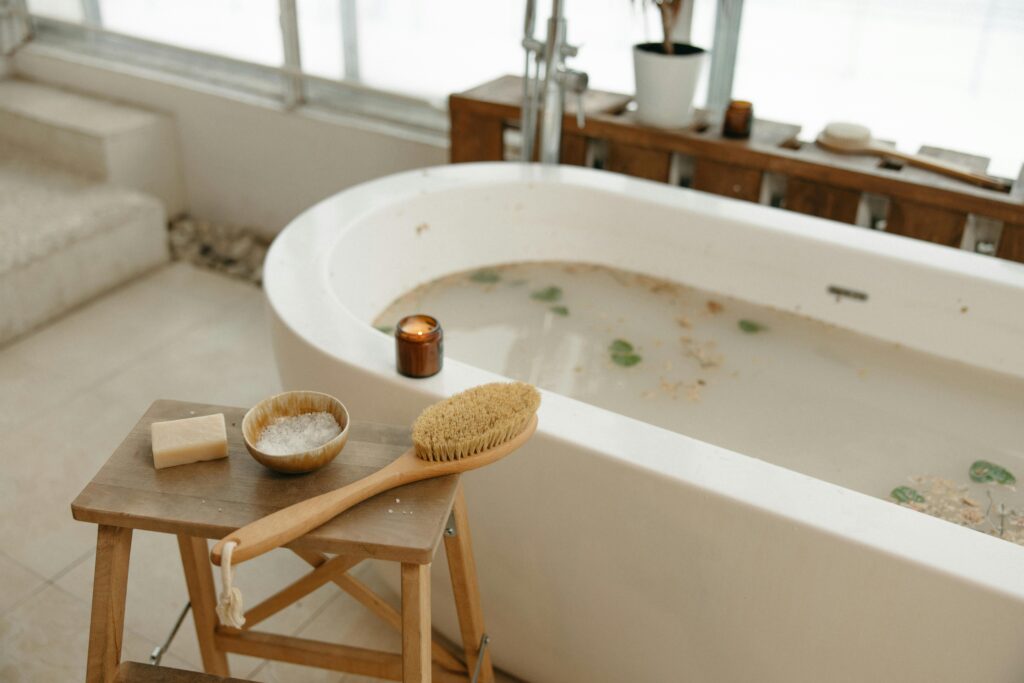
If you’ve ever wished for a sturdy spot to sit or rest your foot in the shower, a wooden shower stool is a perfect addition. It’s functional, looks great in any bathroom, and you don’t need to be a master carpenter to make one. With a few basic tools, some good wood, and a bit of time, you can build a stool that’s solid, stylish, and made to last.
What You’ll Need
Materials:
- One 1×12 board (about 3 feet long) for the seat
- Two 1×10 boards (about 2 feet long) for the legs
- Exterior wood screws (stainless steel or brass)
- Waterproof wood glue
- Sandpaper (120 and 220 grit)
- Outdoor or marine-grade finish (like teak oil or spar urethane)
Tools:
- Saw (hand saw, circular, or miter)
- Drill
- Measuring tape
- Pencil
- Paintbrush or cloth for finishing
Step 1: Choose the Right Wood
Pick a hardwood that can handle moisture. Teak, cedar, and redwood are all excellent choices because they naturally resist rot. Avoid pine—it’ll swell and warp over time.
Step 2: Cut Your Pieces
Cut one board for the seat (approximately 18 inches long is a good size for most showers.
Then, cut two pieces for the legs—each about 16 inches tall.
Then, cut two pieces for the legs—each about 16 inches tall.
For added stability, you can also cut a small support board (approximately 12 inches long) to connect the legs underneath.
Step 3: Shape and Smooth the Edges
Use sandpaper to round off sharp corners and smooth all surfaces. This not only makes it look cleaner but also keeps you from scratching your legs when you sit down.
Step 4: Assemble the Stool
- Attach the legs to the underside of the seat using screws and wood glue.
- Make sure the legs angle slightly outward for balance. You can use a scrap piece of wood as a spacer to get a consistent angle.
- If you’re adding a support board, screw it between the legs for extra strength.
Check that everything sits level before tightening your screws all the way.
Step 5: Seal and Protect
Since this stool will live in a damp space, sealing it is key. Wipe it down to remove dust, then apply a waterproof finish or oil. Two or three coats should do it. Let it dry completely between coats.
Step 6: Let It Cure
Even though the finish may feel dry after a few hours, give it at least a day or two to fully cure before using it. This helps the coating harden and resist water longer.
Step 7: Enjoy Your Work
Once cured, place your stool in the shower and admire your craftsmanship. It’s not just a handy seat—it adds a natural, spa-like touch to your bathroom.
Building your own wooden shower stool isn’t just about saving money—it’s about creating something with your own hands that’s both beautiful and useful. You’ll get a solid piece that fits your space perfectly and a small daily reminder that you can make something awesome out of a few pieces of wood and an afternoon of work.

