")
Turn Old Wood into Gold: How to Build a DIY Reclaimed Wood Dresser
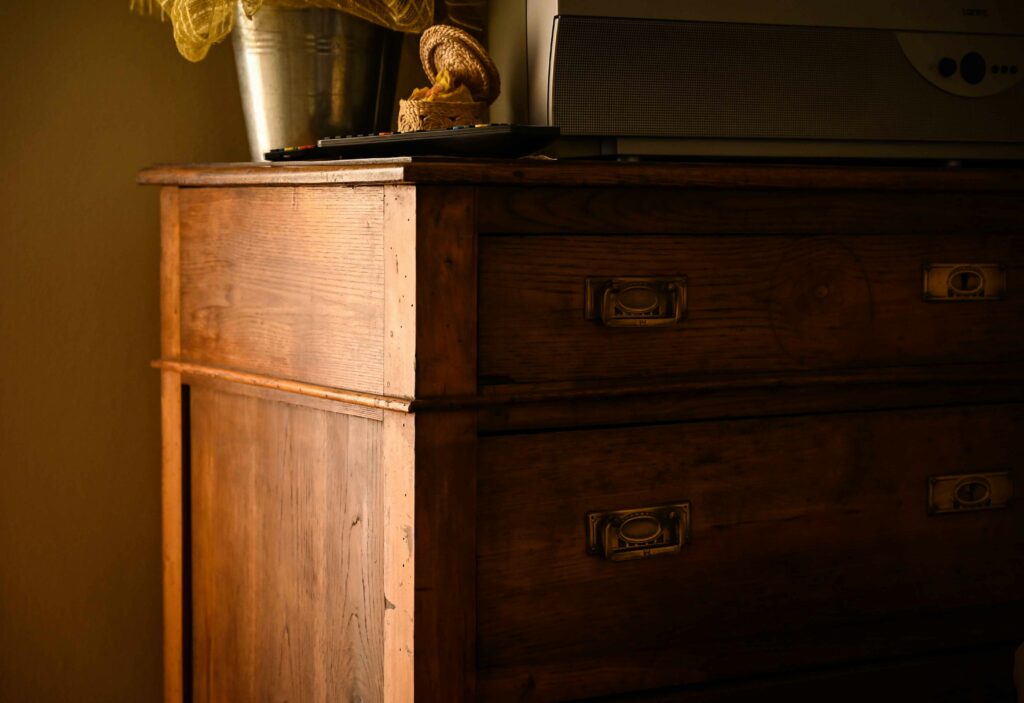
There’s something special about giving old wood a second life. It has history, character, and a worn-in beauty that new lumber just can’t fake. If you’ve been eyeing those pricey “reclaimed wood” dressers online, here’s the good news: you can make one yourself. With a few basic tools, some salvaged boards, and a weekend’s worth of effort, you can build a dresser that’s both sturdy and full of soul.
What You’ll Need
Materials:
- Reclaimed wood (old pallets, barn boards, or floorboards work great)
- Wood screws
- Drawer slides or wooden rails
- Drawer pulls or knobs
- Sandpaper (medium and fine grit)
- Wood glue
- Wood finish or sealant (optional)
Tools:
- Saw (circular or hand saw)
- Drill
- Measuring tape
- Clamps
- Screwdriver
- Sander (optional but helpful)
Step 1: Gather and Prep Your Wood
Start by finding your wood. Check local salvage yards, construction sites (with permission), or online marketplaces. When you’ve got your stash, clean it up. Remove any nails or staples, and give each board a thorough sanding to remove grime and splinters. Don’t overdo it—you want to keep some of that weathered look.
Step 2: Design Your Dresser
Sketch out a simple plan before you cut. Determine the number of drawers you want and the desired height and width of the dresser. A good size to start with is around 36 inches tall and 30 inches wide, with three or four drawers.
Keep it simple: a rectangular frame with straight lines always looks good and fits most spaces.
Step 3: Build the Frame
Cut your side panels, top, bottom, and back from your reclaimed wood. Screw the sides to the top and bottom pieces to form a box. Then attach the back panel. Make sure everything’s square before tightening the screws.
Tip: If your boards aren’t perfectly straight (most reclaimed wood isn’t), use clamps and patience. The imperfections are part of the charm.
Step 4: Add the Drawers
Measure the inside width and height of the frame openings, then cut pieces for your drawers accordingly. Build each drawer box using wood glue and screws, then attach the slides or rails.
If you want a rustic look, you can skip the slides and let the drawers rest on simple wooden guides. They won’t glide as smoothly, but they’ll look authentic.
Step 5: Finish and Style
Once everything fits together nicely, it’s time for the finishing touches. Lightly sand the dresser again, paying attention to edges and corners. You can leave the wood raw for a natural look or add a light coat of sealant to protect it from wear.
Finish it off with some drawer pulls or knobs that match your style—metal for an industrial vibe, ceramic for a farmhouse feel, or wooden ones for a clean, minimalist look.
Step 6: Step Back and Admire
You just built a dresser with history in its grain. Every scratch and knot tells a story, and now it’s part of your home’s story too.
Building a reclaimed wood dresser isn’t just about saving money—it’s about creating something real. Something that feels solid, honest, and yours. You’ve taken old, forgotten wood and turned it into something useful and beautiful again. And that’s the best kind of DIY project there is.