")
Create a Faux Archway with MDF and Transform Any Doorway
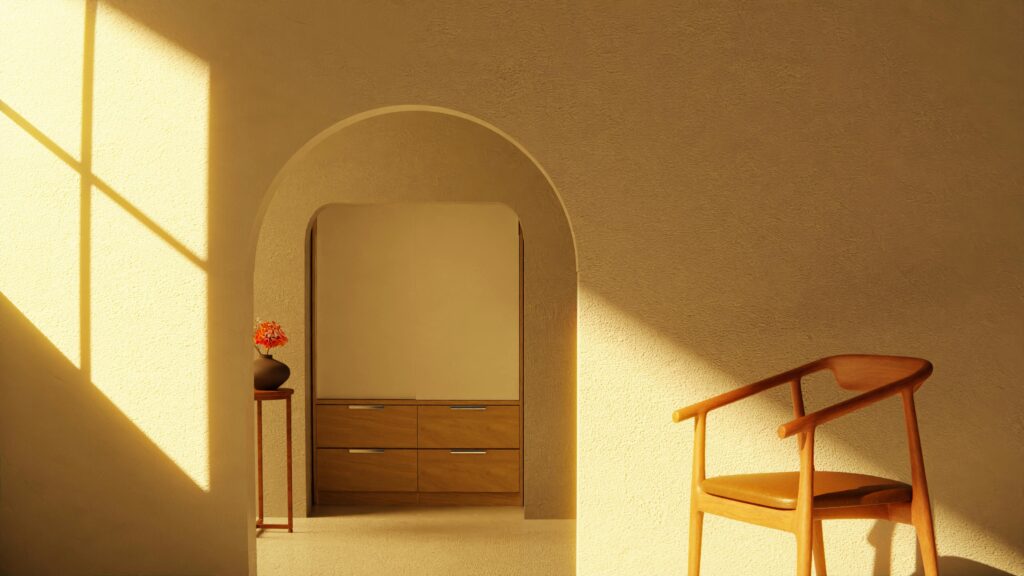
A real structural arch can get expensive fast, but a faux archway made with MDF gives you the same charm for a fraction of the cost. It is simple, lightweight, and easy to customize. Whether you want a softer transition between rooms or a focal point that feels custom, this project can make a big difference with very little material. Here is a clear guide to help you build one from start to finish.
What You Need
- MDF sheet, 1/2 inch or 3/4 inch
- Jigsaw or router
- Cardboard or poster board for a template
- Screws
- Wood filler
- Construction adhesive
- Sandpaper
- Paint and primer
- Measuring tape
- Drill
- Level
Step 1: Measure the Opening
Start by measuring the width of your doorway. Then decide how tall you want the arch rise to be. A gentle curve usually looks best, especially in standard height doorways. Write down every measurement so nothing gets missed later.
Step 2: Make a Template
Use cardboard or poster board to create the arch shape. This helps you test the curve before cutting anything. Tape the template to the doorway and step back. Adjust until it feels right. A simple half circle works, but a soft radius often looks more natural.
Step 3: Transfer the Template to MDF
Lay the template on your MDF sheet and trace it. You will need two identical arch pieces for the front and back. Then cut the shape using a jigsaw or router. Take your time. Smooth curves make the finished result look polished.
Step 4: Build the Arch Frame
Cut small MDF strips to act as spacers between the two arch pieces. These create the thickness of the arch. The strips should match the depth of your doorway. Screw them around the inside edge of one arch piece. Then place the second arch piece on top and secure it. You now have a solid arch frame.
Step 5: Add the Side Panels
Measure the arch’s thickness and cut thin MDF strips to wrap around its curved edge. Attach them with construction adhesive and brad nails if you have a nailer. If not, hold them in place while the adhesive sets. Once this part is done, the arch will look seamless.
Step 6: Fill, Sand, and Prime
Use wood filler to cover screw holes and any gaps. Let it dry, then sand everything smooth. MDF takes paint well, but it must be primed first so the surface stays crisp and even.
Step 7: Install the Faux Archway
Hold the finished arch in place above the doorway. Use a level to make sure it sits straight. Secure it with screws through the sides into the existing wall framing. Fill the screw holes, touch up the paint, and you are done.
Why MDF Works Well
MDF is affordable, easy to cut, and smooth enough to paint without extra fuss. It also keeps the project light, which makes installation much easier than working with solid wood.
A faux archway can give a home more personality without a major renovation. With a few basic tools and some MDF, you can turn a standard doorway into something warm and inviting. Take your time with the cuts, keep the lines smooth, and enjoy the transformation once it is up.