")
Create a Rustic Garden Path With Just Wood Rounds
If you want a path that feels natural and visually appealing, wood rounds are a great choice. They blend into almost any yard, and you don’t need much experience to build with them. The project takes some planning, but once you start placing the rounds, it comes together fast.
Why Choose Wood Rounds?
Wood rounds work well if you like a softer, natural look. They’re easy to move around, replace, or shift if your layout changes. They also let you create curves without cutting or special tools. Plus, the cost stays low, especially if you can source logs or leftover wood.
What You’ll Need
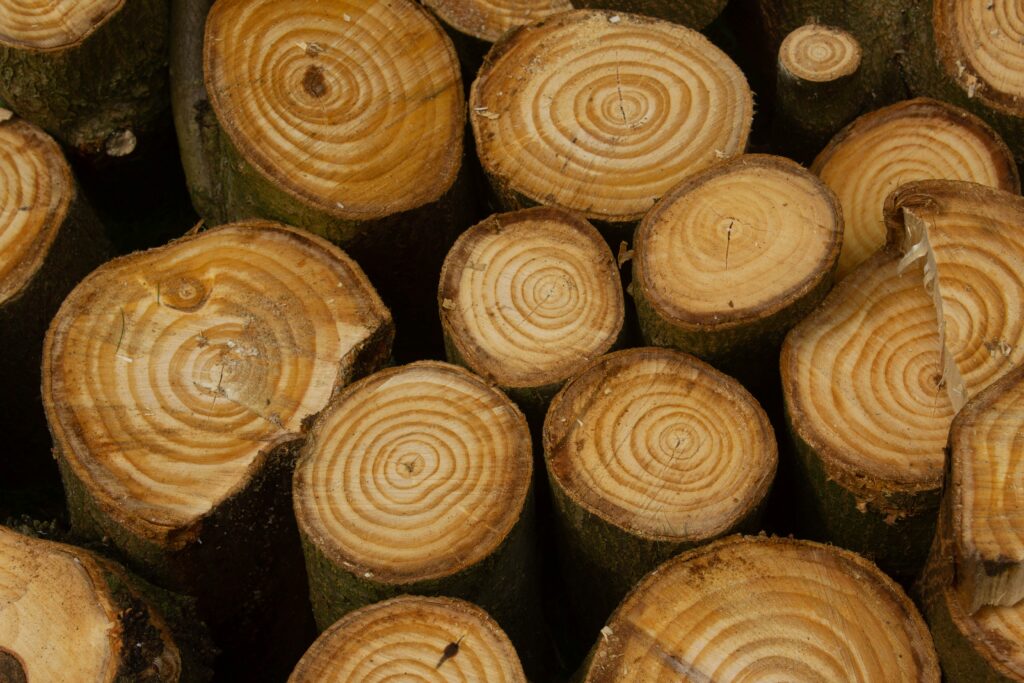
- Wood rounds (all similar thickness)
- Shovel
- Level
- Landscape fabric
- Sand or fine gravel
- Mulch or pea gravel for gaps
- Optional: wood sealer
Keep the rounds between 2–3 inches thick so they sit firmly in the ground.
Step 1: Plan Your Path
Walk the route and imagine how you want it to feel. Straight paths look clean. Curved paths feel relaxed and pull you through the garden. Mark the edges with string or ground-safe spray paint. It helps you see the shape before you dig.
Step 2: Prepare the Ground
Remove grass or weeds from the marked area. Dig down a few inches to create a flat base. Lay landscape fabric to slow weed growth. Add a layer of sand or fine gravel and level it. This helps the rounds sit evenly and keeps them from shifting.
Step 3: Place the Wood Rounds
Start with the largest pieces first. Set each round into the sand and press it down so it feels solid under your feet. Fill in the gaps with smaller rounds or place them so the spacing feels natural. Leave small gaps if you plan to fill them with gravel or mulch.
Check your progress by walking on the path as you place pieces. If a round wobbles, lift it and add more sand underneath.
Step 4: Fill the Gaps
Once the rounds are set, fill the spaces with mulch or pea gravel. This keeps everything stable and makes mowing easier if the path meets your lawn. It also gives the path a clean, finished look.
Optional Step: Seal the Wood
Wood outdoors will weather. Some people like the silvered look it gets over time. If you want to keep the warm color longer, add a coat of outdoor wood sealer once the rounds are dry.
Tips for a Long-Lasting Path
- Choose hardwood if you can. It lasts longer than softwood.
- Keep the rounds off wet soil by using sand or gravel underneath.
- Replace any piece that softens or starts to rot. It’s a quick fix.
Enjoy Your New Path
A wooden round path adds character to a garden without a complicated build. It’s a project you can finish over a weekend, and it adds a handmade feel you’ll notice every time you walk through your yard. If you ever want to adjust the layout, you can simply lift the rounds and reset them.