")
Hang Your Hats in Style: Easy DIY Wall Display Ideas
If you love hats but hate seeing them piled on a shelf or lost in a closet, a wall display is an easy fix. It turns your hats into décor, frees up space, and makes it simple to grab one on your way out. You don’t need fancy tools or woodworking skills. Just a few basic materials and a plan.
Below are simple ideas you can mix and match until your wall feels right.
Pick the Wall That Works
Start by choosing a spot that’s easy to reach and has room to breathe. A blank stretch above a dresser works well. So does an entryway or even a hallway if it gets enough light. Lay your hats on the floor first and see how many you want to hang. This gives you a sense of spacing before you make any holes.
Choose the Right Hooks
You don’t need anything complicated. Here are a few options that look clean and won’t dent your hats:
- Small wooden pegs. These give a warm, simple look.
- Clear adhesive hooks. Good if you’re renting or don’t want to drill.
- Metal wall hooks. Sturdy and modern, great for heavier brims.
If you’re unsure how high to start, hold a hat against the wall at eye level. That’s usually a good anchor point.
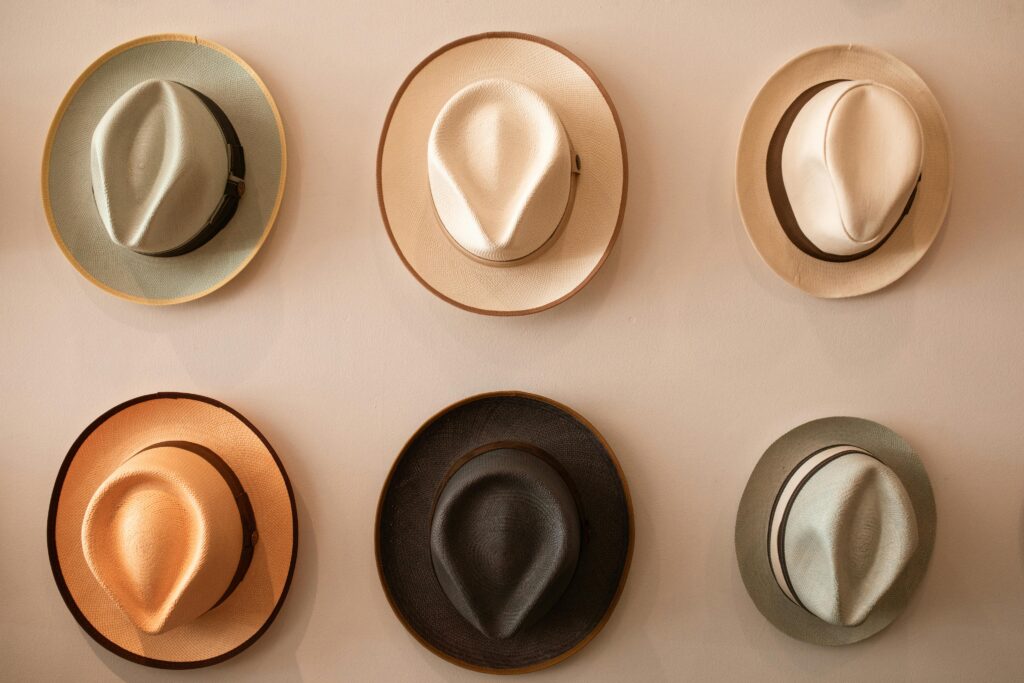
Plan Your Layout
This is where your wall starts to feel personal. Try one of these easy layouts:
-
Straight Line
Neat and tidy. Works well if you have 3–5 hats. Keep the spacing equal. About a hand’s width between each hat usually looks balanced.
-
Grid Pattern
If you have a bigger collection, a simple grid keeps everything structured. Use painter’s tape to mark the lines before you stick or screw in the hooks.
-
Loose Cluster
If you want something more relaxed, mix hat sizes and hang them in a soft cluster. Start in the center and work your way out until it feels balanced.
-
Vertical Strip
Perfect for a narrow space. Hang hats in a straight column, leaving enough room so the brims don’t overlap too tightly.
Keep It Budget-Friendly
You don’t need to spend a lot to make the wall look good. A small pack of wooden pegs, a level (or a phone app), and some painter’s tape might be all you need. If you want a bit of color, paint the pegs before you mount them. Even a simple white or black coat can make the whole wall look more intentional.
Add a Touch of Style
Once your hats are up, you can add small details around them:
- A print or photo to fill the empty space.
- A small shelf for sunglasses or keys.
- A narrow plant stand with a trailing plant that softens the look.
Keep it simple so the hats stay the focus.
Make Adjustments as You Go
Step back every few hats and glance at the wall. A small shift early on saves you from having to redo the whole thing. The good news is that hat walls don’t need to be perfect. A little looseness actually looks more natural.
A hat wall isn’t just storage. It shows your personality and adds a bit of life to your room. With a few hooks, a little planning, and a simple layout, you can pull this together in an afternoon. Start small, adjust as you need, and enjoy how fresh the space feels once those hats finally have a spot of their own.