")
The Easy DIY Rolling Planter Box You’ll Use All Season
If you like gardening but hate being locked into one spot, a rolling planter box is a great solution. It lets you move plants to follow the sun, avoid bad weather, or simply make space when you need it.
The good news is you don’t need fancy tools or advanced skills to build one. This is a straightforward project you can finish in a weekend, even if you don’t do a lot of DIY work.
Below is a simple, practical guide to building a rolling planter box that’s sturdy, useful, and easy to customize.
Why Build a Rolling Planter Box?
A rolling planter box gives you flexibility that fixed planters don’t.
Some real benefits:
-
Move plants to catch more sunlight
-
Roll them inside during frost or heavy rain
-
Rearrange patios or decks easily
-
Reduce bending and lifting if you build it tall enough
It’s especially helpful if you garden on a patio, balcony, or small yard.
Tools and Materials You’ll Need
You don’t need anything special. Most of this is easy to find at a local hardware store.
Materials
-
Pressure-treated wood or cedar (for outdoor use)
-
Exterior wood screws
-
Four heavy-duty caster wheels (two should lock)
-
Landscape fabric or weed barrier
-
Staple gun or small nails
-
Wood glue (optional)
-
Soil and plants
Tools
-
Measuring tape
-
Saw (hand saw or power saw)
-
Drill
-
Screwdriver bit
-
Sandpaper
Step 1: Decide on the Size
Before cutting anything, decide where the planter will live. Measure the space and plan around that.
A common size is:
-
36 inches long
-
18 inches wide
-
18 to 24 inches deep
You can adjust this depending on what you plan to grow. Herbs need less depth. Vegetables like tomatoes need more.
Step 2: Cut the Wood
Cut your boards for:
-
Two long sides
-
Two short sides
-
Bottom supports
-
A base frame for the wheels
Lightly sand the edges so you don’t end up with splinters later.
Step 3: Build the Box Frame
Start by attaching the sides together to form a rectangle. Use exterior screws and make sure everything stays square.
Next, add the bottom supports inside the box. These help hold the soil and keep the planter from sagging over time.
If you want extra strength, add a small amount of wood glue before screwing pieces together.
Step 4: Attach the Base and Wheels
Flip the planter upside down.
Build a simple base frame that sits under the box. This gives the wheels something solid to attach to.
Secure one caster at each corner. Make sure the locking wheels are on the same side so the planter doesn’t roll away when you don’t want it to.
Step 5: Line the Planter
Line the inside with landscape fabric. This keeps soil in while allowing water to drain.
Staple or nail the fabric along the top edge. Leave the bottom open enough for drainage.
You can also drill a few small holes in the bottom if you want better water flow.
Step 6: Fill and Plant
Turn the planter upright and roll it into position.
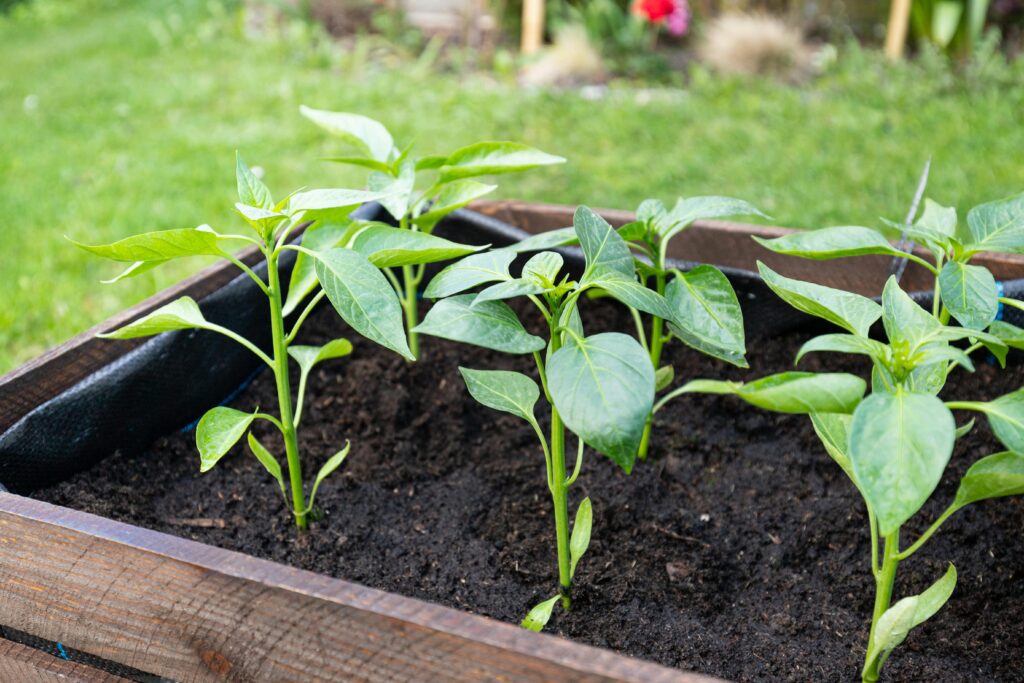
Add soil, leaving a few inches at the top so water doesn’t spill over. Plant your herbs, flowers, or vegetables, then give everything a good watering.
Lock the wheels once it’s in place.
Tips for Long-Lasting Results
-
Use wood made for outdoor use to prevent rot
-
Don’t overload the planter with soil beyond what the wheels can handle
-
Check the wheel locks once in a while
-
Reapply sealant or stain every year if needed
Final Thoughts
A rolling planter box is one of those projects that keeps paying off. It makes gardening easier, more flexible, and more enjoyable.
Once you build one, you’ll probably want another. The design is easy to adjust, and each box gets faster to make.
If you’ve been looking for a practical DIY project that actually improves how you use your outdoor space, this is a great place to start.
Happy building and happy planting. 🌱