")
Small Upgrade, Big Peace of Mind: How to Install a Door Viewer
Ever opened the door without knowing who was on the other side and instantly regretted it? A door viewer, also called a peephole, is one of the easiest ways to make your home feel safer.
The good news is you don’t need special skills or expensive tools to install one. With a little time and patience, you can do it yourself in under an hour. This guide walks you through each step in plain language.
What Is a Door Viewer and Why Install One?
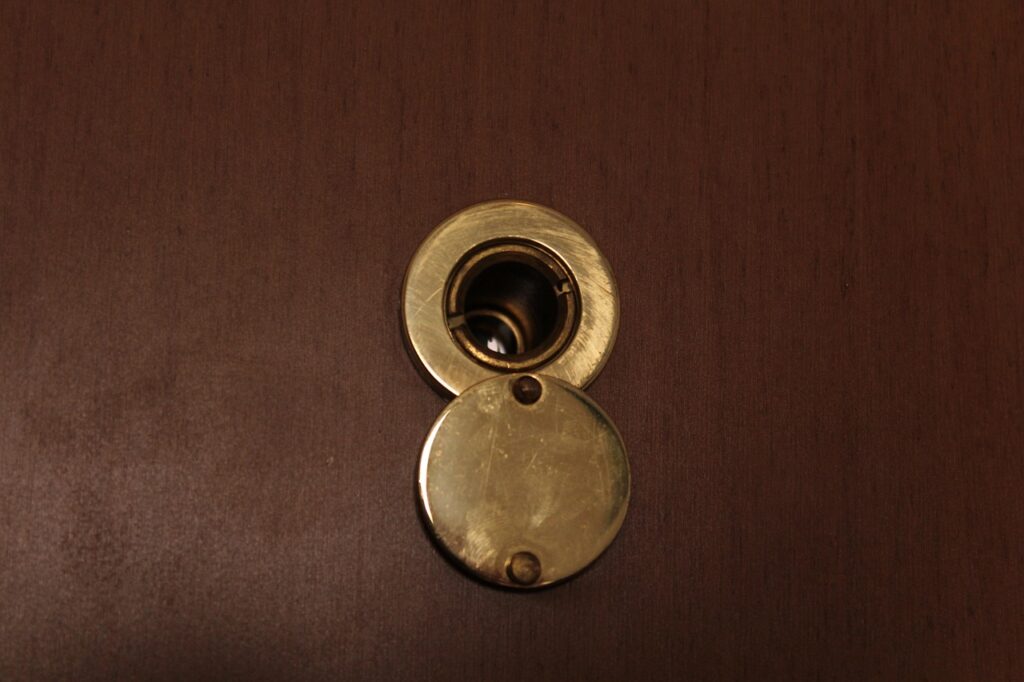
A door viewer is a small lens installed in your door that lets you see who’s outside without opening it. It gives you peace of mind and adds a layer of security, especially if you live in an apartment or get frequent deliveries.
It’s also a low-cost upgrade that doesn’t change the look of your door much at all.
What You’ll Need Before You Start
Gather these items before you begin:
-
A door viewer (make sure it fits your door thickness)
-
Measuring tape or ruler
-
Pencil or marker
-
Drill
-
Drill bit (check the viewer’s instructions for size)
-
Masking tape
-
Safety glasses
Most door viewers come with simple instructions and all the parts you need.
Step 1: Choose the Right Height
Stand at your door and decide where the viewer should go. A good rule is eye level for the average adult, usually about 58 to 60 inches from the floor.
If more than one person will use it often, aim for a middle height that works for everyone.
Step 2: Mark the Spot
Measure and mark the center point where you want the viewer installed. Use a pencil so you can erase if needed.
Double-check your measurements before moving on. Once you drill, there’s no undo button.
Step 3: Apply Masking Tape
Place a small piece of masking tape over the marked spot on both sides of the door. This helps prevent the wood from splintering when you drill.
It’s a small step that makes a big difference.
Step 4: Drill the Hole
Put on your safety glasses. Using the correct drill bit, drill straight through the door at your marked spot.
Go slow and steady. If your door is thick, pause halfway and drill from the other side to keep the hole clean.
Step 5: Clean the Hole
Remove the tape and gently brush away any dust or loose wood. The hole should be smooth so the viewer fits snugly.
If needed, lightly sand the edges.
Step 6: Insert the Viewer Pieces
Most door viewers come in two parts: the lens and the outer frame.
Insert the lens part from the outside of the door. Then attach the inner piece from the inside, lining up the threads.
Step 7: Tighten by Hand
Twist the two pieces together by hand until snug. Avoid using tools unless the instructions say otherwise. Overtightening can damage the lens or the door.
It should feel secure, not forced.
Step 8: Test the View
Look through the viewer from inside. Make sure the image is clear and centered.
If it looks off, gently adjust and retighten.
Step 9: Clean the Lens
Use a soft cloth to wipe both sides of the lens. This removes fingerprints and dust from installation.
A clean lens gives you the best view.
Step 10: Do a Final Check
Open and close the door once to make sure everything feels solid. You’re done.
Common Mistakes to Avoid
-
Drilling without measuring twice
-
Using the wrong drill bit size
-
Placing the viewer too high or too low
-
Tightening too hard
Taking your time helps avoid all of these.
Final Thoughts
Installing a door viewer is one of the simplest home upgrades you can make, but it pays off every day. You’ll feel more in control and safer knowing exactly who’s on the other side of your door.
If you can use a drill and follow basic steps, you can handle this project yourself. And once it’s done, you’ll wonder why you didn’t do it sooner.