")
Basement Carpet Tiles Made Easy: Install Once, Replace Anytime
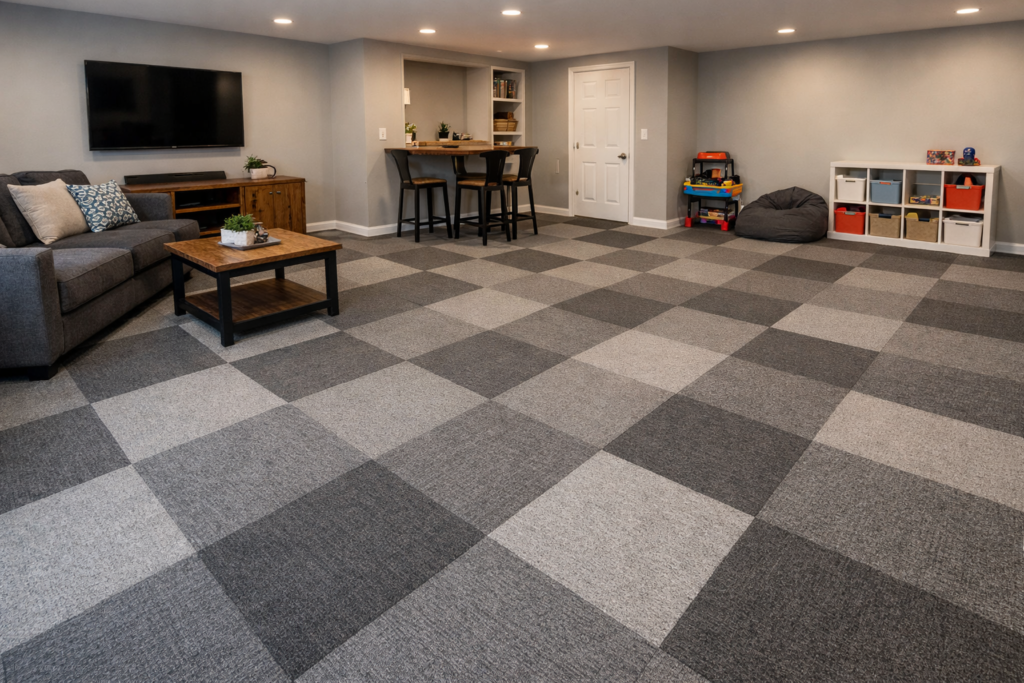
Finishing a basement can feel like a big project, but the flooring doesn’t have to be complicated. If you want something soft underfoot that’s also practical, carpet tiles are a smart choice.
Unlike traditional wall-to-wall carpet, carpet tiles are easy to install and even easier to replace. If one section gets stained or damaged, you can swap it out without tearing up the whole floor. That’s a huge win for basements, where moisture and spills are more common.
In this guide, I’ll walk you through how to install basement carpet tiles step by step so you can get a clean, finished look that’s built to last.
Why Carpet Tiles Are Great for Basements
Basements are different from the rest of the house. They can be damp, cooler, and more prone to small leaks or spills. Carpet tiles work well in this space because:
-
They’re easier to replace than traditional carpet
-
Many have moisture-resistant backing
-
They’re simple to install without special tools
-
You can create custom patterns or layouts
-
They’re manageable for DIY projects
If you’ve ever had to rip out soaked carpet, you know why easy replacement matters.
Tools and Materials You’ll Need
Before you start, gather everything in one place. Here’s a simple checklist:
-
Carpet tiles
-
Measuring tape
-
Chalk line or straight edge
-
Utility knife with sharp blades
-
Carpet tile adhesive (if not peel-and-stick)
-
Trowel (if using glue-down tiles)
-
Level
-
Broom or vacuum
Keep a few extra tiles aside for future repairs. Trust me, you’ll be glad you did.
Step 1: Check for Moisture Issues
Before installing anything, make sure your basement floor is dry.
Tape a small square of plastic to the concrete floor and leave it for 24 hours. If you see condensation underneath, you may have a moisture problem that needs to be fixed first.
Installing carpet tiles over a damp surface can lead to mold and loose tiles.
Step 2: Prepare the Concrete Floor
A smooth surface makes all the difference.
-
Sweep and vacuum thoroughly
-
Remove dust, dirt, and debris
-
Fill cracks or holes with concrete patch
-
Make sure the floor is level
If the surface is uneven, your tiles may not sit flat. Take your time here. Good prep saves frustration later.
Step 3: Plan Your Layout
Don’t start sticking tiles down right away.
Measure the room and find the center point. Snap chalk lines across the middle of the room to create four equal sections. Starting in the center helps you avoid ending up with tiny, awkward tile strips along one wall.
Dry-lay a few tiles first to see how they fit.
Most carpet tiles have arrows on the back. These arrows show the pile direction. You can line them up the same way for a uniform look or rotate them to create a subtle pattern.
Step 4: Install the Carpet Tiles
Now it’s time to install.
For Peel-and-Stick Tiles
-
Peel off the backing
-
Press the tile firmly into place
-
Work outward from the center
For Glue-Down Tiles
-
Spread adhesive with a trowel
-
Let it become tacky (follow manufacturer instructions)
-
Press tiles into place
Make sure each tile fits snugly against the next one without overlapping. Press firmly along the edges to secure them.
Work in small sections so the adhesive doesn’t dry before you place the tiles.
Step 5: Cut Tiles to Fit Edges and Corners
When you reach the walls, you’ll likely need to trim tiles.
-
Measure the gap carefully
-
Mark the tile on the back
-
Use a sharp utility knife and straight edge
-
Cut slowly and steadily
Always cut from the back side of the tile for cleaner lines.
Step 6: Roll and Secure the Floor
Once all tiles are installed, go over the floor with a floor roller if recommended. This helps improve contact with the adhesive.
Then leave the floor undisturbed for the time listed on the adhesive instructions before moving furniture back in.
How to Replace a Damaged Carpet Tile
This is where carpet tiles really shine.
If one tile gets stained or damaged:
-
Lift it from one corner
-
Remove it carefully
-
Scrape away any old adhesive if needed
-
Install a new tile in its place
That’s it. No need to pull up the entire floor.
Keeping spare tiles from your original batch ensures the color matches perfectly.
Tips for Long-Lasting Basement Carpet Tiles
-
Use a dehumidifier to control moisture
-
Clean spills quickly
-
Vacuum regularly
-
Avoid dragging heavy furniture
Simple maintenance keeps your floor looking fresh for years.
Final Thoughts
Installing basement carpet tiles is one of the easiest ways to upgrade your space without hiring a contractor. The project is manageable, the tools are basic, and the results look polished.
Best of all, you get peace of mind. If something goes wrong, you don’t have to start over. You just replace a tile and move on.
If you’re looking for a practical, DIY-friendly flooring option for your basement, carpet tiles are hard to beat.