")
DIY Guide: How to Repair a Stair Tread That Moves Side to Side
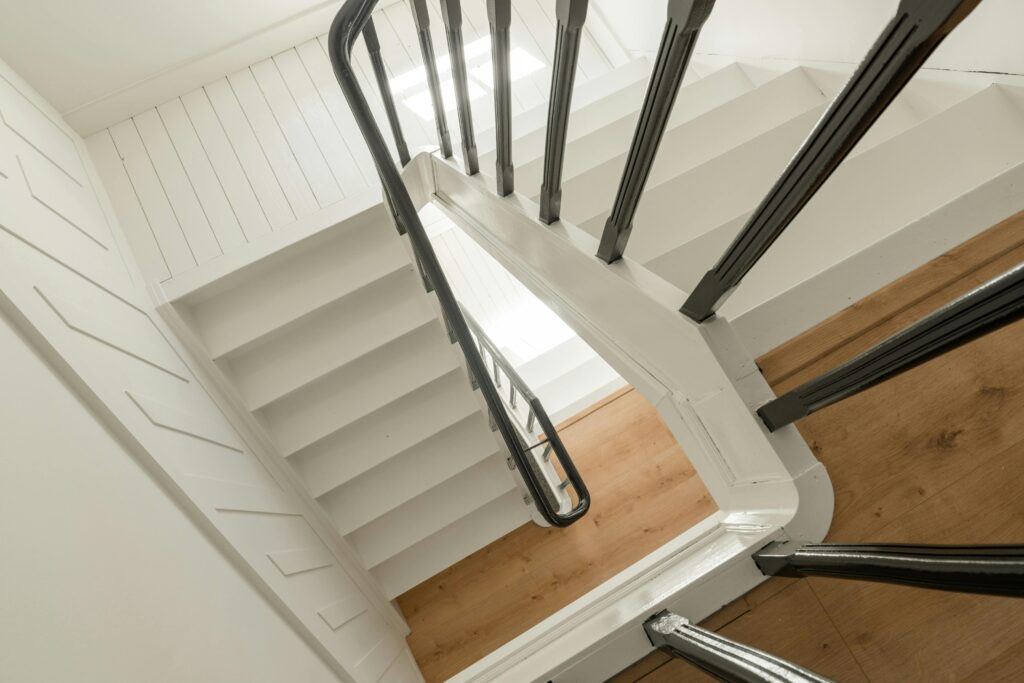
A stair tread that moves sideways is more than annoying. It can also be unsafe. Over time, daily use, changes in humidity, and worn fasteners can cause a tread to loosen and shift left or right.
The good news is that most sideways movement is easy to fix with a few basic tools and a little patience. You don’t need to replace the entire staircase. In many cases, tightening the structure and securing the tread will solve the problem.
This guide walks you through how to repair a stair tread that shifts sideways so your stairs feel solid again.
Why Stair Treads Start Moving Sideways
Before fixing the issue, it helps to know why it happens.
Common causes include:
-
Loose fasteners that no longer hold the tread firmly
-
Worn wood where screws or nails have pulled out
-
Shrinkage or expansion from humidity changes
-
Poor original installation
-
Missing glue or support blocks
When a tread shifts sideways, it usually means the connection between the tread and the stringers has loosened.
Tools and Materials You’ll Need
Most repairs require only simple tools:
-
Power drill or screwdriver
-
Wood screws (2½ to 3 inches)
-
Wood glue
-
Wooden shims
-
Carpenter’s square or level
-
Wood filler (optional)
-
Clamps (helpful but not required)
Having these ready before you start will make the repair quicker.
Step 1: Locate the Source of the Movement
Start by stepping on the tread and pushing it side to side.
Look for:
-
Gaps between the tread and stringer
-
Loose nails or screws
-
Areas where the tread lifts slightly
Sometimes the problem is visible from underneath the stairs. If you have access below, inspect the tread from that angle as well.
Step 2: Tighten or Replace Fasteners
Loose fasteners are the most common cause.
-
Remove any loose nails or screws.
-
Drill pilot holes to prevent splitting.
-
Install new wood screws into the stringers.
Drive the screws at a slight angle for better grip. Two screws on each side of the tread usually provide enough support.
Step 3: Add Wood Glue for Extra Strength
Before tightening everything fully, apply wood glue where the tread meets the stringers.
This helps:
-
Reduce movement
-
Stop future squeaks
-
Strengthen the joint
After applying the glue, press the tread firmly into position and secure the screws.
Step 4: Use Shims to Remove Side Gaps
If the tread still shifts slightly, small gaps may be the problem.
Insert wooden shims into the space between the tread and the stringer. Tap them gently until the tread feels tight and stable.
Once secure:
-
Cut off any excess shim
-
Add a small amount of glue to lock it in place
Step 5: Secure from Underneath (If Accessible)
For the strongest repair, reinforce the tread from below.
You can attach support blocks under the tread:
-
Apply wood glue to a small wood block.
-
Press it where the tread meets the riser or stringer.
-
Screw the block into place.
This acts as a brace and keeps the tread from moving again.
Step 6: Fill and Finish (Optional)
If screw heads or small gaps are visible:
-
Fill them with wood filler
-
Let it dry
-
Sand lightly for a smooth finish
You can touch up the stain or paint if needed so the repair blends in.
Preventing Future Stair Movement
Once the tread is solid again, a few small steps can help prevent the issue from returning.
-
Check stair fasteners once a year
-
Tighten loose screws early
-
Keep indoor humidity levels stable
-
Avoid using nails alone for stair repairs
Stairs take daily impact, so regular maintenance makes a big difference.
Final Thoughts
A stair tread that shifts sideways may seem like a big problem, but most of the time it’s a quick repair. By tightening the fasteners, adding glue, and filling gaps with shims, you can restore the stability of your stairs in less than an hour.
The result is simple but important: safer steps, less noise, and a staircase that feels solid every time you walk on it.
If you notice movement starting again later, a quick check and tightening will usually keep things in good shape.