")
Hide Your TV in Style: Easy DIY Sliding Panel Guide
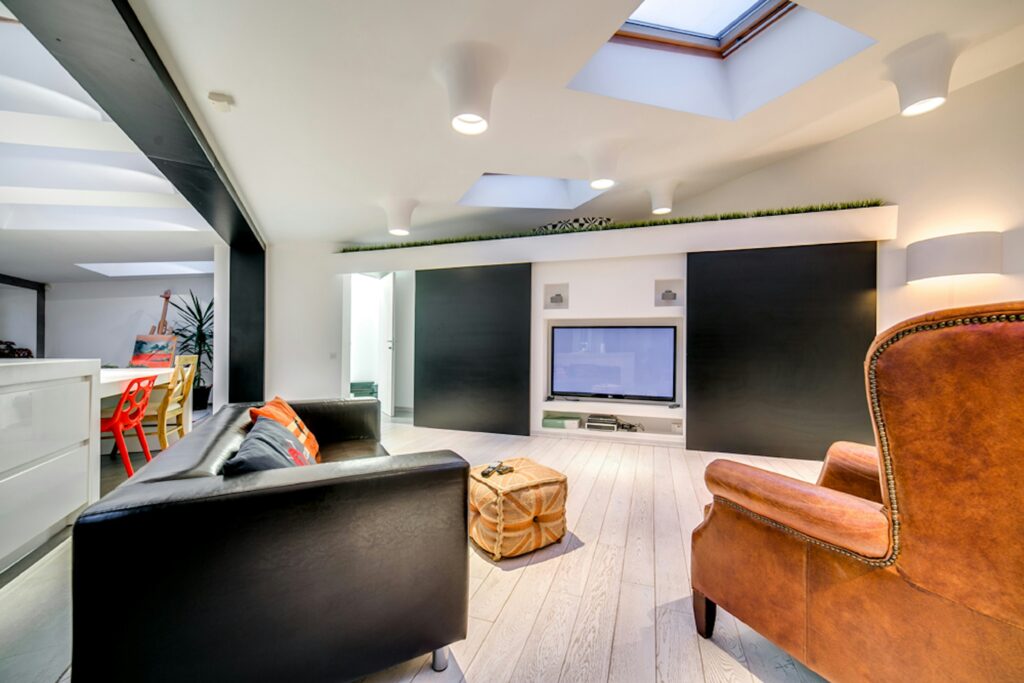
A big TV can be great for movie nights, but not so great when it dominates your space. If you want a cleaner, more flexible look, a sliding panel is a simple solution. You can hide your TV when you’re not using it and reveal it in seconds.
The best part? You don’t need to be a pro to build one. With a few tools, some basic materials, and a little patience, you can create something that looks custom and works smoothly.
Let’s walk through it step by step.
Why Choose a Sliding Panel?
Before getting into the build, it helps to know why this works so well:
-
Keeps your space looking tidy
-
Doubles as wall decor
-
Saves space compared to cabinet doors
-
Easier to use than hinged panels
It’s a clean, modern solution that blends function and style.
What You’ll Need
Here’s a simple materials list:
-
Plywood or MDF board (cut to size of your TV area)
-
Sliding door hardware kit (barn door style works well)
-
Screws and wall anchors
-
Drill and screwdriver
-
Measuring tape
-
Level
-
Sandpaper
-
Paint or stain (optional)
You can find most of this at any home improvement store.
Step 1: Measure Your Space
Start by measuring:
-
Width and height of your TV
-
Space around it (you want the panel to fully cover it)
Add a few extra inches on each side so the panel overlaps cleanly. This prevents gaps and keeps everything looking intentional.
Step 2: Cut and Prep the Panel
Cut your board to the size you measured.
Then:
-
Sand the surface until smooth
-
Wipe off dust
-
Paint or stain it to match your room
Tip: If you want it to look like wall art, consider adding trim or a simple design on the front.
Step 3: Install the Sliding Hardware
Follow the instructions that come with your sliding hardware kit. In general:
-
Mount the track above the TV
-
Use a level to keep it straight
-
Secure it into studs if possible (this is important for support)
If studs aren’t in the right place, use strong wall anchors.
Step 4: Attach the Panel
Attach the rollers to the top of your panel, then hang it onto the track.
Make sure it:
-
Slides smoothly
-
Stays level
-
Fully covers the TV when closed
Adjust as needed until it feels right.
Step 5: Add Stops and Finishing Touches
Most hardware kits include stoppers. Install them so the panel doesn’t slide too far.
Optional upgrades:
-
Add a handle for easier movement
-
Install soft-close hardware
-
Add felt pads to reduce noise
These small touches make a big difference in daily use.
Design Ideas to Make It Stand Out
Your panel doesn’t have to be plain. Here are a few ideas:
-
Paint it like a canvas or mural
-
Add wood slats for a modern look
-
Use fabric for a softer feel
-
Frame it like a large piece of art
Think of it as part of your decor, not just a cover.
Common Mistakes to Avoid
A few things to watch out for:
-
Mounting the track without a level
-
Using weak anchors
-
Making the panel too small
-
Skipping sanding and finishing
Take your time here. A little extra care upfront saves frustration later.
Final Thoughts
A sliding panel is one of those projects that feels small but makes a big impact. It helps your space feel calmer, more organized, and more intentional.
You don’t need fancy tools or expert skills. Just a clear plan and a bit of patience.
Once it’s up, you’ll wonder why you didn’t do it sooner.