")
DIY Bathroom Upgrade: Handheld Bidet Setup for Beginners
Adding a handheld bidet sprayer to your bathroom might sound like a big job, but it’s actually one of the easiest upgrades you can do yourself. You don’t need special tools or plumbing experience. If you can twist a wrench and follow a few steps, you’re good to go.
In this guide, I’ll walk you through the process in plain terms so you can get it done quickly and without stress.
What You’ll Need
Before you start, gather everything so you don’t have to stop halfway through:
- Handheld bidet sprayer kit (sprayer, hose, T-valve)
- Adjustable wrench
- Towel or small bucket (to catch water)
- Plumber’s tape (optional but helpful)
Most bidet kits come with everything included, so check your box first.
Step 1: Turn Off the Water Supply
Look behind your toilet and find the water shut-off valve near the floor.
- Turn it clockwise until it stops
- Flush the toilet to empty the tank
This step keeps things clean and prevents water from spraying everywhere when you disconnect the hose.
Step 2: Disconnect the Existing Hose
Now, locate the hose that connects the toilet tank to the water supply.
- Place a towel or bucket underneath
- Use your wrench to loosen the connection
- Unscrew it by hand once it’s loose
A little water may drip out. That’s normal.
Step 3: Install the T-Valve
The T-valve is what splits the water flow between the toilet and the sprayer.
- Screw the T-valve onto the toilet tank where the hose was connected
- Tighten it gently with your wrench (don’t overtighten)
Make sure it feels snug but not forced.
Step 4: Reconnect the Water Hose
Now attach the original hose to the bottom of the T-valve.
- Screw it in by hand first
- Tighten slightly with the wrench
At this point, your toilet should be connected again.
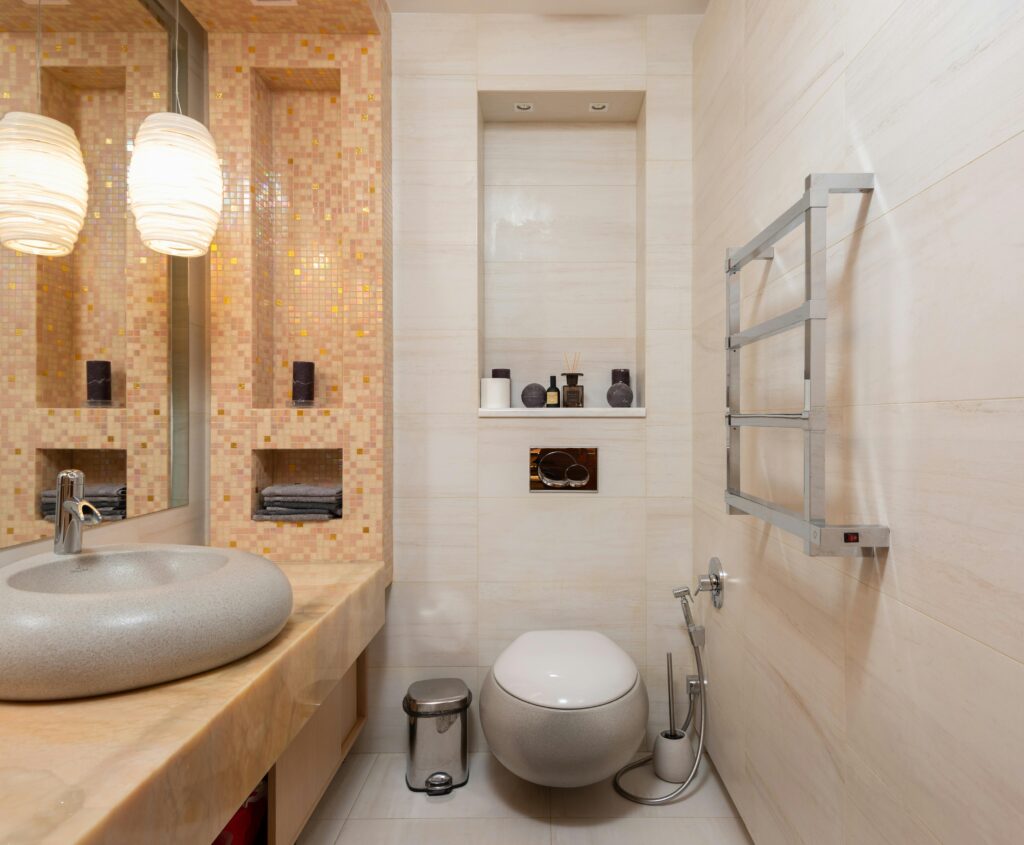
Step 5: Attach the Bidet Hose and Sprayer
Next, connect the new hose that came with your bidet.
- Attach one end to the side outlet of the T-valve
- Attach the other end to the handheld sprayer
Hand-tighten both ends, then give a small turn with the wrench if needed.
Step 6: Turn the Water Back On
Slowly turn the shut-off valve counterclockwise.
- Check all connections for leaks
- If you see drips, tighten slightly
Take your time here. A slow turn helps prevent sudden pressure.
Step 7: Test the Sprayer
Hold the sprayer over the toilet and gently press the trigger.
- Start with low pressure
- Make sure water flows smoothly
If everything works and there are no leaks, you’re done.
Helpful Tips
- Don’t overtighten connections. This can damage the threads
- Use plumber’s tape if you notice small leaks
- Always turn off the T-valve when not in use if your model doesn’t have a shut-off
Why Install a Handheld Bidet Sprayer?
Once it’s installed, you’ll notice the difference right away:
- Better personal hygiene
- Less toilet paper use
- Easier cleaning for the toilet and even other bathroom tasks
It’s a small change that makes everyday life a bit easier.
Final Thoughts
Installing a handheld bidet sprayer is one of those projects that sounds harder than it is. In reality, it takes about 15 to 20 minutes from start to finish.
You don’t need to hire anyone. You don’t need fancy tools. Just follow the steps, take your time, and you’ll have it up and running before you know it.
If you’ve been thinking about adding one, this is your sign to go for it.