")
This DIY Storage Bench Will Instantly Upgrade Your Space
If you’ve ever wished for extra storage that actually looks good in your space, a cube-style storage bench might be exactly what you need. It gives you a place to sit, keeps clutter out of sight, and can fit into almost any room, from entryways to bedrooms.
The best part? You don’t need to be a pro to build one. With a few tools, some patience, and a clear plan, you can make a sturdy and clean-looking bench that feels like it came straight from a store.
Let’s walk through it step by step.
What Is a Cube-Style Storage Bench?
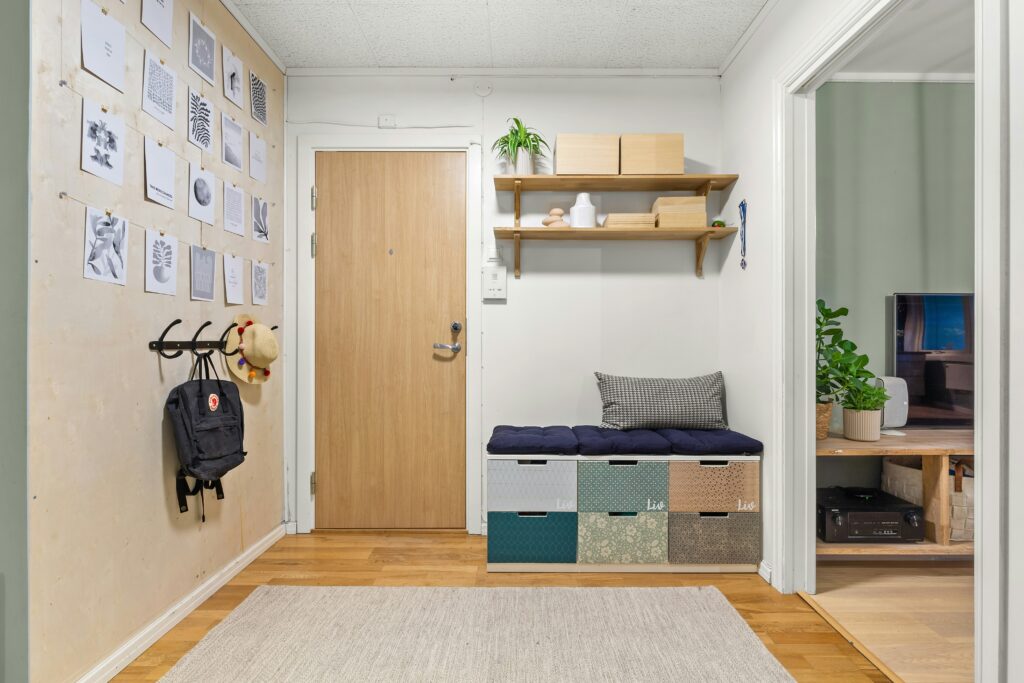
A cube-style storage bench is a simple bench with square compartments (or “cubes”) underneath. These cubes can hold baskets, books, shoes, or anything else you want tucked away.
Think of it as a mix between a shelf and a bench.
Materials You’ll Need
Here’s a basic list to get started:
- Plywood or MDF boards
- Wood screws
- Wood glue
- Sandpaper
- Paint or wood stain
- Foam cushion (optional, for seating)
- Fabric (optional, to cover the cushion)
- Measuring tape
- Saw (hand saw or circular saw)
- Drill
Tip: If you want to save time, many hardware stores can cut the wood for you.
Step 1: Plan Your Size and Layout
Before cutting anything, decide how big your bench will be.
A common size is:
- About 16–18 inches high (comfortable for sitting)
- Around 12–15 inches deep
- Length depends on how many cubes you want
For example:
- 2 cubes = small bench
- 3–4 cubes = medium bench
- 5+ cubes = larger storage bench
Sketch a quick layout so you know where each divider goes.
Step 2: Cut Your Wood Pieces
You’ll need:
- Top panel (the seat)
- Bottom panel
- Side panels (left and right)
- Vertical dividers (to create cubes)
- Back panel (optional but adds strength)
Take your time here. Straight cuts make everything easier later.
Step 3: Build the Outer Frame
Start by assembling the basic box:
- Attach the side panels to the bottom panel
- Add the top panel
- Secure everything with wood screws and glue
Make sure the frame is square before tightening everything fully.
Step 4: Add the Cube Dividers
Now it starts to look like a storage bench.
- Measure and mark where each divider should go
- Attach vertical panels evenly across the bench
- Use screws and glue to keep them sturdy
If you want smaller compartments, you can also add horizontal dividers.
Step 5: Sand Everything Smooth
This step is easy to rush, but it makes a big difference.
- Smooth out rough edges
- Round off sharp corners slightly
- Wipe away dust before finishing
A clean surface helps paint or stain go on better.
Step 6: Paint or Stain the Bench
Now you can make it match your space.
- Use paint for a clean, modern look
- Use stain if you want a natural wood finish
Apply 1–2 coats and let it dry fully between layers.
Step 7: Add a Cushion (Optional)
If you want it to double as seating, a cushion is worth it.
- Cut foam to match the top size
- Wrap it in fabric
- Staple the fabric underneath a thin board or directly to the bench top
You can keep it simple with neutral fabric or go bold with patterns.
Where to Use Your Storage Bench
Once it’s done, you’ve got options:
- Entryway: store shoes and bags
- Bedroom: hold blankets or clothes
- Living room: hide toys, books, or clutter
- Window area: create a cozy reading spot
It’s one of those pieces that works almost anywhere.
Final Thoughts
Building a cube-style storage bench isn’t as complicated as it sounds. It’s really just a series of simple steps: measure, cut, assemble, and finish.
Take your time, keep things straight, and don’t stress about making it perfect. Even a slightly imperfect bench still does its job and adds character to your space.
Once you finish your first one, you might even want to build another.