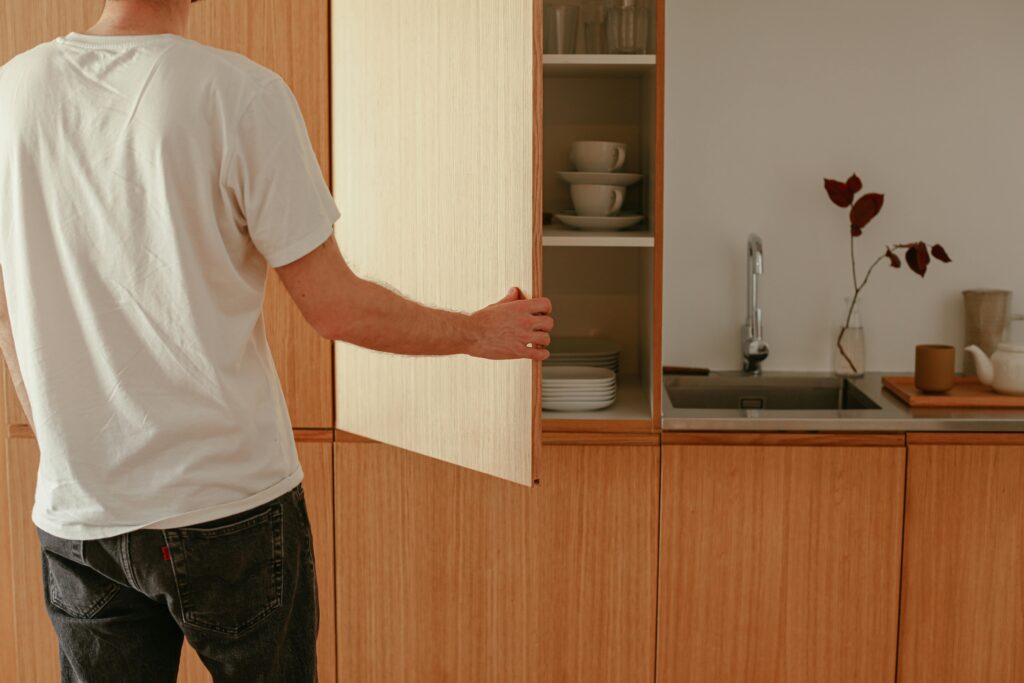
Cabinet doors that sag, won’t close properly, or look lopsided can be frustrating. Over time, hinges loosen, screws strip and doors shift from constant use. The good news? Fixing a sagging cabinet door is easier than you think and requires just a few essential tools.
What You’ll Need:
- Screwdriver (Phillips or flathead, depending on your screws)
- Wood glue (optional, for stripped holes)
- Toothpicks or wooden dowels (optional, for repairing screw holes)
- New screws (if necessary)
- A level (to check alignment)
Step-by-Step Guide:
1. Tighten the Hinges
The most common reason for a sagging cabinet door is loose hinge screws. Open the cabinet and use your screwdriver to tighten the screws on both the cabinet frame and the door. Be careful not to overtighten, as this can strip the holes.
2. Check for Stripped Holes
If the screws keep spinning and won’t tighten, the holes may be stripped. To fix this, remove the screw and fill the hole with wood glue and a few toothpicks or a small wooden dowel. Once the glue dries, trim off any excess and reinsert the screw.
3. Adjust the Hinges
If tightening doesn’t do the trick, your hinges may need adjustment. Many cabinet hinges have small screws that allow you to shift the door up, down, left, or right. Adjust these screws slightly and check the alignment.
4. Replace Worn-Out Screws or Hinges
If your hinges are old or rusted, or the screws are too small, replacing them with new ones can provide a sturdier hold. Take an old screw to the hardware store to match the size and pick up new ones if needed.
5. Use a Level
After adjusting, place a level on the cabinet door to ensure it’s straight. Make minor tweaks as necessary until the door is properly aligned.
Final Thoughts
A sagging cabinet door might seem like a big problem, but with a screwdriver and a few simple tricks, you can fix it in no time. Regularly checking and tightening your cabinet hinges can prevent future sagging, keeping your kitchen looking neat and functional.

