")
A Quick DIY Rack to Keep Garden Stakes Neat and Ready
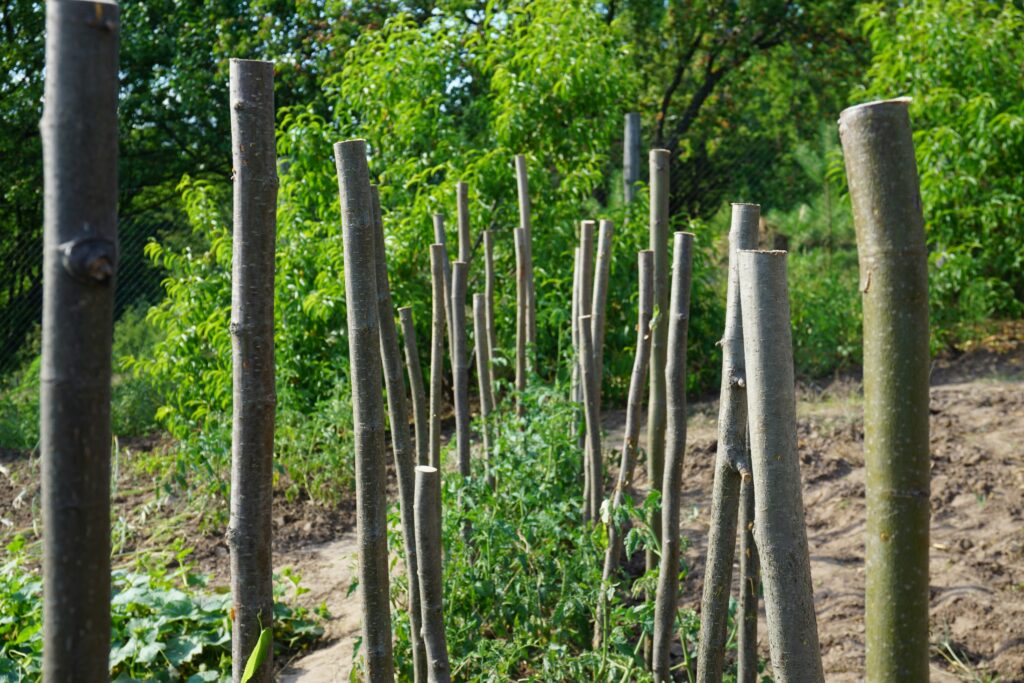
Garden stakes have a way of piling up in corners, falling over, or getting lost behind tools. One season you’re searching for tomato stakes, the next you’re untangling bamboo poles from a messy stack.
A small storage rack fixes that problem. It keeps stakes upright, easy to grab, and out of the way. The best part is you can build one in under an hour with a few pieces of wood.
This guide shows you how to build a simple rack that works well in a shed, garage, or along a fence.
Why a Garden Stake Rack Is Worth Building
Before jumping into the steps, it helps to know why this small project makes a big difference.
A rack helps you:
-
Keep bamboo stakes and poles organized
-
Stop stakes from falling over
-
Protect tips from damage
-
Save space in your shed or garden corner
-
Quickly grab the size you need
Instead of leaning stakes against a wall, they stay upright and sorted.
Materials You’ll Need
You don’t need much for this project. Most gardeners already have these items lying around.
Materials
-
2 wooden boards (about 2×4, 3–4 feet long)
-
1 base board (about 12–16 inches wide)
-
Wood screws
-
Drill or screwdriver
-
Saw (if boards need trimming)
-
Measuring tape
-
Pencil
Optional but helpful:
-
Sandpaper
-
Wood sealant if the rack will sit outside
Step 1: Cut the Wood
Start by preparing the wood pieces.
You will need:
-
1 base board that sits on the ground
-
2 vertical boards that hold the stakes
A good size for a small rack is:
-
Base board: about 16 inches wide
-
Vertical boards: about 36 inches tall
This size holds long tomato stakes without taking much space.
Lightly sand the edges if they feel rough.
Step 2: Attach the Vertical Supports
Place the two vertical boards on the base board, one on each side.
They should stand straight up like two posts.
Leave enough space between them for your stakes. Usually 10–12 inches apart works well.
Use wood screws to secure each board to the base. Two screws per board is usually enough.
Make sure they sit straight before tightening.
Step 3: Add a Top Brace (Optional but Helpful)
If you want the rack to feel stronger, add a small brace near the top.
Cut a short board and attach it across the two vertical supports.
This creates a simple frame that keeps everything sturdy.
Step 4: Place the Rack Where You Need It
Your rack is ready.
Good places to keep it include:
-
Inside a garden shed
-
Along a garage wall
-
Near a potting bench
-
Against a fence in the garden
Just drop your bamboo poles, tomato stakes, or metal rods between the boards.
They will stand upright and stay in place.
Optional Upgrade: Add Dividers
If you store different sizes of stakes, add small divider boards inside the rack.
This lets you separate:
-
Short stakes
-
Long poles
-
Plant supports
-
Trellis pieces
It only takes a few extra screws but makes the rack much more useful.
Final Thoughts
Garden tools are easier to use when they have a home. A small rack for storing garden stakes keeps your space tidy and saves you time when planting season arrives.
This project is quick, cheap, and easy to build. With a few boards and screws, you can turn a messy pile of stakes into a neat storage spot that lasts for years.
Once you build one, you may wonder how you managed without it.