")
A Simple DIY Brick Platform for Your Rain Barrel
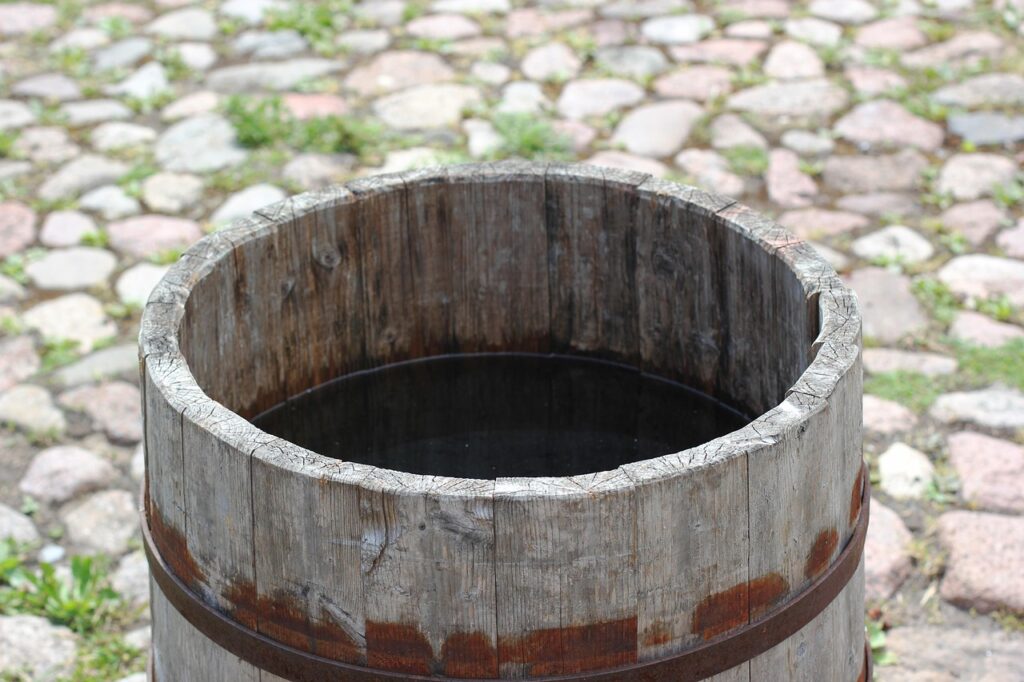
Collecting rainwater is one of the easiest ways to save water in your garden. But if your rain barrel sits directly on the ground, you might run into a problem: the spigot is often too low to fill a watering can.
That’s where a raised brick base comes in.
By lifting your rain barrel on a solid brick platform, you get better water pressure, easier access to the tap, and a more stable setup. The good news? You don’t need fancy tools or construction skills to build one.
Here’s a simple step-by-step guide to help you build a sturdy brick base for your rain barrel.
Why Raise Your Rain Barrel?
Before jumping into the build, it helps to know why raising your barrel matters.
A raised base helps you:
-
Fill watering cans easily without tilting them
-
Improve water flow from the spigot
-
Keep the barrel stable and level
-
Protect the barrel from sitting in mud or wet soil
Even lifting it by 8–12 inches can make a big difference.
Materials You’ll Need
Most of these materials are easy to find at a hardware store.
Materials:
-
Concrete bricks or cinder blocks (8–12 pieces depending on height)
-
Paving stone or concrete slab (for the top)
-
Gravel or crushed stone
-
Sand (optional but helpful)
Tools:
-
Shovel
-
Level
-
Tape measure
-
Rubber mallet
-
Garden rake
Step 1: Choose the Right Spot
Place the base directly under your downspout where the rain barrel will collect water.
Make sure the ground is:
-
Flat or slightly adjustable
-
Firm (not muddy or soft)
-
Easy to access with watering cans
If the ground slopes, you’ll need to level it first.
Step 2: Prepare the Ground
A solid foundation keeps the bricks from shifting over time.
-
Mark an area slightly larger than your rain barrel.
-
Dig down about 3–4 inches.
-
Fill the hole with gravel or crushed stone.
-
Rake it smooth and pack it down firmly.
This helps water drain and keeps the base from sinking.
Step 3: Level the Base
Pour a thin layer of sand over the gravel and smooth it out.
Place your level on top of the area and adjust the sand until the surface is flat.
Taking time here prevents a wobbly rain barrel later.
Step 4: Lay the Bricks
Now you can build the platform.
Arrange the bricks in a square or rectangle, depending on the barrel size.
Common layout:
-
Two rows of bricks
-
Stacked 2 bricks high
Tips for stability:
-
Place bricks with the holes facing up
-
Tap them into place with a rubber mallet
-
Check with a level as you go
Make sure everything sits evenly.
Step 5: Add the Top Surface
To create a solid platform:
-
Place a paving stone or concrete slab on top of the bricks.
-
Center it so the weight of the barrel spreads evenly.
This prevents the barrel from tipping or denting over time.
Step 6: Test Before Installing the Barrel
Before placing the rain barrel on the base:
-
Push gently on the structure
-
Check that nothing shifts
-
Confirm the top is level
If something moves, adjust the bricks or add more gravel underneath.
Once everything feels solid, place the barrel on top.
Extra Tips for a Stronger Base
A rain barrel full of water can weigh over 400 pounds, so stability matters.
A few helpful tips:
-
Use concrete blocks instead of regular bricks for extra strength
-
Keep the base 12–18 inches high max to avoid tipping
-
Place the barrel close to a wall or downspout for support
-
Check the base once or twice a year for settling
Small adjustments can keep your setup safe for years.
Final Thoughts
Building a raised brick base for your rain barrel is a quick DIY project that makes rainwater collection much easier. With just a few bricks, a bit of gravel, and an hour of work, you’ll have a stable platform that improves water flow and protects your barrel.
It’s a small upgrade that makes a big difference in how smoothly your garden watering routine goes.
And once your rain barrel is raised and ready, every rainfall becomes free water for your plants.