")
Broken Ceiling Fan Blade Arm? Here’s the Easy Fix You Can Do Yourself
A ceiling fan that wobbles, rattles, or looks uneven isn’t just annoying. It can also be unsafe. One of the most common causes is a broken or bent blade arm.
The good news? You don’t need to replace the entire fan. In most cases, swapping out the damaged blade arm is a simple fix you can handle yourself with basic tools.
This guide walks you through the process step by step, without confusing terms or unnecessary details.
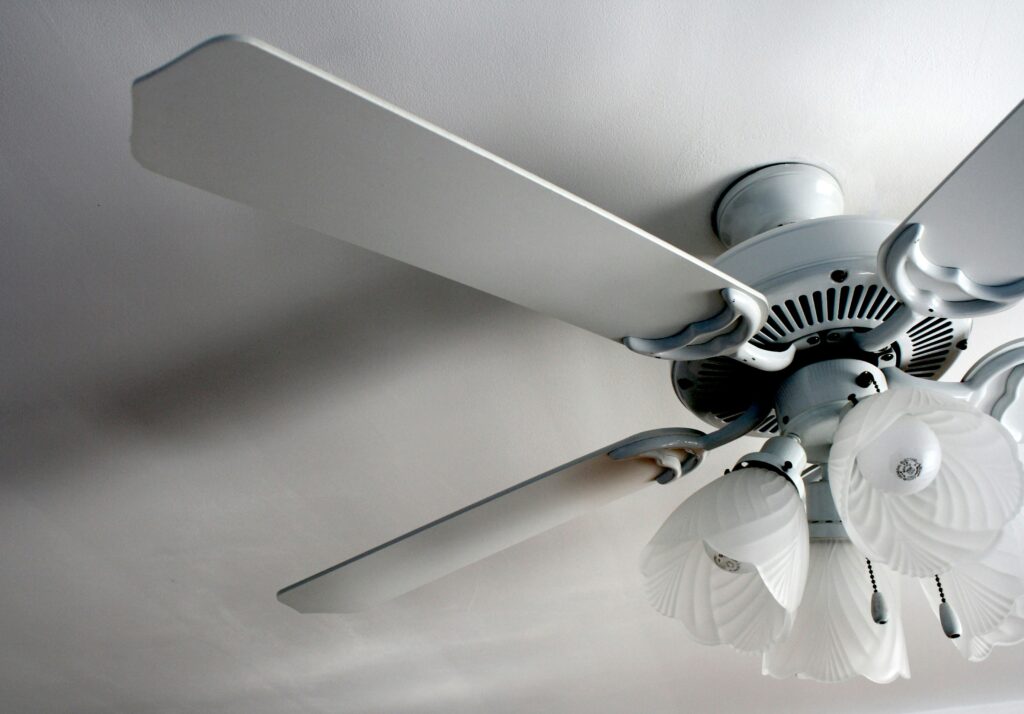
What Is a Ceiling Fan Blade Arm?
The blade arm is the metal piece that connects each fan blade to the motor housing. If one arm bends, cracks, or snaps, the fan can wobble or stop working properly.
Common causes include:
-
Loose screws over time
-
Pulling on the fan
-
Accidental impact during cleaning or moving furniture
Tools and Supplies You’ll Need
Before you start, gather these items:
-
Replacement blade arm (matched to your fan model)
-
Screwdriver (usually Phillips)
-
Step stool or ladder
-
Small container for screws
-
Soft cloth or towel
Tip: Bring the old blade arm to the store if you’re unsure about sizing.
Step 1: Turn Off the Power
Safety comes first.
Turn off the fan using the wall switch, then shut off power at the breaker. This prevents accidental starts while you’re working.
Wait until the fan blades come to a full stop.
Step 2: Remove the Fan Blade
Use your screwdriver to loosen the screws holding the blade to the blade arm.
Support the blade with one hand as you remove the last screw. Set the blade aside on a soft surface so it doesn’t scratch.
Step 3: Remove the Broken Blade Arm
Next, locate the screws that attach the blade arm to the motor housing.
Remove these screws carefully. Some fans have tight spacing, so take your time. Once loose, pull the blade arm straight out.
Step 4: Install the New Blade Arm
Line up the new blade arm with the mounting holes on the fan motor.
Insert and tighten the screws snugly, but don’t over-tighten. You want it secure, not forced.
Step 5: Reattach the Fan Blade
Place the fan blade onto the new blade arm.
Reinsert the blade screws and tighten them evenly. Make sure the blade sits flat and doesn’t tilt.
Step 6: Test the Fan
Restore power at the breaker and turn the fan on at a low speed.
Watch for wobbling or unusual noise. If everything looks steady, increase the speed gradually.
If it still wobbles, double-check that all screws are tight and evenly secured.
When Should You Replace All Blade Arms?
If multiple blade arms are bent or the fan is very old, replacing all arms at once can help keep the fan balanced.
If the motor itself shakes or hums loudly, it may be time to consider a new fan instead.
Final Thoughts
Replacing a broken ceiling fan blade arm is a simple repair that can save you money and extend the life of your fan. With the right part and a few minutes of care, your fan can run smoothly again.
If you’re ever unsure about wiring or motor issues, it’s best to call a professional. But for blade arm replacement, this is one home fix most people can handle confidently.