")
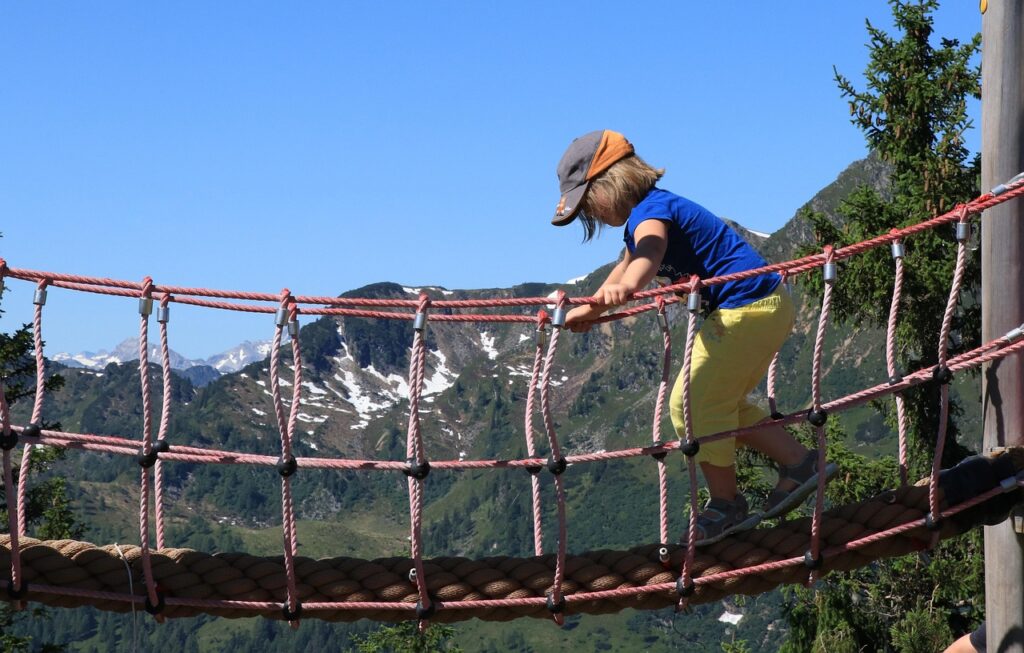
If your kids love climbing, balancing, and pretending they’re on a wild adventure, a swinging rope bridge is the ultimate backyard project. It looks impressive, but with some simple materials and a bit of time, you can create a safe and fun bridge that feels straight out of an adventure movie. Best of all, you’ll be giving your kids a place to play that sparks imagination and keeps them active.
What You’ll Need
- Strong rope (nylon or polyester works best—avoid cotton since it wears out quickly)
- Two sturdy anchor points (trees, posts, or wooden playset frames)
- Wooden planks for steps (optional, if you want a plank-style bridge instead of just ropes)
- Carabiners or eye bolts for secure fastening
- Measuring tape and scissors/knife
- Protective gloves (you’ll be handling a lot of rope)
Step 1: Choose Your Location
Pick two strong anchor points that are safe distances apart. Trees should be mature and healthy, with thick trunks that can handle the weight and tug of the bridge. If you don’t have trees, you can install posts in the ground—just make sure they’re set in concrete for stability.
Step 2: Tie the Main Support Ropes
These ropes will form the “railings” of your bridge. Tie one rope about waist-high on each anchor point. Then tie another one about knee-high. These two ropes will act as your handholds and foot line. Test them by pulling hard to make sure they don’t slip.
Step 3: Add the Planks or Foot Rope
For a true rope bridge feel, you can simply use the lower rope as the “tightrope” kids walk across while holding the upper rope. But if you want more stability, add wooden planks. Drill holes at each end of the planks, slide them onto the lower rope, and space them evenly. Tie knots before and after each plank to keep them from sliding around.
Step 4: Secure the Ends
Safety is key here. Wrap the ropes tightly around the anchors, secure the knots, and, if possible, use carabiners or eye bolts to lock them in place. Double-check everything before letting kids play.
Step 5: Add Safety Features
Lay down a soft surface below the bridge—like mulch, grass, or rubber mats—so that if anyone slips, they’ll have a cushioned landing. If the bridge is high, add side netting or extra ropes as guardrails.
Step 6: Test It Out
Before letting the kids cross, test the bridge yourself. Gently bounce and pull to make sure the knots hold and the bridge doesn’t sag too much.
Final Touches
You can make the bridge feel like part of a bigger adventure by adding it to a playset, connecting it to a treehouse, or building it as a path between two climbing areas.
A DIY rope bridge is more than just a backyard toy—it’s an adventure builder. It challenges balance, encourages imagination, and gives kids a taste of exploration without leaving home. With a little effort and some sturdy rope, you’ll create a play spot that your kids will talk about for years.