")
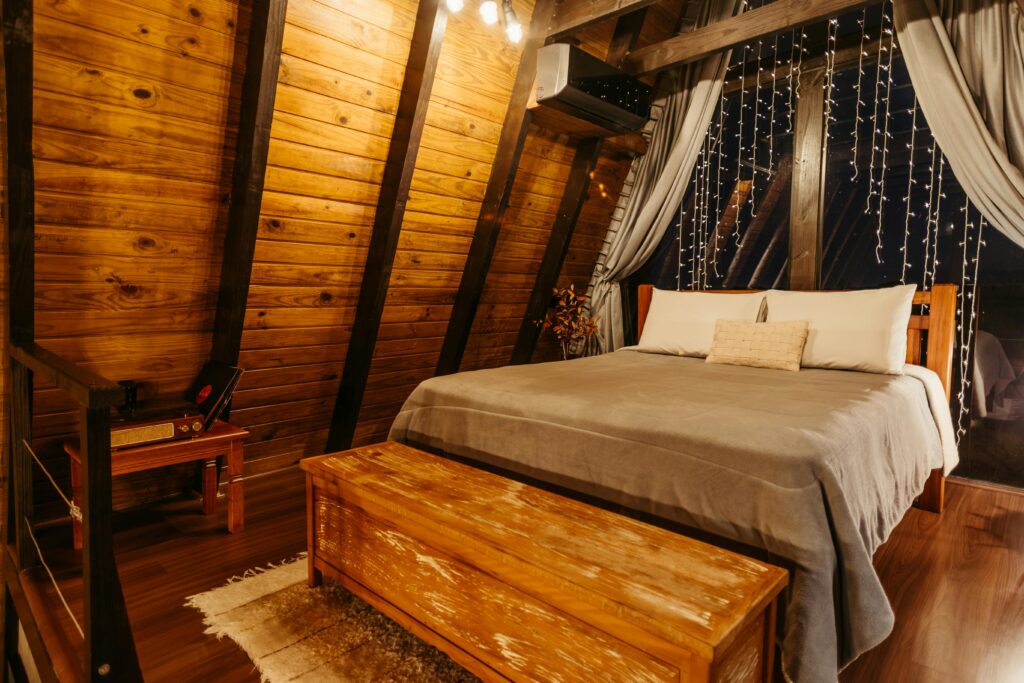
There’s something satisfying about building something useful with your own hands—especially when it adds warmth and character to your bedroom. A blanket chest isn’t just a place to stash quilts and throws. It’s extra seating, hidden storage, and a touch of craftsmanship all in one. The best part? You don’t need to be a pro carpenter to make one. With a few tools, some basic materials, and a weekend’s worth of time, you can build a sturdy, beautiful chest that’ll last for years.
What You’ll Need
Before you start, gather your materials. You’ll need:
- 1 sheet of ¾-inch plywood or solid wood panels (pine or oak work well)
- Wood screws
- Wood glue
- Hinges for the lid (soft-close if you can get them)
- Sandpaper
- Wood stain or paint
- A drill, saw, measuring tape, and clamps
Step 1: Plan Your Size
Measure the space at the foot of your bed. Most blanket chests are approximately 18 inches tall, 16 inches deep, and 40–48 inches wide, but you can adjust these dimensions to fit your room. Sketch a simple plan—front, sides, base, and lid. This helps you visualize the build and keeps things organized once you start cutting.
Step 2: Cut Your Pieces
Cut your wood according to your plan:
- 2 side panels
- 1 front panel
- 1 back panel
- 1 bottom panel
- 1 lid panel
Double-check your measurements before cutting. A little patience here saves a lot of frustration later.
Step 3: Assemble the Box
Lay the front and back panels flat, then attach the sides using wood glue and screws. Clamp everything tightly as it dries to make sure it stays square. Once the frame is solid, add the bottom panel inside and secure it with screws. You now have the basic shape of your chest.
Step 4: Attach the Lid
Line up your hinges on the back edge of the lid and the box. Mark your screw holes, pre-drill them, and attach the hinges. Make sure the lid opens and closes smoothly. If it slams, you can add soft-close hinges or a slow-closing support arm later.
Step 5: Sand and Finish
Sand the entire piece, starting with medium-grit paper and progressing to fine-grit paper. Wipe off the dust, then stain or paint the chest to match your room. For a classic look, go with a warm wood tone and finish with a clear coat. If you want something lighter, white or pastel paint can give it a cozy cottage feel.
Step 6: Add the Extras
This is where you can make it your own. Add handles on the sides for easy moving, a cushion on top for extra seating, or a small lock for privacy. Little touches like these make it feel custom and personal.
When it’s done, step back and take it in—you just built a piece of furniture that’s both useful and beautiful. It’s more than just a storage box; it’s a handmade piece that adds warmth and order to your space. Every time you fold up a blanket and tuck it away, you’ll remember that you made it yourself.