")
Build Your Own Wood Mosaic: A Simple Guide for Stunning Wall Art
Wood mosaics look intricate, but the process is easier than most people expect. You can build one with basic tools, a bit of patience, and a clear plan. This guide walks you through each step to create a piece that feels handmade, warm, and personal.
Choose Your Style and Size
Start with a rough idea of what you want.
Do you prefer sharp geometric lines or a softer pattern? The most common designs use triangles, chevrons, or angled strips. Sketch your layout on paper. It does not need to be perfect. The sketch simply helps you see how the pieces will fit.
Do you prefer sharp geometric lines or a softer pattern? The most common designs use triangles, chevrons, or angled strips. Sketch your layout on paper. It does not need to be perfect. The sketch simply helps you see how the pieces will fit.
Pick your size next. A common beginner size is around 16 by 20 inches. It is large enough to look good on a wall but small enough to handle easily.
Gather Your Wood and Supplies
You do not need fancy lumber. Many people use:
- Pine boards
- Lath strips
- Plywood for the backing
- Wood glue
- Small nails
- A saw (a miter saw is easiest, but a hand saw works)
- Sandpaper
- Stain or paint
- A clear topcoat
Try mixing woods with different shades. Even using only pine, you can stain each piece a little differently to get variety.
Cut Your Pieces
Cut the strips into small pieces based on your sketch. Work slowly, especially when cutting angles. A single degree off can throw the pattern out of line. Keep each piece close by and arrange them on the table as you go. This helps you see the mosaic forming.
Lay Out the Pattern
Before gluing anything, set all the pieces on the plywood backing.
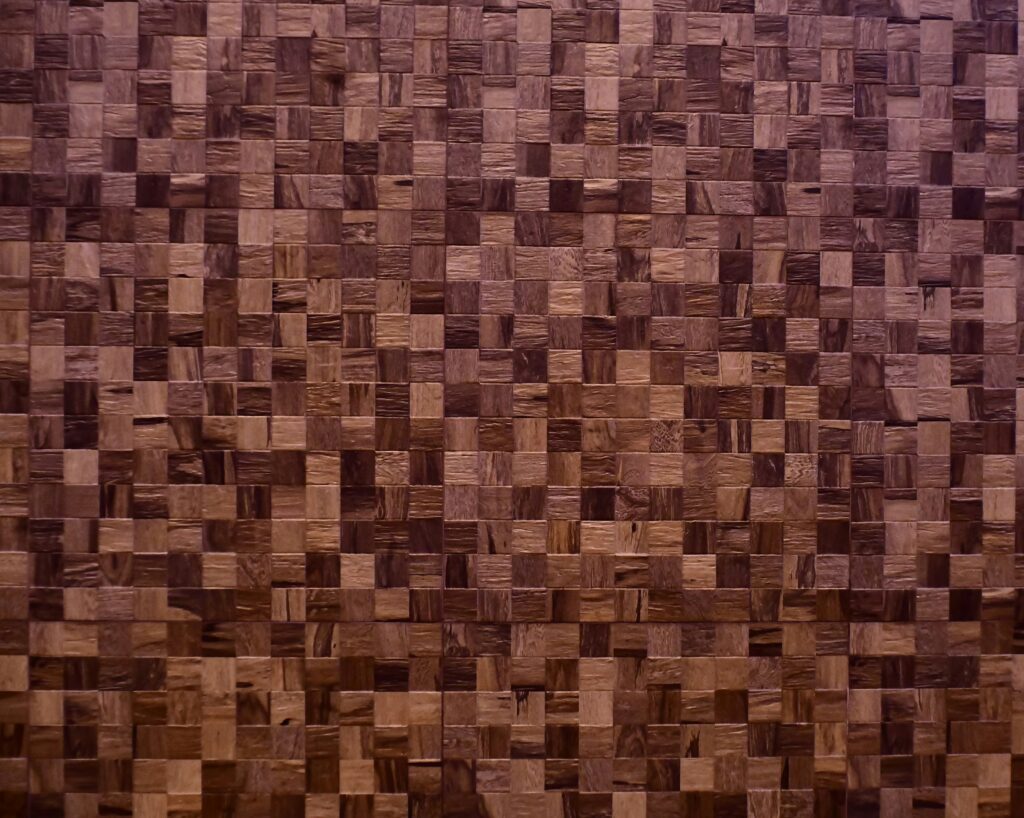
This is the stage where you can shift pieces around, adjust angles, or swap lighter pieces for darker ones. Stand back now and then to check the overall look. Good mosaics usually have a balance of light and dark tones.
This is the stage where you can shift pieces around, adjust angles, or swap lighter pieces for darker ones. Stand back now and then to check the overall look. Good mosaics usually have a balance of light and dark tones.
Glue and Secure Each Piece
Once you are happy with the layout, glue down the pieces one by one. Press them firmly so they stay flat. Add small nails if your wood is thick enough, though glue alone often works for thinner strips.
Keep a damp cloth near you. Glue squeeze-out is easier to wipe now than sand later.
Trim the Edges and Add a Frame
After the glue dries, flip the panel over and trim the edges with a saw so everything is flush. This step cleans up the entire piece.
Add a simple border frame using thin strips of wood. A frame makes the mosaic look finished and polished.
Sand, Stain, and Seal
Lightly sand the surface to remove any rough spots.
Apply stain or paint as desired. Many makers use two or three stain shades to bring depth to the pattern. Finish with a clear coat to protect the wood and bring out the grain.
Apply stain or paint as desired. Many makers use two or three stain shades to bring depth to the pattern. Finish with a clear coat to protect the wood and bring out the grain.
Hang and Enjoy
Attach hanging hardware to the back. Find a spot on your wall where the piece can catch natural light. Wood mosaics look best when the light reveals the grain and contrast.
Making a wood mosaic is a slow, satisfying project. You get a piece of art and the good feeling of creating something with your hands. The more you experiment with colors and patterns, the more unique your work becomes. If you make another piece, you can try bolder angles or larger panels.