")
Clean Hands, Happy Yard: How to Make Your Own Outdoor Sink
If you garden, grill, or work on projects outside, an outdoor sink can transform how you navigate your space. It keeps the mess outdoors and saves trips back and forth to the kitchen. The best part is that you can build one on your own with a few supplies and a free afternoon. Here is a clean, simple guide that walks you through each step.
Why an Outdoor Sink Makes Life Easier
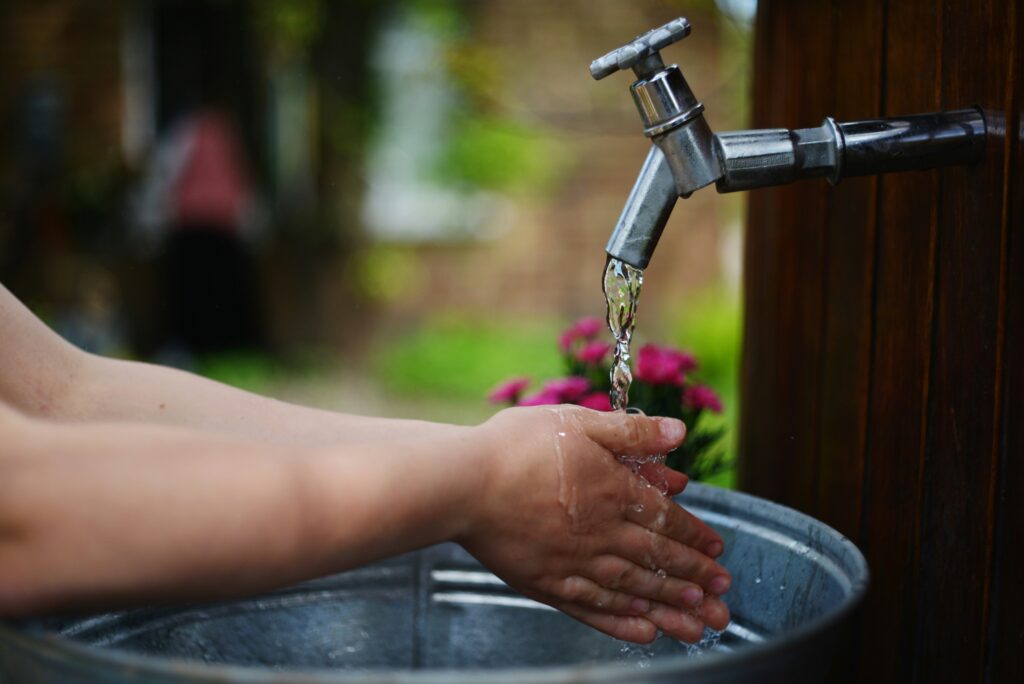
An outdoor sink is one of those small upgrades that pays off fast. You can rinse vegetables right after harvesting, clean tools before they rust, and wash your hands without tracking dirt through the house. Building it yourself lets you tailor the size, height, and style to your backyard.
What You Will Need
You can adjust this list to match your space, but these basics work for most setups.
- A potting bench or sturdy outdoor table
- Stainless steel or plastic sink basin
- Basic faucet
- Garden hose or hose adapter
- PVC pipe for drainage
- Bucket or gravel drainage area
- Screws, brackets, drill, saw, and level
Step 1: Set Up the Base
Pick a table or bench that stands at a comfortable height. Place it near a hose spigot so you can keep the plumbing simple.
Trace the outline of your sink on the surface. Cut the opening carefully so the basin fits snugly. Drop the sink in and secure it so it stays level.
Step 2: Install the Faucet
If your sink has a faucet hole, attach the faucet using the included hardware. If not, drill a clean hole at the back or side of the basin.
Use a hose-to-faucet adapter to connect your garden hose to the faucet. This keeps the whole setup light and straightforward.
Step 3: Build the Drain
A basic drain is enough for most outdoor sinks. Attach PVC pipe to the drain opening and let it empty into a bucket. You can use the collected water for plants that tolerate mild greywater.
If you want hands-free drainage, let the pipe flow into a small gravel bed or drainage spot that directs the water away from your foundation.
Step 4: Make It More Useful
Once the sink works, add a few upgrades to make the station feel complete.
- Hooks for towels, gloves, or brushes
- A small shelf for soap and supplies
- A cutting board that fits over the sink for prep work
- A simple backsplash to keep water where you want it
These touches keep everything tidy and ready to use.
Step 5: Test the Setup
Turn on the water and watch for leaks. Make sure the sink sits level and the drain flows smoothly. Tighten any loose parts and check that the faucet handles move cleanly.
Keep It in Good Shape
Outdoor setups face heat, cold, and rain. Seal any exposed wood to keep it from weathering. Store soaps and tools in covered containers. If you live somewhere with freezing winters, disconnect the hose and let the faucet drain completely.
A DIY outdoor sink station brings order and ease to your backyard. It provides a designated area to clean up without having to walk inside, and it accommodates everything from gardening to weekend cookouts. With a simple plan and a few tools, you can build a station that works well and looks great.