")
Concrete planters are a versatile and stylish addition to any garden or home decor. They provide a robust and sturdy base for your beloved plants while adding a touch of industrial chic to your surroundings. While you can easily purchase concrete planters from the store, making your handmade concrete planters can be a rewarding and cost-effective DIY project. In this article, we’ll explore various ideas and tutorials for crafting custom concrete planters that will elevate your gardening and home decorating endeavors.
Materials You’ll Need
Before we delve into the different techniques and designs for crafting concrete planters, let’s go over the materials you’ll need to get started:
- Concrete mix: You can purchase bags of pre-mixed concrete from your local hardware store, which are designed for easy handling and molding.
- A mold: This can be made from various materials like plastic, silicone, cardboard, or even everyday objects like cardboard boxes or plastic containers.
- Water: For mixing with the concrete.
- Reinforcement: You may want to add a reinforcement like wire mesh or fiberglass to strengthen the concrete.
- Release agent: To prevent the concrete from sticking to the mold.
- Rubber gloves and safety glasses: For protection while working with concrete.
- Mixing container and stirring stick.
- Sandpaper and a brush: For finishing touches.
- Decorative elements: Paint, pigments, or other decorative materials to customize your planter.
Now that you have your materials ready, let’s explore some ideas and tutorials for creating custom concrete planters.
-
Basic Rectangular Planter:
To create a simple rectangular concrete planter:
a. Mix your concrete according to the instructions on the package.
b. Pour the mixture into a rectangular mold.
c. Insert reinforcement if desired.
d. Let it set for a few hours or as per the concrete’s curing time.
e. Once cured, remove the planter from the mold and sand the edges for a smoother finish.
f. Paint or decorate as desired.
-
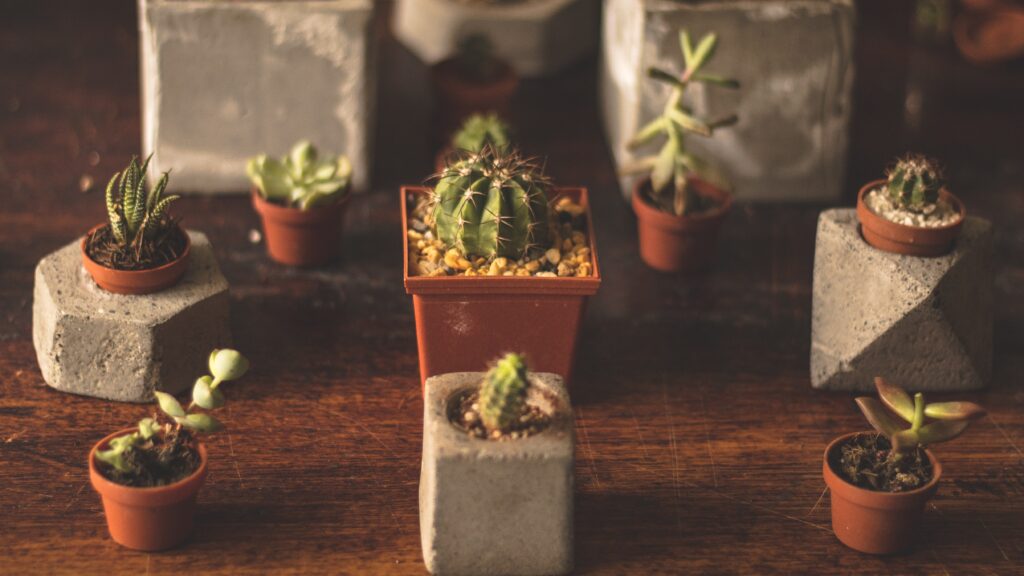
Geometric Planters:
For a modern twist, try making geometric concrete planters. You can create triangular, hexagonal, or even spherical shapes using molds made from cardboard, wood, or silicone. The process is similar to the basic rectangular planter, but the molds give you endless design possibilities.
-
Embedded Design Planters:
Incorporate design elements into your planters by embedding objects like stones, seashells, or even glass marbles into the concrete. Pour a thin layer of concrete into the mold, place the decorations, and then add another layer of concrete on top. Once cured, your planter will have a unique, textured surface.
-
Hypertufa Planters:
Hypertufa is a lighter alternative to traditional concrete, perfect for creating rustic and textured planters. To make hypertufa planters, mix equal parts of Portland cement, perlite, and peat moss. Shape your planter and let it cure. Hypertufa planters develop a weathered, stone-like appearance over time, making them an excellent choice for outdoor use.
-
Painted Planters:
After your concrete planter has cured, you can add color and personality by painting it. Acrylic paints or concrete stains work well for this purpose. Experiment with different color combinations and designs to suit your style.
-
Succulent Wall Planters:
For a space-saving and aesthetically pleasing option, create vertical succulent wall planters. Build a wooden frame and insert small, shallow concrete containers in a grid pattern. Plant succulents in the containers, and you have a living piece of art.
Handmade concrete planters offer a creative outlet for gardening enthusiasts and home decorators alike. With a variety of shapes, designs, and decorative options, you can craft custom planters that reflect your style. Additionally, these planters make for wonderful gifts or can be used to grow your favorite herbs, flowers, or succulents. So, gather your materials and get ready to embark on a DIY concrete planter project that will add a touch of elegance and character to your garden and home decor. Happy crafting!