")
Concrete Stairs Makeover: How to Install Vinyl Plank Like a Pro
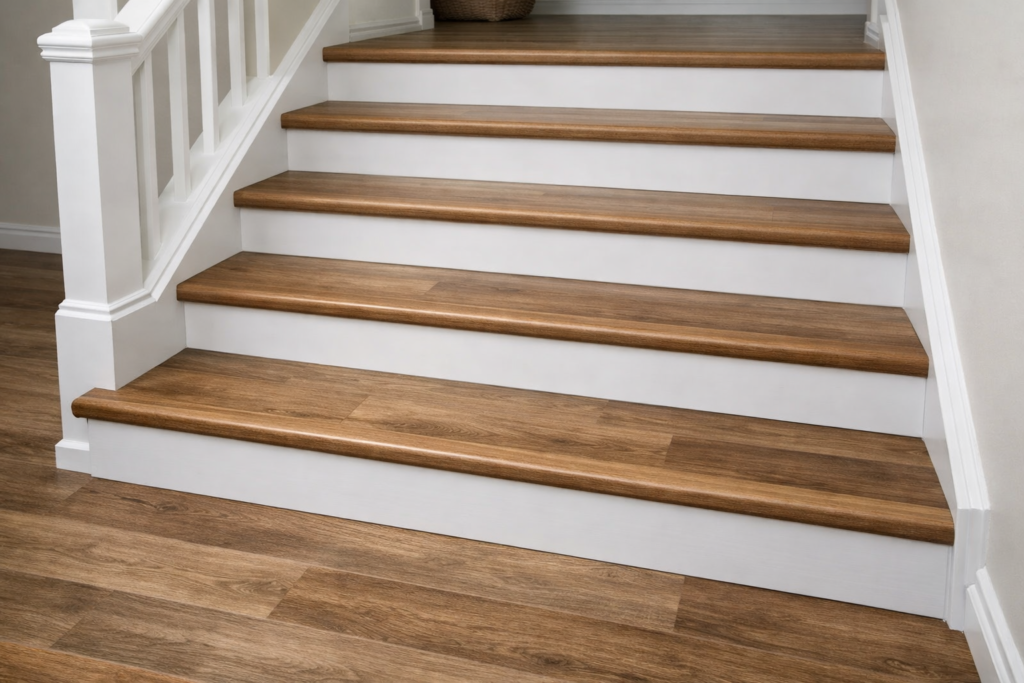
Installing vinyl plank flooring on stairs can completely change the look of your home. If you have bare concrete steps, covering them with vinyl plank adds warmth, traction, and a finished feel without spending a fortune.
The good news? You don’t need to be a contractor to do this. With the right prep and a bit of patience, you can install vinyl plank stairs over concrete in a weekend.
Here’s how to do it the right way.
Why Choose Vinyl Plank for Concrete Stairs?
Vinyl plank flooring is a solid option for stairs because it’s:
-
Durable and scratch-resistant
-
Water-resistant
-
Easy to clean
-
Budget-friendly
-
Available in wood-look styles
Concrete stairs can feel cold and unfinished. Vinyl plank gives them a clean, modern look while holding up to daily foot traffic.
Tools and Materials You’ll Need
Before you start, gather everything so you’re not stopping mid-project.
Materials:
-
Vinyl plank flooring
-
Stair noses (made to match your flooring)
-
Construction adhesive (heavy-duty, rated for vinyl)
-
Concrete patch or filler (if needed)
-
Primer (if required by adhesive)
Tools:
-
Tape measure
-
Pencil
-
Level
-
Utility knife or vinyl cutter
-
Trowel or putty knife
-
Caulk gun
-
Rubber mallet
-
Safety glasses and gloves
Step 1: Prepare the Concrete Stairs
This step matters more than anything else. Vinyl plank will only stick as well as the surface underneath.
Start by:
-
Cleaning the stairs thoroughly. Remove dust, dirt, grease, or loose debris.
-
Checking for cracks or chips. Fill any holes with concrete patch and let it dry fully.
-
Sanding down high spots. The surface should be smooth and level.
-
Making sure the stairs are dry. Moisture can weaken adhesive.
If your adhesive requires primer, apply it now and allow it to dry.
Step 2: Measure Each Stair Carefully
Don’t assume every step is the same size. Concrete stairs are often slightly uneven.
Measure:
-
Tread depth (the flat part you step on)
-
Tread width
-
Riser height (the vertical part)
Write down each measurement separately.
Step 3: Cut the Vinyl Planks to Size
Use a straight edge and utility knife to score and snap the planks. Cut:
-
One piece for each tread
-
One piece for each riser
Dry-fit each piece before gluing. Make sure edges sit flush against the wall and line up cleanly.
Step 4: Install the Risers First
It’s usually best to start with the risers.
-
Apply construction adhesive to the back of the vinyl piece or directly onto the concrete using a trowel.
-
Press the vinyl firmly into place.
-
Hold pressure for a few seconds so it bonds well.
Work from the bottom stair upward. This keeps you from stepping on freshly installed pieces.
Step 5: Install the Treads
Once the risers are set, move to the treads.
-
Spread adhesive evenly across the concrete tread.
-
Place the vinyl plank carefully into position.
-
Press firmly and tap lightly with a rubber mallet to secure it.
Make sure there are no air pockets underneath.
Step 6: Install the Stair Nose
Stair noses are important. They protect the front edge and add traction.
Most stair nose pieces are glued down:
-
Apply adhesive along the stair edge.
-
Fit the stair nose snugly over the front of the tread.
-
Press and hold until secure.
Check that it’s straight and level before moving on.
Step 7: Let Everything Cure
Avoid walking on the stairs for at least 24 hours, or follow the adhesive manufacturer’s instructions.
This curing time helps prevent shifting or lifting later.
Safety Tips to Keep in Mind
-
Work in a well-ventilated area.
-
Wear gloves when handling adhesive.
-
Don’t rush measurements. Mistakes on stairs are noticeable.
-
Make sure each stair nose is firmly attached to prevent slips.
Common Mistakes to Avoid
-
Skipping surface prep
-
Using the wrong adhesive
-
Not checking each stair measurement
-
Walking on the stairs too soon
Taking your time during prep and layout makes the biggest difference in the final result.
Final Thoughts
Installing vinyl plank stairs over concrete might seem intimidating at first, but it’s completely doable with careful prep and steady hands.
Focus on clean measurements, strong adhesive, and proper stair noses. When done right, your stairs will look polished and feel more comfortable underfoot.
If you’ve been staring at unfinished concrete steps for months, this might be the weekend project that finally changes that.