")
Create a Kid-Safe Toy Chest with This Easy Step-by-Step Guide
Kids and toys go hand in hand. The problem is, toys rarely stay in one place. If you’re tired of stepping on blocks or stuffing things into random bins, a toy chest can make a big difference. Even better, you can build one yourself.
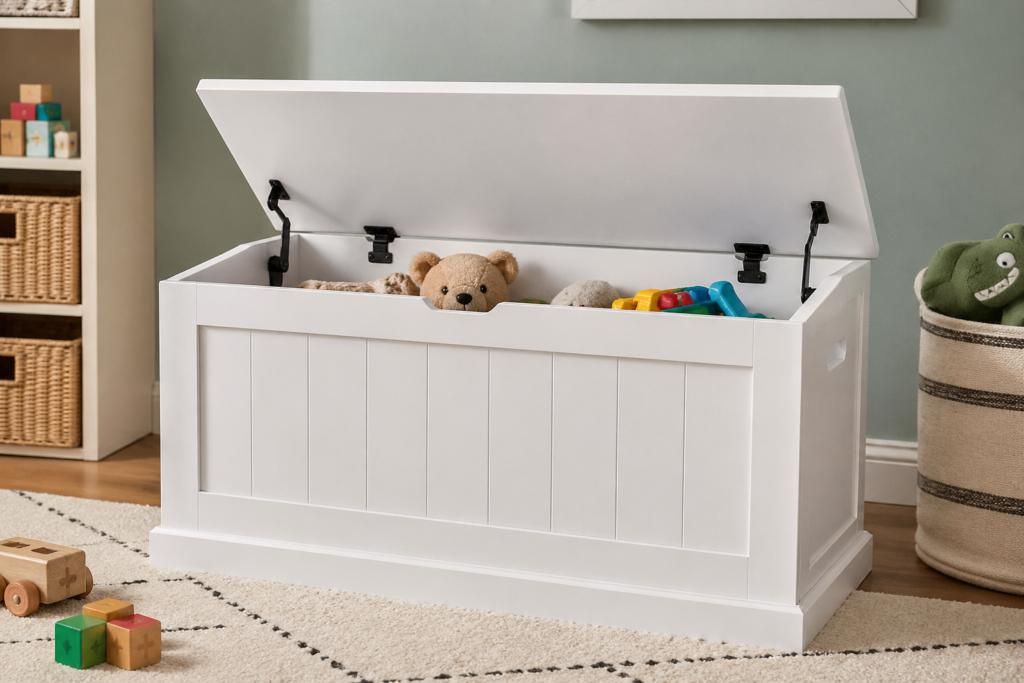
This DIY toy chest is simple, sturdy, and designed with safety in mind. The soft-close lid helps protect little fingers, and the design fits nicely in most rooms. You don’t need to be an expert builder to pull this off. Just a few tools, a bit of time, and you’re good to go.
Why Build Your Own Toy Chest?
Store-bought options can be expensive or poorly made. When you build your own, you get:
- The right size for your space
- Stronger materials
- A safer lid design
- A style that matches your home
Plus, there’s something satisfying about making furniture your kids will actually use.
What You’ll Need
Materials:
- Plywood or solid wood boards
- Wood screws
- Wood glue
- Sandpaper
- Hinges with soft-close support (or lid support hinges)
- Paint or wood finish
- Optional: handles or cut-out grips
Tools:
- Drill
- Saw (hand saw or circular saw)
- Measuring tape
- Clamps (helpful but not required)
Step 1: Measure and Plan
Start by deciding how big you want the toy chest to be. A common size is around:
- 30–36 inches wide
- 16–18 inches deep
- 18–20 inches tall
Make a simple sketch and label each panel: front, back, sides, bottom, and lid.
Step 2: Cut Your Wood
Cut all your panels based on your measurements. Take your time here. Clean cuts make the rest of the project easier.
Lightly sand each piece so there are no rough edges. This is especially important for kids’ furniture.
Step 3: Assemble the Box
Start by attaching the sides to the back panel using wood glue and screws. Then attach the front panel.
Once the frame is solid, fix the bottom panel in place. Make sure everything is square before tightening all screws.
Step 4: Add the Lid
Attach the lid using soft-close hinges or lid support hinges. This is the key safety feature.
Test it a few times. The lid should close slowly and not slam shut. If it drops too fast, adjust the hinge tension or placement.
Step 5: Sand and Finish
Go over the whole chest again with sandpaper. Smooth corners and edges matter more than you think.
Then paint or stain the chest. You can go with:
- Bright colors for a kids’ room
- Neutral tones for a cleaner look
- Chalkboard paint for a fun twist
Let it dry fully before moving on.
Step 6: Add Final Touches
If you want to make it easier to move, add handles on the sides. You can also cut out small hand holes instead.
Check all screws and hinges one last time. Make sure everything feels solid and safe.
Safety Tips You Shouldn’t Skip
- Always use a soft-close hinge or lid support
- Sand all edges until smooth
- Avoid heavy lids that are hard to lift
- Keep fingers clear when testing the lid
This project is simple, but safety makes it worth doing right.
Make It Your Own
You can customize this toy chest in a lot of ways:
- Add your child’s name on the front
- Use stencils or decals
- Turn it into a bench with a cushion on top
- Add dividers inside for better organization
Small changes can make it feel more personal.
Final Thoughts
A DIY toy chest isn’t just storage. It’s something your kids will use every day, and something you built with your own hands. That alone makes it special.
You don’t need fancy tools or perfect skills to get started. Just take it step by step, keep safety in mind, and enjoy the process. By the end of the weekend, you’ll have a piece that’s useful, safe, and built to last.