")
DIY Bamboo Roof Pergola: A Simple Way to Upgrade Your Outdoor Space
If your backyard feels a bit plain or too exposed to the sun, a pergola can change that fast. Add a bamboo roof, and you get shade, texture, and a relaxed, tropical feel without spending a fortune.
The good news is you don’t need to be a pro builder. With a few tools, basic materials, and some patience, you can put together a sturdy pergola that looks great and actually gets used.
Let’s walk through it.
Why Choose a Bamboo Roof?
Bamboo is one of those materials that just works outdoors. It’s light, flexible, and gives off a warm, natural look.
Here’s why it’s a solid choice:
- It filters sunlight instead of blocking it completely
- It keeps the space cooler underneath
- It’s usually cheaper than metal or polycarbonate panels
- It blends well with plants, wood, and outdoor furniture
It also makes your pergola feel less like a structure and more like a retreat.
What You’ll Need
Before starting, gather everything so you’re not stopping halfway through.
Basic materials:
- Wooden posts (4×4 or 6×6 for support)
- Beams and rafters
- Bamboo poles or bamboo fencing panels
- Screws, bolts, and brackets
- Concrete mix (for setting posts)
- Outdoor wood sealant or stain
Tools:
- Drill
- Saw
- Level
- Measuring tape
- Ladder
You don’t need anything fancy here. Just the basics.
Step 1: Plan Your Space
Pick a spot that makes sense. Look at where the sun hits during the day and where you actually spend time.
Ask yourself:
- Do I want full shade or partial shade?
- Will I add furniture underneath?
- Is the ground level?
Mark the area with stakes or chalk so you can see the size before committing.
Step 2: Set the Posts
This is the part that matters most. If your posts are solid, everything else gets easier.
- Dig holes about 2 feet deep
- Place your posts in position
- Pour concrete and let it set
- Use a level to keep everything straight
Let it cure properly before moving on. Rushing this step usually leads to a wobbly pergola later.
Step 3: Build the Frame
Once your posts are set:
- Attach the main beams across the top
- Add rafters across the beams for support
- Space them evenly
At this stage, you’ll start to see the structure take shape. Make sure everything feels stable before adding the roof.
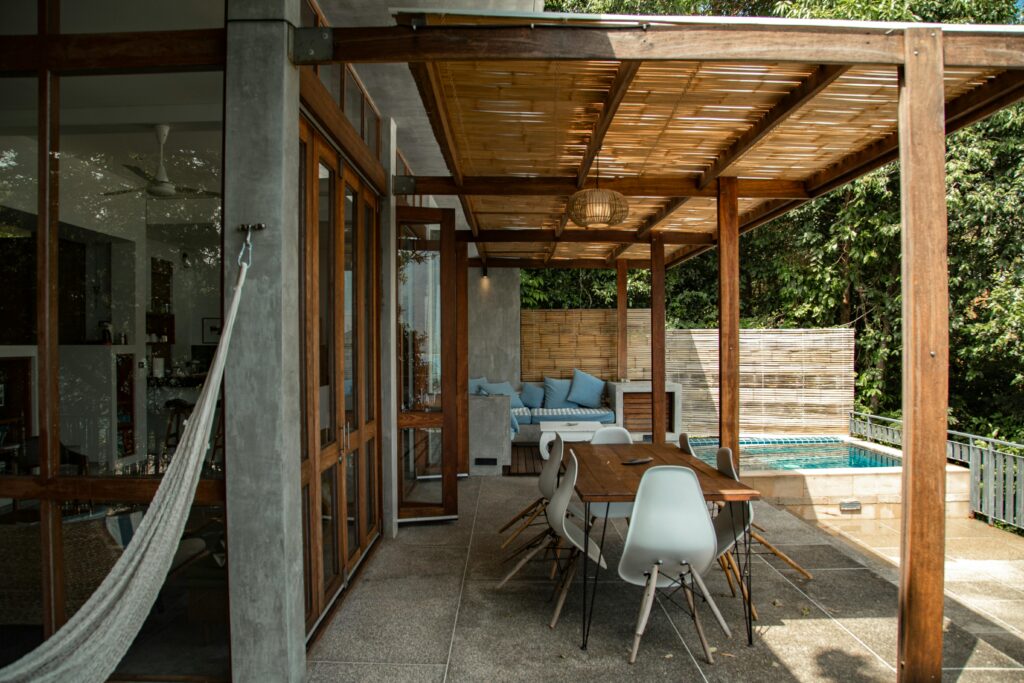
Step 4: Install the Bamboo Roof
This is where the pergola gets its personality.
You can use:
- Individual bamboo poles (for a spaced, airy look)
- Pre-made bamboo panels (for quicker installation)
Secure the bamboo to the rafters using screws, wire, or zip ties. Keep it tight so it doesn’t shift in the wind.
Tip: Slight overlap helps with shade and rain protection.
Step 5: Protect and Finish
Outdoor builds need a bit of protection.
- Apply wood sealant or stain to the frame
- Treat bamboo if it’s untreated
- Check for sharp edges or loose parts
You can also add extras like:
- String lights
- Outdoor curtains
- Hanging plants
This is where it becomes your space, not just a project.
Simple Design Ideas
If you want to take it a step further, try one of these:
1. Tropical vibe: Add plants like ferns or palms around the base
2. Cozy lounge: Place a small sofa or hammock underneath
3. Dining spot: Add a table for outdoor meals
Keep it simple. You can always upgrade later.
Common Mistakes to Avoid
A few things that can save you time and frustration:
- Skipping post depth (shallow posts won’t hold well)
- Uneven spacing (it shows more than you think)
- Loose bamboo (it will rattle or fall over time)
- No weather protection (wood wears out faster than expected)
Take your time with the basics. That’s what makes the whole build last.
Final Thoughts
Building a bamboo roof pergola isn’t about perfection. It’s about creating a space you’ll actually use.
Even a simple structure can turn a hot, empty yard into a place where you sit longer, relax more, and enjoy being outside.
Start small if you need to. What matters is getting it built and making it yours.