")
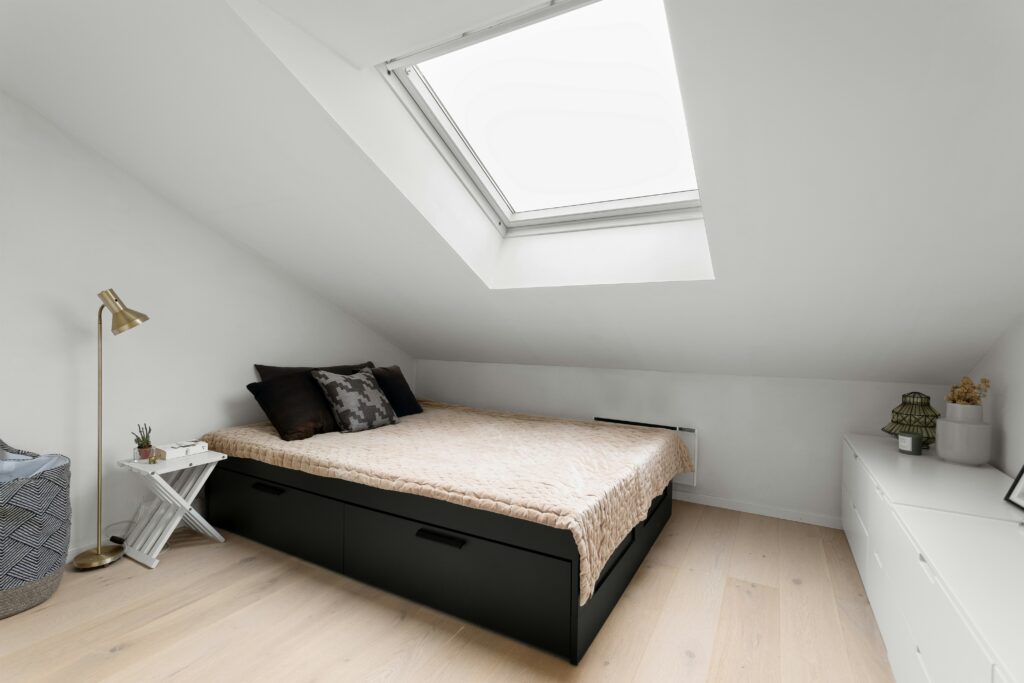
DIY Bed Frame with Storage Drawers (That Actually Saves Space)
If your room always feels a little too crowded, your bed might be part of the problem. It takes up a lot of space, but most of that space goes unused. That’s where a DIY bed frame with storage drawers can make a big difference.
Instead of buying bulky furniture, you can build a bed that works for you. One that looks good, feels solid, and gives you extra storage right where you need it.
This guide walks you through the process in a simple, practical way. No complicated terms. Just clear steps you can follow.
Why Build Your Own Bed Frame with Drawers?
Before jumping in, it helps to know why this project is worth your time.
- You save space: Store clothes, blankets, or shoes under your bed
- You save money: Custom storage beds can be expensive
- You control the design: Size, color, and layout are up to you
- You reduce clutter: Everything has a place
It’s one of those projects that pays off every single day.
What You’ll Need
Keep it simple. You don’t need a full workshop.
Materials:
- Plywood sheets (for frame and drawers)
- 2×4 or 2×6 lumber (for structure)
- Drawer slides
- Wood screws
- Wood glue
- Sandpaper
- Paint or stain
Tools:
- Drill
- Circular saw or table saw
- Measuring tape
- Level
- Clamps (helpful but optional)
Step 1: Plan Your Bed Size and Layout
Start by deciding what size bed you’re building. Twin, full, queen, or king.
Then think about the drawers:
- How many do you want?
- Will they be on one side or both?
- How deep should they be?
A simple setup is two or three large drawers on one side. If your bed sits against a wall, this works best.
Sketch it out. It doesn’t need to be perfect. Just clear enough to guide you.
Step 2: Build the Base Frame
This is the foundation of your bed.
- Cut your 2x4s or 2x6s to match the mattress size
- Create a rectangular frame
- Add support beams across the middle
Make sure everything is level and square. If the base is off, the whole bed will feel it.
Step 3: Create Drawer Compartments
Now divide the base into sections where your drawers will go.
- Add vertical supports inside the frame
- Leave enough space for each drawer
- Double-check measurements before securing anything
Think of it like building “slots” where each drawer will slide in.
Step 4: Build the Drawers
Each drawer is basically a box.
- Cut plywood for the bottom, sides, front, and back
- Screw and glue them together
- Sand the edges so they’re smooth
Attach drawer slides to the sides. Make sure they line up with the ones inside the frame.
Test the fit before moving on. The drawer should slide in and out without sticking.
Step 5: Add the Top Platform
Once the base and drawers are ready, cover the top.
- Cut plywood to fit the full bed size
- Secure it to the frame
- Add extra support slats if needed
This is what your mattress will sit on, so it needs to be strong and even.
Step 6: Finish the Look
Now for the part that makes it feel complete.
- Fill any screw holes
- Sand the entire frame
- Paint or stain it to match your room
You can also add drawer handles or keep a clean, handle-free look.
Tips for a Better Build
A few small things can make a big difference:
- Measure twice before every cut
- Use clamps to hold pieces steady
- Don’t rush the drawer alignment
- Test everything as you go
If something feels off, fix it early. It’s much easier than redoing it later.
Common Mistakes to Avoid
- Skipping support beams: Your bed needs to hold weight safely
- Tight drawer spacing: Leave room for smooth sliding
- Uneven cuts: These cause wobbling and poor fit
- Rushing the finish: A little patience here goes a long way
Final Thoughts
Building a DIY bed frame with storage drawers isn’t just about saving space. It’s about making your home work better for you.
You end up with a bed that fits your room, your style, and your needs. And every time you open those drawers and see things neatly stored away, you’ll be glad you built it yourself.
If you’ve been thinking about tackling a DIY project, this is a great place to start. Practical, rewarding, and something you’ll use every day.