")
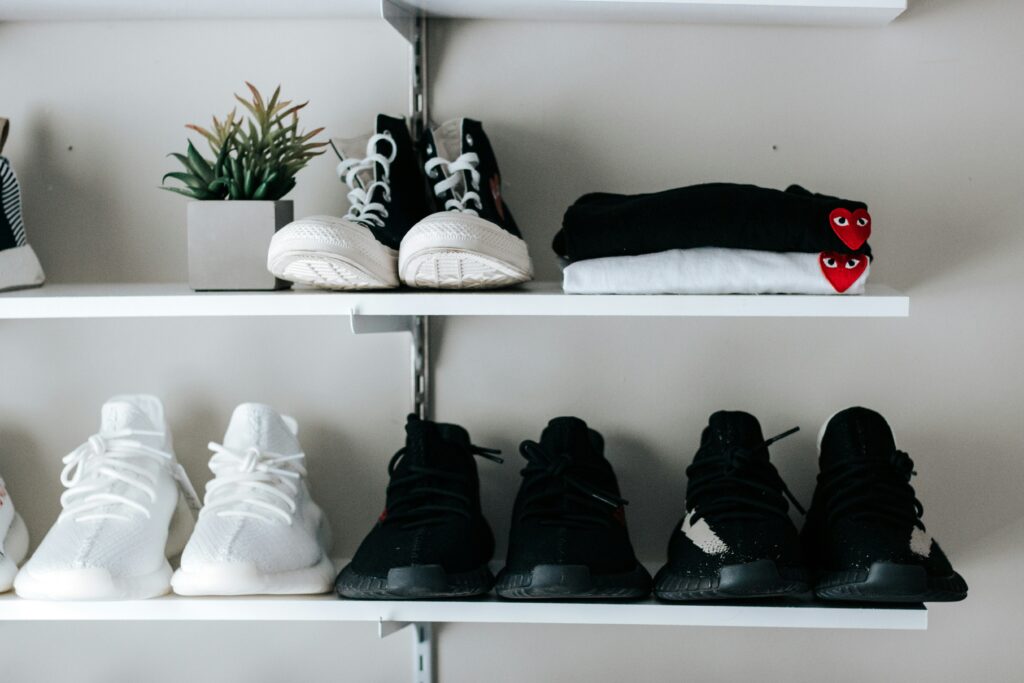
Closets always seem to run out of space—especially when it comes to shoes and random clutter. Instead of piling everything on the floor or cramming it into corners, why not build something clean, simple, and useful? A floating shelf with a built-in shoe rack is a smart fix. It clears floor space, gives your closet a sharp, organized look, and best of all—it’s easier to make than you think. Here’s how to do it from scratch, without any fancy tools or confusing steps.
What You’ll Need:
- 1 wood board (about 12″ deep, 36″-48″ wide depending on your space)
- 2 L-brackets or floating shelf brackets
- 1-2 wood boards or dowels for the shoe rack
- Screws and wall anchors
- Stud finder
- Level
- Drill
- Sandpaper or a sander
- Paint or wood stain (optional)
Step 1: Measure Your Space
Start by picking the right spot in your closet. Measure the width between your walls to figure out how long the shelf should be. Don’t forget to consider height—make sure it’s not too high to reach or too low for your shoes to fit underneath.
Step 2: Cut and Prep the Wood
Cut your main shelf board to size. Sand the edges to make them smooth and splinter-free. If you want to stain or paint it, now’s the time. Let it dry completely before moving on.
For the shoe rack part, decide how many rows you want. One or two should be enough for most closets. Cut thinner boards or wooden dowels to the same width as your shelf.
Step 3: Mount the Shelf
Use a stud finder to locate the studs in your closet wall. Mark them, then hold your shelf in place and mark where the brackets will go. Drill pilot holes and attach the brackets to the wall.
Now line up your shelf on the brackets and screw it into place. Use a level to make sure everything is straight. This part makes all the difference.
Step 4: Add the Shoe Rack
Screw your thinner boards or dowels under the shelf to hold the shoes in place. You can attach them horizontally near the back and front edges, leaving just enough space for shoes to slide in. Or, if you prefer a slight tilt, angle the front board slightly lower so the shoes lean back against the rear one.
Step 5: Final Touches
Once everything’s secure, give it a quick once-over. Wipe off dust, double-check screws, and make sure the shelf holds steady. Then start loading it up—shoes below, baskets or bins on top, or just leave it clean and minimal.
That’s it—no clutter, no drama, just a simple upgrade that makes your closet work harder and look better. Building your own floating shelf with a shoe rack doesn’t take a workshop full of tools or a weekend of stress. It just takes a plan, a few supplies, and a bit of time. Bonus: every time you open that closet door, it feels a little more put together.