")
DIY Fire Pit Seating Wall: The Weekend Project Everyone Loves
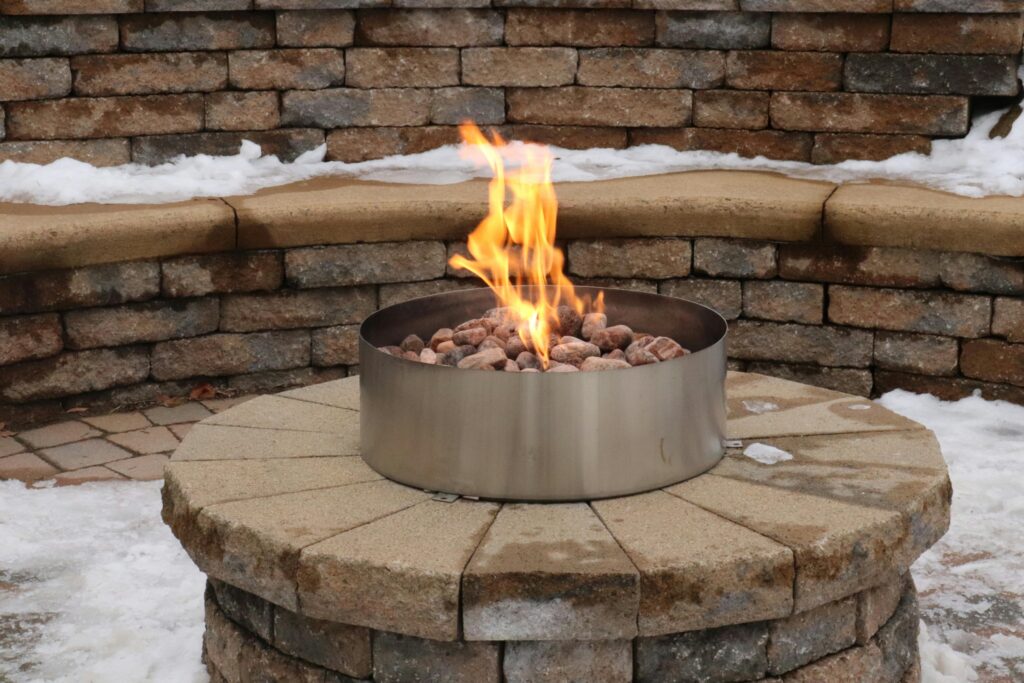
There’s something about sitting around a fire that never gets old. Whether you’re roasting marshmallows, sharing stories, or just soaking in the warmth, a fire pit brings people together. But what really makes it special is the seating around it—sturdy, built-in, and ready for every gathering. The good news? You can build your own fire pit seating wall in a weekend with a few tools, some elbow grease, and a plan.
Here’s how to do it.
Step 1: Plan Your Space
Start by deciding where you want the fire pit to go. Select a flat, open area with sufficient space to move around safely. Mark out the fire pit first, then sketch where the wall will curve or line up around it. A good rule of thumb: leave at least 3 feet between the edge of the fire pit and the seating wall for comfort and safety.
Take a quick measurement of your space and decide how long and high you want the wall to be. Most seating walls are around 18 inches high and 12–16 inches wide.
Step 2: Gather Materials
Here’s what you’ll need:
- Wall blocks or retaining wall stones
- Gravel and sand for the base
- Concrete adhesive
- A level, shovel, and tamper
- Mason’s line or spray paint (for marking)
You can find wall blocks in different colors and textures at most home improvement stores. Choose ones that match your yard’s look.
Step 3: Prepare the Base
Dig a shallow trench where the wall will sit—about 6 inches deep and as wide as your wall blocks. Fill the trench with gravel, then tamp it down firmly. Add a thin layer of sand on top to level it out.
This solid base keeps the wall from shifting over time.
Step 4: Lay the First Course
Start placing your first row of blocks directly on the base. Use your level as you go—this first row is key to the entire wall. Adjust the sand under each block until everything lines up straight and even.
If you’re building a curved wall, step back every few blocks to check your shape. A small garden hose works great as a guide for smooth curves.
Step 5: Stack and Secure
Once the first layer is perfect, add the next one on top, staggering the joints like bricks. Apply concrete adhesive between each layer to lock them in place. Continue stacking until you reach the desired height.
For a more finished look, use capstones (flat stones that top off the wall). Secure them with adhesive and press firmly.
Step 6: Clean Up and Enjoy
Brush off any debris, sweep the area around the wall, and step back to admire your work. If you like, add some cushions or small planters along the wall to soften the look. When the sun goes down and the fire lights up, you’ll have your own backyard hangout spot—hand-built and ready to enjoy.
Building a fire pit seating wall isn’t just about adding something nice to your yard—it’s about creating a space where people gather, laugh, and make memories. With some simple tools and a weekend’s effort, you can transform your backyard into a cozy, inviting retreat that’ll last for years.
So grab your gloves, roll up your sleeves, and start stacking—you’ve got this.