")
DIY Growth Chart Ruler: A Fun and Meaningful Way to Track Growth
Kids grow fast. One day they’re learning to walk, and before you know it, they’re asking for the car keys. A DIY growth chart ruler is a simple way to capture those changes over time. It’s not just practical. It becomes something you’ll want to keep long after they’ve outgrown it.
The best part? You don’t need fancy tools or a big budget to make one.
Why Make Your Own Growth Chart?
Store-bought charts work fine, but making your own adds a personal touch. You can match it to your home, add your child’s name, and even include little notes or memories.
It also solves a common problem. If you move houses, you won’t lose those pencil marks on the wall. You can take the chart with you.
What You’ll Need
You can keep this very simple. Here’s a basic list:
- A wooden board (around 5–6 feet tall works well)
- Sandpaper
- Paint or wood stain
- Paintbrush or foam brush
- Ruler or measuring tape
- Pencil
- Permanent marker or paint pen
- Painter’s tape (optional)
- Hooks or screws for hanging
If you don’t have a wooden board, you can also use thick cardboard or even a canvas, but wood tends to last longer.
Step-by-Step Guide
1. Prepare the Board
Start by sanding the wood to smooth out rough edges. This makes painting easier and gives a cleaner finish.
Wipe off any dust before moving on.
2. Paint or Stain
Choose a color that fits your space. Neutral tones like white, gray, or natural wood are popular because they don’t go out of style.
Let it dry completely before the next step. This part takes patience, but it’s worth it.
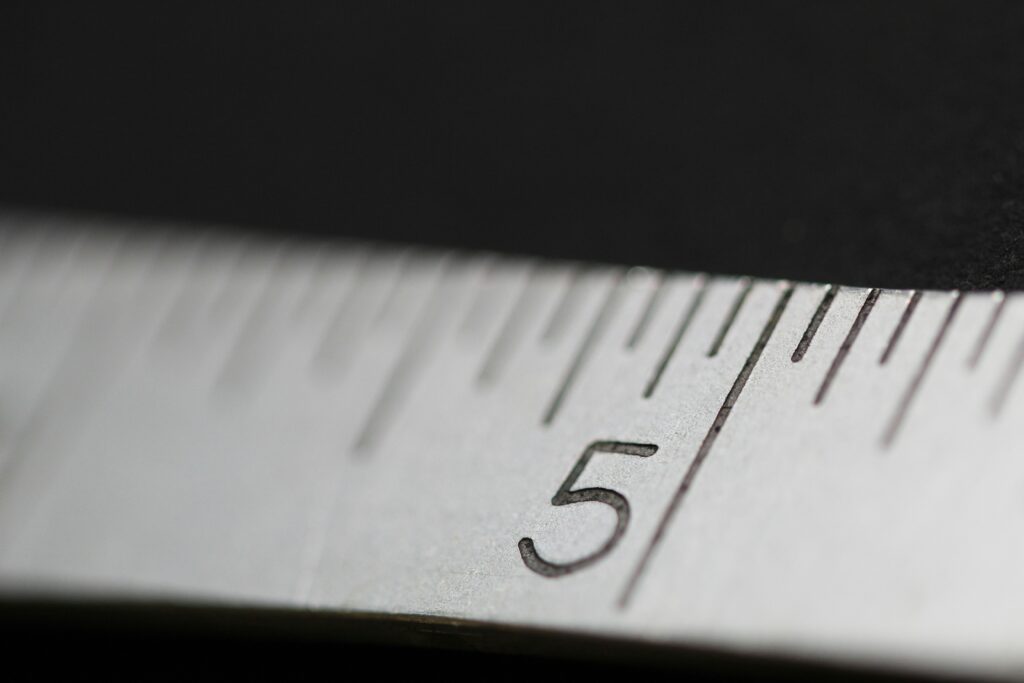
3. Mark the Measurements
Lay the board flat. Use a measuring tape to mark inches or centimeters along the length.
A helpful tip: start measuring a few inches from the bottom. Most baseboards add height, so this keeps your chart accurate when it’s mounted.
Draw small lines for each unit, and longer lines for every 5 or 10 units to make it easier to read.
4. Add Numbers
Use a marker or paint pen to label the measurements. Keep the numbers clear and easy to read.
If you want a cleaner look, you can use stencils. If you prefer a handmade feel, freehand works just fine.
5. Personalize It
This is where it becomes special.
You can add:
- Your child’s name
- A family name
- A short quote
- Small drawings or icons
Keep it simple so it doesn’t feel cluttered.
6. Mount the Chart
Hang the chart on the wall using hooks or screws. Make sure it’s straight and positioned correctly from the floor.
Double-check your starting point so your measurements stay accurate.
Tips for Keeping Track
- Mark the date next to each height line
- Use different colors for each child
- Take a photo each time you update it
These small details turn the chart into a memory piece, not just a measuring tool.
Common Mistakes to Avoid
- Starting at floor level without checking baseboards
- Using faint markings that fade over time
- Skipping measurements, which makes growth harder to track
A little care upfront saves you from fixing things later.
Why This Project Matters
This isn’t just a craft project. It becomes part of your home story.
Years from now, those small lines will remind you how quickly time passed. It’s one of those simple things that ends up meaning a lot more than you expected.
Final Thoughts
A DIY growth chart ruler is easy to make, affordable, and full of meaning. You don’t need perfect lines or expert skills. What matters is that it reflects your family and grows along with your child.
If you’ve been thinking about making one, this is a good weekend project to start. You’ll be glad you did.