")
DIY Guide: Smooth Out Wall Cracks Around Electrical Outlets
Small cracks around electrical outlets are common. You might notice a thin line running from the corner of the outlet plate or small splits in the drywall nearby. It doesn’t look great, and over time it can get worse.
The good news? Most small wall cracks near outlets are easy to fix yourself. You don’t need special skills or expensive tools. With a little time and the right steps, you can make the wall look smooth again.
Here’s exactly how to do it.
Why Do Cracks Form Near Outlets?
Before you start, it helps to understand why this happens.
Small cracks near outlets usually form because:
-
The house settles over time
-
The outlet box shifts slightly
-
Drywall expands and contracts with temperature changes
-
Screws inside the outlet box loosen
Most of the time, these cracks are cosmetic. That means they look bad but don’t signal a major problem. If the crack is wide, growing fast, or you see exposed wiring, that’s different. In that case, you may want a professional to take a look.
Tools and Materials You’ll Need
You likely already have most of this at home.
-
Screwdriver
-
Lightweight spackling compound
-
Putty knife (4–6 inches wide works well)
-
Fine-grit sandpaper (120–220 grit)
-
Damp cloth
-
Primer (optional but recommended)
-
Matching wall paint
-
Small paintbrush or roller
Keep everything within reach before you begin.
Step 1: Turn Off the Power
Safety first.
Go to your breaker box and turn off power to the outlet you’re working on. Once it’s off, double-check by plugging something into the outlet to make sure it doesn’t work.
Even though you’re not touching the wiring, it’s better to be safe.
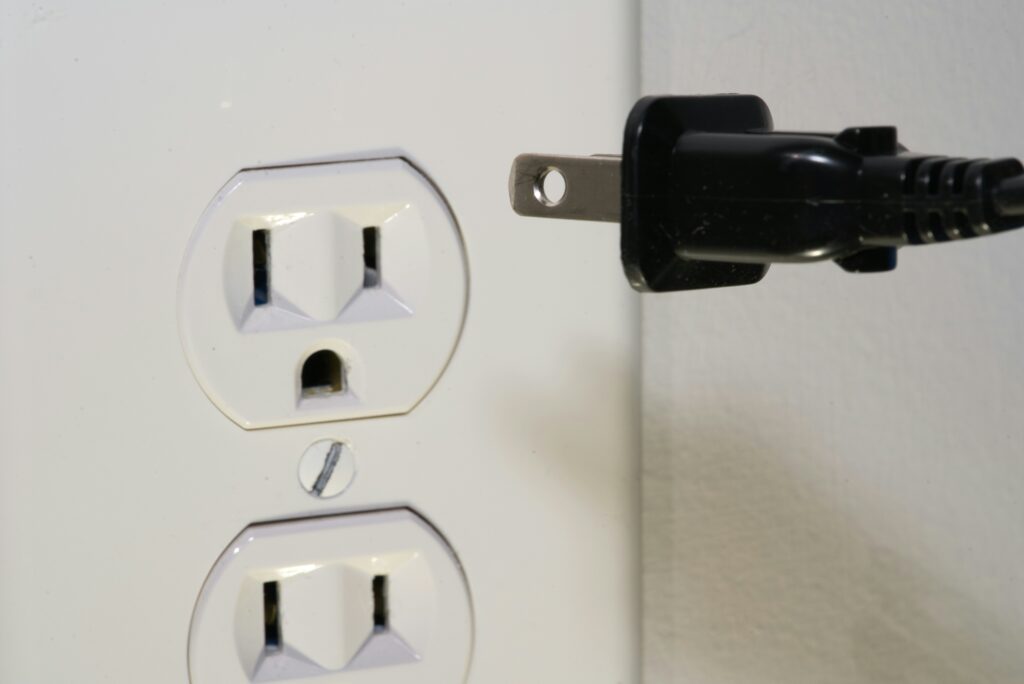
Step 2: Remove the Outlet Cover
Use a screwdriver to remove the outlet cover plate. Set the screws somewhere safe so they don’t roll away.
Take a close look at the crack. Is it just on the surface? Or does it run slightly under the cover area? This will help you see the full extent of the damage.
If the outlet itself feels loose, gently tighten the screws holding it in place. Sometimes movement causes the cracking in the first place.
Step 3: Clean the Area
Use a damp cloth to wipe away dust and loose drywall bits.
If the crack has raised edges, lightly scrape them with your putty knife. You want a clean, slightly open surface so the spackling sticks properly.
Let the area dry before moving on.
Step 4: Apply Spackling Compound
Now it’s time to fill the crack.
-
Scoop a small amount of spackling compound onto your putty knife.
-
Press it firmly into the crack.
-
Smooth it over in thin layers.
Less is more here. It’s better to apply two thin layers than one thick, messy one.
Feather the edges by dragging the knife lightly across the surface. This helps it blend into the wall.
Let it dry completely. Check the product label for drying time, but most lightweight spackling dries in 30 minutes to a few hours.
Step 5: Sand It Smooth
Once it’s fully dry, use fine-grit sandpaper to smooth the area.
Keep it light. You just want the patch to feel flush with the wall. Run your hand over it. If you can’t feel the repair, you’re on the right track.
Wipe away sanding dust with a clean, damp cloth.
Step 6: Prime and Paint
If the patch is small, you might be tempted to skip primer. Try not to. Primer helps prevent flashing, which is when the patch shows through the paint as a dull spot.
-
Apply a thin coat of primer.
-
Let it dry.
-
Paint over the area with matching wall paint.
Use a small brush for better control around the outlet opening.
If needed, apply a second coat for an even finish.
Step 7: Reattach the Outlet Cover
Once the paint is completely dry, reattach the outlet cover plate.
Turn the breaker back on and test the outlet.
That’s it. Your wall should look clean and smooth again.
When Should You Worry About Wall Cracks?
Small hairline cracks are usually harmless. But you may want to get help if:
-
The crack is wider than 1/8 inch
-
It keeps coming back after repair
-
The outlet feels loose inside the wall
-
You notice sparks, heat, or wiring issues
In those cases, it could be more than a simple drywall problem.
Tips to Prevent Cracks from Coming Back
Here are a few simple ways to avoid repeat repairs:
-
Don’t overtighten outlet cover screws
-
Tighten loose electrical boxes
-
Use joint tape if cracks are recurring
-
Keep indoor humidity levels steady
A stable wall is less likely to shift and crack again.
Final Thoughts
Small wall cracks near outlets can look worse than they are. In most cases, they’re just part of normal house movement.
With basic tools and a careful approach, you can fix the problem in an afternoon. The repair is simple, affordable, and makes a big difference in how your wall looks.
If you’ve been putting it off, now’s a good time to tackle it. A smooth wall is easier than you think.