")
DIY Home Security: Installing a Deadbolt Made Simple
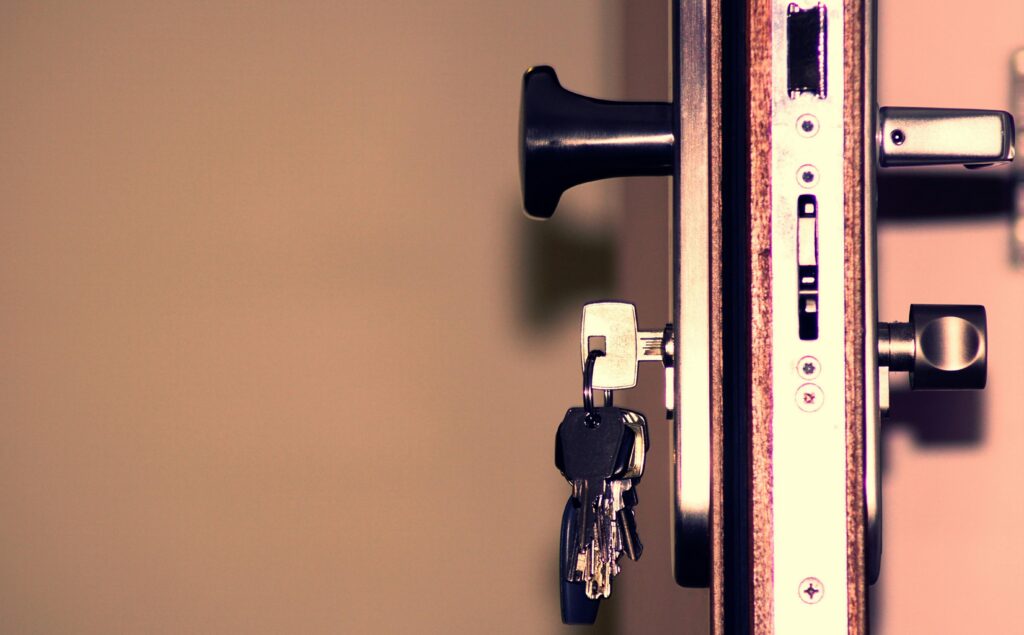
Adding a deadbolt is one of the simplest ways to make your home feel safer. The good news is you don’t need to replace your door or call a professional. If your door is in good shape, you can install a deadbolt yourself in about an hour.
This guide walks you through the process step by step, using plain language and basic tools. No guesswork. No fluff.
What You’ll Need Before You Start
Before drilling anything, gather your tools. Having everything ready makes the job go much smoother.
Tools and supplies:
-
Deadbolt lock kit
-
Power drill
-
Hole saw (usually 2⅛ inch)
-
Spade bit (usually 1 inch)
-
Screwdriver
-
Tape measure
-
Pencil
-
Chisel
-
Hammer
Most deadbolt kits list the exact drill bit sizes on the package. Check before you buy.
Check Your Door First
Take a quick look at your door before starting.
-
Make sure it’s solid wood or metal (not hollow)
-
The door should be at least 1⅜ inches thick
-
There should be space above or below the existing knob for the deadbolt
If your door already has a pre-drilled hole for a deadbolt, you can skip ahead to installing the lock.
Mark the Deadbolt Location
Most deadbolts are installed about 6 to 12 inches above the door handle.
-
Measure up from the center of the door knob
-
Mark the spot lightly with a pencil
-
Use the template that comes with your deadbolt kit to line everything up
Take your time here. A straight mark makes everything else easier.
Drill the Holes
This is the part people worry about most, but it’s simple if you go slow.
Drill the Face Hole
-
Use the hole saw to drill into the face of the door
-
Drill halfway through, then finish from the other side
-
This prevents splintering
Drill the Edge Hole
-
Use the spade bit to drill into the edge of the door
-
Drill straight and stop once it meets the first hole
Clean up any rough edges before moving on.
Install the Deadbolt Latch
Slide the latch into the hole on the edge of the door.
-
Make sure the angled side faces the door frame
-
Trace the latch plate with a pencil
-
Use a chisel to recess the plate so it sits flush
-
Screw the latch into place
If the plate sticks out, the door may not close properly.
Attach the Deadbolt Lock
Now it comes together quickly.
-
Insert the deadbolt cylinder through the face hole
-
Line it up with the latch
-
Attach the inside thumb turn
-
Tighten the screws evenly
Test the lock before closing the door. The bolt should slide in and out smoothly.
Test and Adjust
Close the door and lock it a few times.
-
The bolt should slide easily into the strike plate
-
If it sticks, you may need to adjust the strike plate on the door frame
-
Small adjustments make a big difference
Don’t force it. A smooth lock lasts longer.
Final Thoughts
Installing a deadbolt is one of the best small upgrades you can make to your home. It’s affordable, practical, and gives you peace of mind every time you lock the door.
With basic tools and a little patience, this is a project almost anyone can handle. Take it slow, measure twice, and you’ll be done before you know it.
If you’re looking for more simple home improvement tips, keep exploring. Small fixes add up fast.