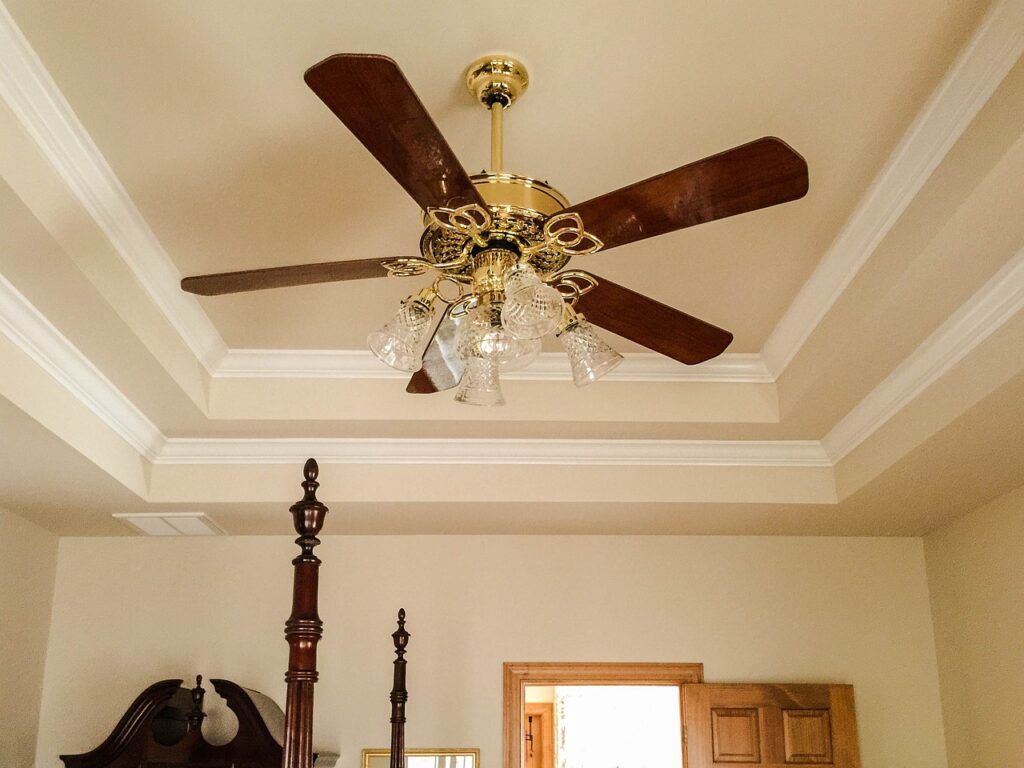
Crown molding is a classic architectural feature that can instantly elevate the look of any room in your home. It adds a touch of elegance and sophistication, making your space feel more polished and complete. While hiring a professional to install crown molding is an option, it’s also a project that many confident DIYers can tackle themselves. In this article, we will guide you through the process of installing crown molding to enhance the beauty of your home.
Materials You’ll Need
Before you start your crown molding installation project, gather the necessary materials and tools:
- Crown molding: Choose the style and size that suits your room’s aesthetics and dimensions.
- Measuring tape and pencil: Essential for accurate measurements and marking.
- Miter saw: Used for making precise angle cuts.
- Coping saw or jigsaw: For cutting inside corners.
- Nail gun or hammer and finishing nails: To secure the molding to the wall and ceiling.
- Caulk gun and paintable caulk: To fill gaps and seams.
- Sandpaper and a sanding block: For smoothing rough edges.
- A level and a T-bevel or combination square: To ensure precise angles.
- Safety gear: Safety glasses, ear protection, and a dust mask for your safety.
- Paint or finish: For a polished look.
Step-by-Step Guide
Measure and Plan:
- Measure the length of each wall where you’ll install crown molding.
- Sketch a plan on paper and calculate how much molding you’ll need.
- Select the appropriate molding style and size.
Cut the Crown Molding:
- Set your miter saw at the correct angle (usually 45 degrees) for inside corners.
- Make precise miter cuts for each corner.
- For outside corners, cut molding pieces at a 45-degree angle with the bottom edge longer than the top edge.
- Use a coping saw or jigsaw to make inside corner cuts by following the profile of the molding.
Install the Crown Molding:
- Start with one wall and nail the molding to the wall and ceiling.
- Use a level to ensure the molding is straight.
- For inside corners, make sure the joints are tight and secure them with nails.
- For outside corners, use mitered pieces and secure them in place.
Fill Gaps and Seams:
- Apply paintable caulk to any gaps or seams between the molding and the wall/ceiling.
- Smooth the caulk with a damp finger or a caulk-smoothing tool.
- Let the caulk dry and sand any rough spots.
Finish:
- Sand any rough edges on the molding.
- Apply paint or finish to match the room’s decor.
Tips and Tricks
- Practice your cuts on scrap pieces of molding to get comfortable with the miter saw and coping saw/jigsaw.
- Label each molding piece with its corresponding wall and direction (top/bottom) to avoid confusion during installation.
- Use a stud finder to locate wall studs for secure and stable attachment.
- Pre-drill holes for nails to prevent splitting the molding.
- Take your time and double-check measurements and angles to ensure a precise fit.
Installing crown molding is a DIY project that can significantly enhance the visual appeal of your home. With the right tools, materials, and careful attention to detail, you can achieve professional-looking results. Whether you’re aiming to add a touch of elegance to your living room or a finishing touch to your dining room, crown molding can transform your space into a work of art that you can proudly call your own. So, roll up your sleeves and get ready to elevate your home’s aesthetic with this rewarding DIY endeavor.

