")
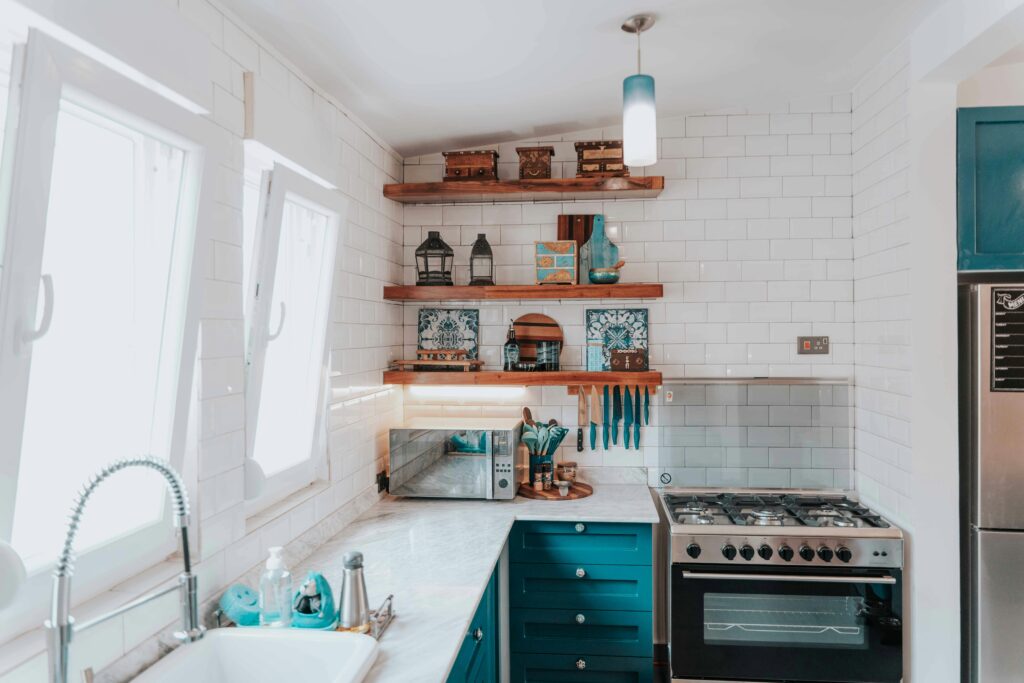
A Smarter Way to Store Your Knives
If you’re tired of cluttered drawers or clunky knife blocks, a magnetic knife strip is a clean, modern fix. It keeps your blades within reach, frees up counter space, and adds a touch of craftsmanship to your kitchen.
Even better — you don’t need to buy one. You can make it yourself using a piece of wood and a few magnets.
Even better — you don’t need to buy one. You can make it yourself using a piece of wood and a few magnets.
Here’s how to build a simple, good-looking magnetic knife strip that actually lasts.
What You’ll Need
- Hardwood board (around 2–3 inches wide and 12–18 inches long)
- Strong neodymium magnets
- Wood glue
- Drill and Forstner bit (same size as your magnets)
- Sandpaper
- Food-safe wood finish or oil
- Mounting hardware or strong double-sided tape
Step 1: Choose the Right Wood
Pick a hardwood that fits your kitchen’s style. Maple, walnut, or oak are solid options.
Look for a board that’s smooth, sturdy, and about ¾ inch thick — enough to hold magnets without drilling through.
Look for a board that’s smooth, sturdy, and about ¾ inch thick — enough to hold magnets without drilling through.
Step 2: Mark and Drill
Flip the board over so you’re working on the back side.
Mark the location of each magnet, leaving approximately 1.5–2 inches between them.
Using your Forstner bit, drill shallow holes just deep enough so the magnets sit slightly below the surface — don’t drill all the way through.
Mark the location of each magnet, leaving approximately 1.5–2 inches between them.
Using your Forstner bit, drill shallow holes just deep enough so the magnets sit slightly below the surface — don’t drill all the way through.
Step 3: Set the Magnets
Add a small dab of wood glue in each hole, then press in a magnet.
Make sure all magnets face the same direction — otherwise, some knives won’t stick properly.
Allow the glue to dry completely before proceeding.
Make sure all magnets face the same direction — otherwise, some knives won’t stick properly.
Allow the glue to dry completely before proceeding.
Step 4: Sand and Finish
Sand the front and edges until they’re smooth to the touch. Wipe off any dust.
Apply a food-safe oil or finish (like mineral oil or beeswax) to bring out the grain and protect the wood from moisture.
Apply a food-safe oil or finish (like mineral oil or beeswax) to bring out the grain and protect the wood from moisture.
Step 5: Mount Your Knife Strip
You can mount it with screws through the back or use heavy-duty double-sided tape for a clean, screw-free look.
Just make sure your wall surface is flat and strong enough to hold it — and the knives.
Just make sure your wall surface is flat and strong enough to hold it — and the knives.
Step 6: Test It Out
Once it’s mounted, test the strip with your knives. Each blade should hold firmly but come off easily.
If it feels weak, use stronger magnets next time or move them closer together.
If it feels weak, use stronger magnets next time or move them closer together.
Final Touch: A Clean, Handmade Upgrade
That’s it — you’ve made a simple, good-looking magnetic knife strip from wood.
It’s practical, affordable, and adds a warm, handcrafted feel to your kitchen. No fancy tools, no woodworking degree — just a smart little weekend project that makes your space look sharper (literally).
It’s practical, affordable, and adds a warm, handcrafted feel to your kitchen. No fancy tools, no woodworking degree — just a smart little weekend project that makes your space look sharper (literally).