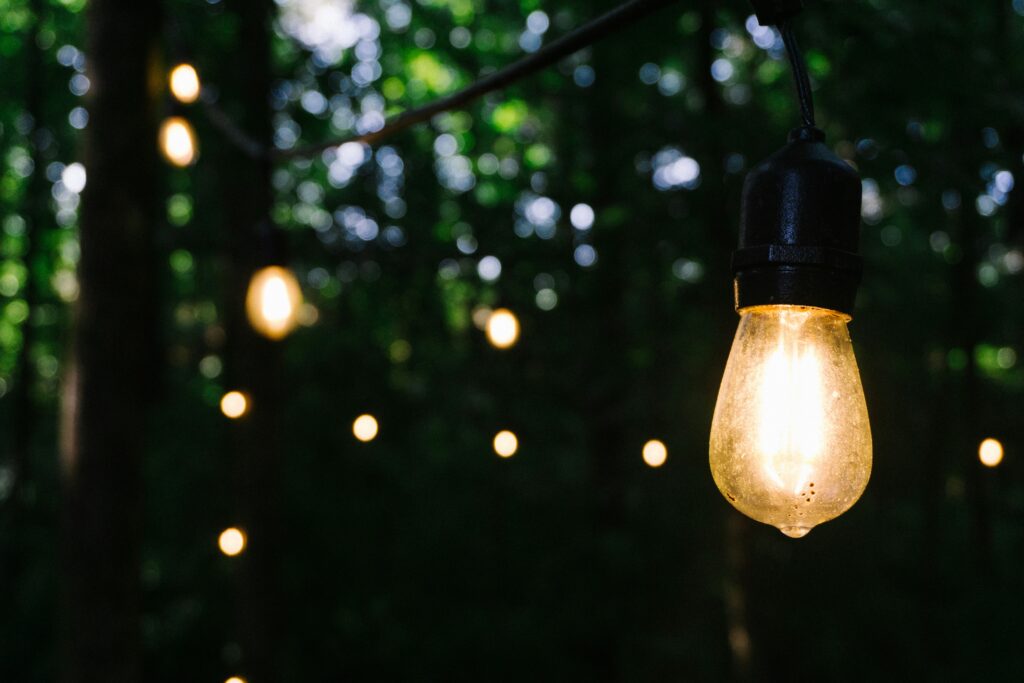
Transforming your backyard into a charming oasis doesn’t always require a hefty budget or professional help. With a bit of creativity and some elbow grease, you can easily elevate your outdoor space by installing string lights. These versatile and affordable lighting solutions not only add a touch of magic to your backyard but also create a warm and inviting atmosphere for entertaining or relaxing. In this guide, we’ll walk you through the steps of a DIY outdoor string lights installation, turning your outdoor space into a cozy haven.
Step 1: Planning and Designing Your Lighting Layout
Before diving into the installation process, take some time to plan and design the layout of your outdoor string lights. Consider the size and shape of your backyard, the location of power sources, and the ambiance you want to create. Whether you prefer a canopy of twinkling lights overhead or a more subtle perimeter glow, sketch out your design to serve as a roadmap for the installation.
Step 2: Gather Your Materials
To embark on this DIY project, you’ll need a few essential materials:
- Outdoor String Lights: Opt for lights specifically designed for outdoor use to ensure durability and safety.
- Extension Cords: Make sure they are rated for outdoor use and long enough to reach your power source.
- Outdoor Hooks, Clips, or Zip Ties: These will help secure the string lights to your chosen surfaces.
- Ladder: Depending on your backyard’s layout, a sturdy ladder may be necessary for reaching high points.
Step 3: Locate Power Sources
Identify the nearest power source in your backyard. This could be an outdoor electrical outlet or an extension cord connected to one. Ensure that the power source is equipped with a Ground Fault Circuit Interrupter (GFCI) to protect against electrical hazards.
Step 4: Install Outdoor Hooks or Clips
Choose suitable surfaces to attach your outdoor string lights. Common options include fences, tree branches, pergolas, or the eaves of your home. Install outdoor hooks, and clips, or use zip ties to secure the string lights along your chosen path. Be mindful of spacing to achieve an even and balanced look.
Step 5: Hang the Lights
With your hooks or clips in place, it’s time to hang the lights. Begin at one end and work your way across, securing the lights as you go. Take a step back periodically to ensure the lights are hanging evenly and adjust as needed.
Step 6: Connect the Lights to the Power
Once your lights are hung, connect them to the power source. Be cautious with the electrical connections, ensuring they are secure and protected from the elements. If using extension cords, conceal them along fences or the ground to minimize tripping hazards.
Step 7: Test and Enjoy
Before finalizing your installation, test the lights to ensure they are working properly. Once satisfied, step back and admire your handiwork. Your backyard is now transformed into a cozy and inviting space, perfect for evenings of relaxation or entertaining under the stars.
Installing outdoor string lights is a simple yet effective way to enhance the ambiance of your backyard. With a thoughtful design, the right materials, and a bit of effort, you can create a cozy and inviting atmosphere that will make your outdoor space a haven for relaxation and socializing. So, roll up your sleeves, gather your materials, and illuminate your backyard with the warm glow of DIY outdoor string lights. Your outdoor oasis awaits!

