")
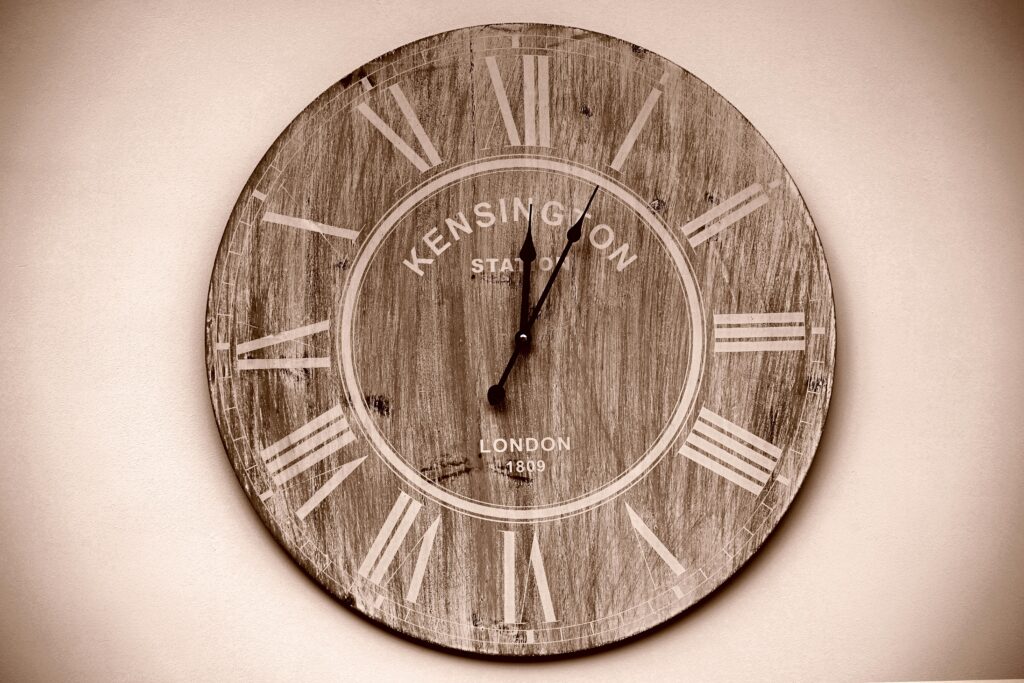
If you love the look of rustic farmhouse decor but don’t want to pay big bucks for a statement piece, a large wooden wall clock is the perfect project. The best part? You don’t need fancy tools or expert skills to make it happen. By using reclaimed wood, you not only save money but also give old boards a new story to tell.
Here’s how to turn a few weathered planks into a one-of-a-kind clock that makes any room feel warm and lived-in.
What You’ll Need
- Reclaimed wood (pallets, barn wood, or old floorboards work great)
- Saw (hand saw or circular saw)
- Sandpaper or a sander
- Wood glue and clamps (or screws for extra hold)
- Stain or paint (optional, depending on the finish you want)
- Large clock hands and clock mechanism (available online or at craft stores)
- Drill and drill bit (for the clock mechanism hole)
- Measuring tape and pencil
Step 1: Prepare Your Wood
Lay out your reclaimed wood boards and decide on the desired size of your clock. A common size for a statement piece is around 24–36 inches in diameter. Cut the boards to size, sand off any splinters, and clean away dirt while preserving the rustic character.
Step 2: Create the Base
Arrange the boards side by side to form a square that’s bigger than your intended circle size. Secure them together on the back with cross-supports using wood glue or screws. This will give you a solid base to cut your circle from.
Step 3: Cut the Circle
Tie a piece of string to a pencil and use it as a homemade compass to trace a large circle on your wood square. Cut along the line with a jigsaw. Don’t stress if it’s not perfect—slight imperfections add to the rustic look.
Step 4: Sand and Finish
Lightly sand the edges of your circle to smooth it out. At this stage, you can stain the wood for a richer tone or whitewash it for a more farmhouse feel. Let it dry completely before moving to the next step.
Step 5: Mark the Numbers
You don’t need traditional numbers for rustic charm. Try painting simple Roman numerals, using stencils, or even leaving it plain for a minimalist look. Use your measuring tape to make sure your spacing is even.
Step 6: Add the Clock Mechanism
Drill a hole in the center of your circle. Attach the clock mechanism from the back and secure the hands on the front. Large clock hands work best for oversized pieces—they give the clock a bold, balanced look.
Step 7: Hang and Enjoy
Once your clock is assembled, add a hanger on the back and place it on your wall. Step back and admire your new centerpiece—it’s practical, stylish, and built by your own hands.
Making a large rustic clock from reclaimed wood is more than a weekend project—it’s a way to bring personality into your home. Every knot, scratch, and uneven line tells a story. Instead of buying something mass-produced, you’ve created a piece that’s truly yours.
So next time you see a pile of old boards, think twice before passing them up—they might just be the beginning of your next timeless project.