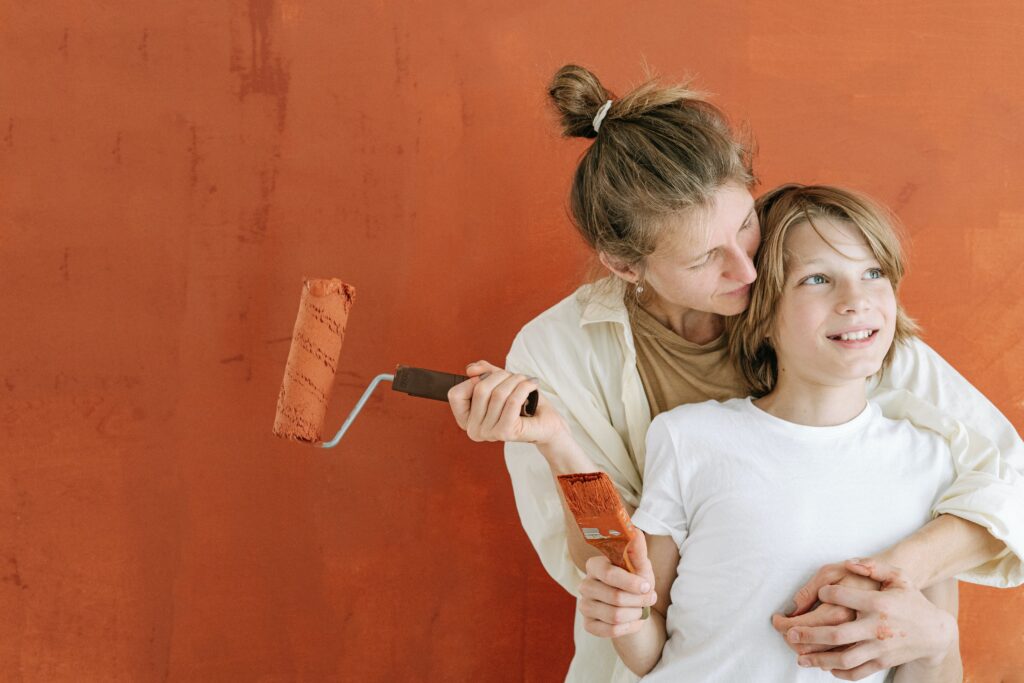
Thinking of changing the color of your walls? You can do it all by yourself just by following this quick tips.
Plan ahead

Before putting anything into action you must visualize what you want the room to look like. Paint a clear picture in your head of how you want it to appear and plan on how you can make it happen. Ask yourself, what color will you pick? Are all the walls going to be the same color or do you prefer to have an accent wall? Remember that you are not limited to one color, you can mix and match it to your liking. Also think if there is any room design or pattern that you want to come to reality or you just want to make it plain? What should be the finish, is it matte, metallic or glossy? Ask yourself these questions before doing the work so you have a clearer vision of how you want your room to look like.
Know how much paint you need
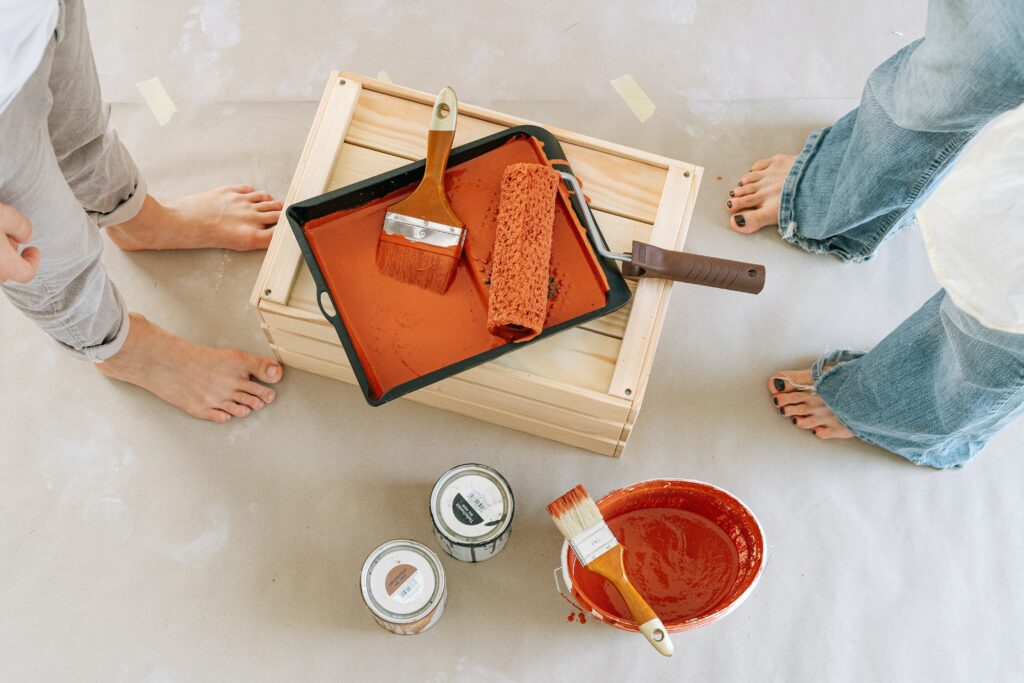 Estimate how much paint you need so when you buy a paint there won’t be any excess or there won’t be any lack of it thereof. Measure the walls of the room to be precise you have to take into account the windows and the door measurements as well. Keep in mind that the deep color base tends to require more coats of paint than a lighter color. Don’t forget to assume two coats of paint per project to account for doing two coats.
Get Ready
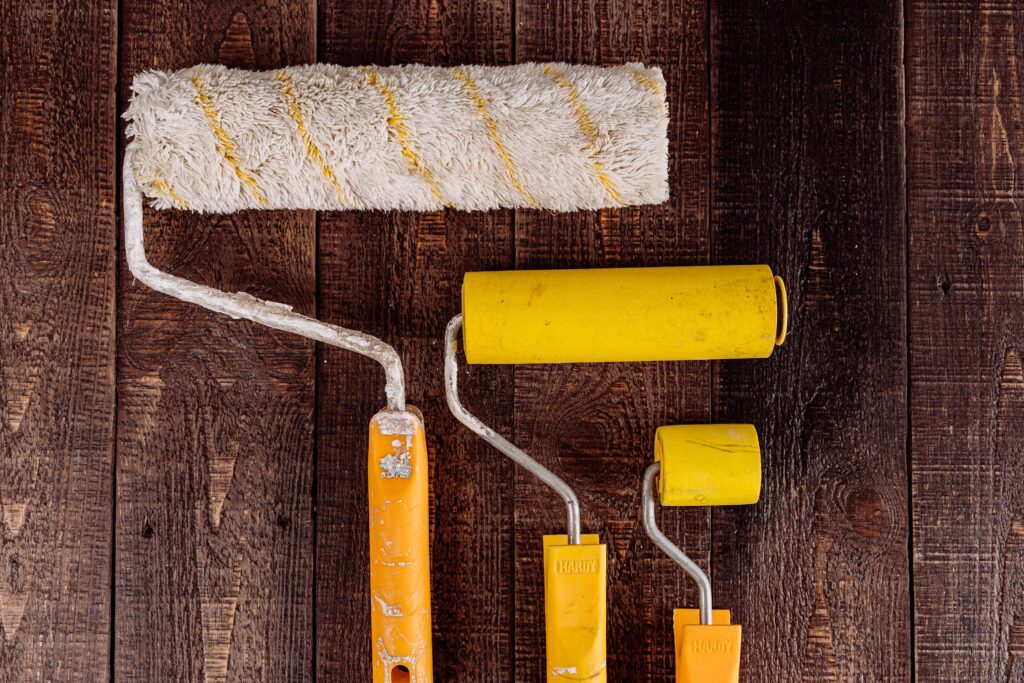
Gather the materials that you’re going to need for the project. Make a checklist of things you need so you won’t forget a thing, this will help your painting session to run smoothly since you got everything you needed covered instead of going back and forth to recollect things that you lack. In order for you to do the job properly you will need these materials
- A pot of paint
- Paint brush
- Paint roller
- Paint roller extension pole
- Primer
- Paint Tray
- Dust Sheet
- Painter’s Tape
- Drop cloths
- Soap and water for cleaning
Although every project is different and you might need different tools depending on your project still these are the essentials for every painting session.
Clear the area

Make sure that you empty out the room before you start painting, remove your furniture and accessories that will surely be splattered by paint. It’s better if the room is empty but if you don’t have another space to put your stuff, you can simply put everything in the center and make sure that they are securely covered with a drop cloth or a plastic sheet to avoid being damaged. Don’t forget to do the same with the floor as scrubbing paint off will take a lot of time. Next, use a painter’s tape to cover the area that you don’t want to paint. Apply tape around the moldings, window frames, switches, doorknobs, ventilation trims and everything else that you’d want untouched. Make sure to apply firm pressure when applying the tape to ensure that it will be secured under the tape.
Prep the Walls
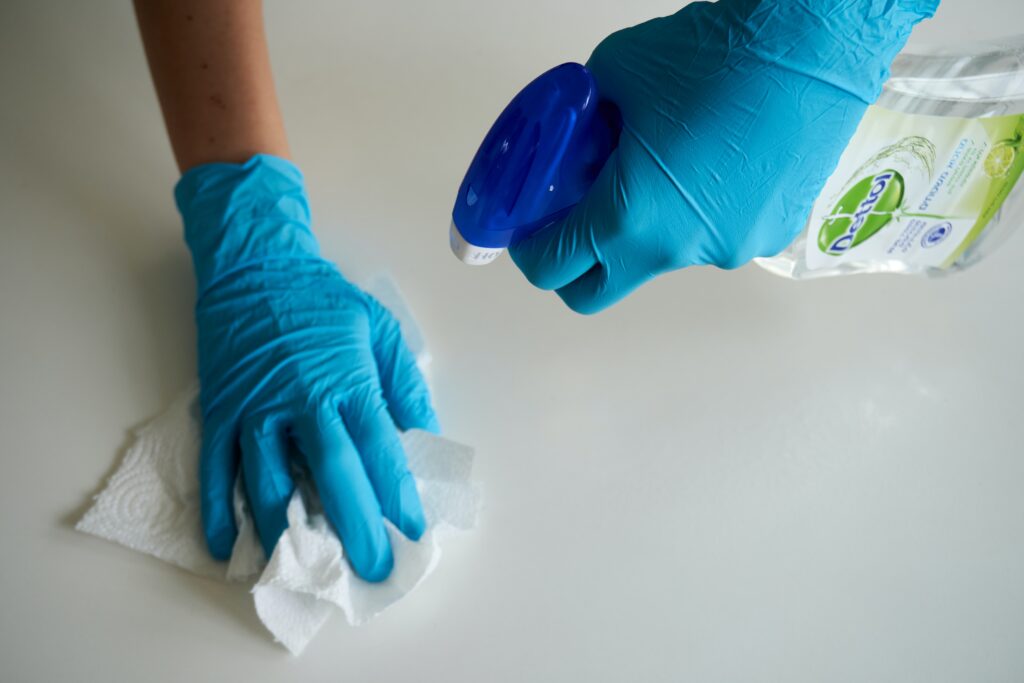
Before you start to paint your walls you must prep it first. Clean the walls by using a cellulose sponge and a solution of water mixed with a few drops of dishwashing liquid. This step is necessary to remove any dust, dirt and grease in order to have smooth application of paint. After that take a minute to inspect the walls. Look out for any cracks, holes, stains, chipping paint and other signs of damage, you must deal with them first. If you find a hole in the wall fill it in by applying spackling paste using a utility knife. After it dries use a sandpaper to sand and scrape the area until it obtains a smooth wall before you apply a new coat of primer. Make sure that all the walls are leveled. You can then wipe the walls with a damp cloth to remove particles of wall sanding in order to prevent the dust from sticking to the paint.
Apply Primer
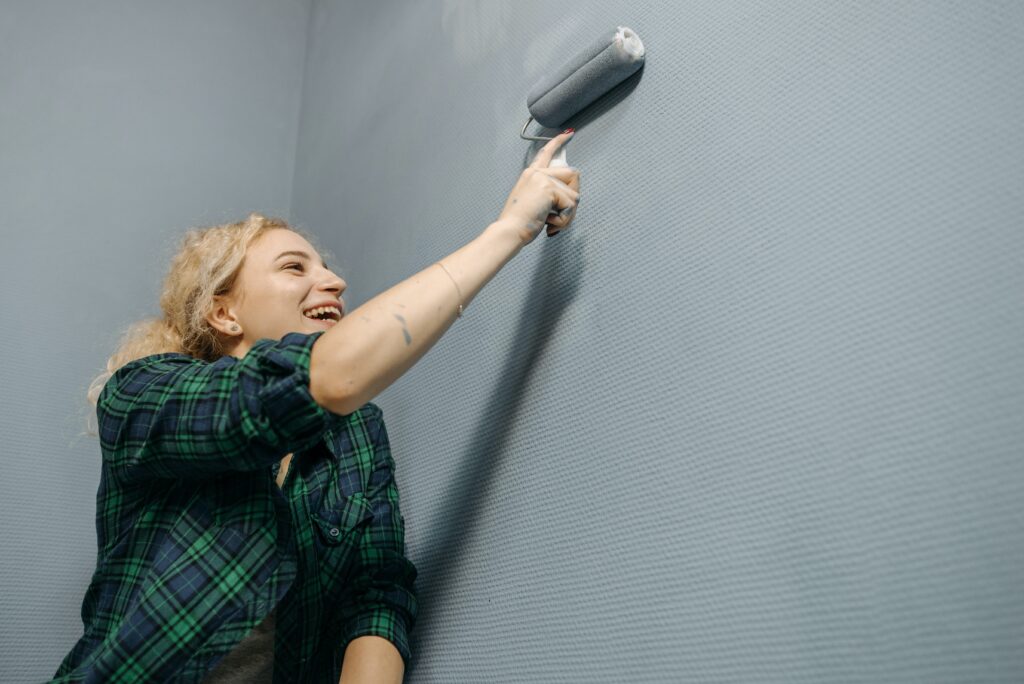
When the walls are ready it’s time to apply primer. Using a primer will guarantee a more professional finish. Pour in enough primer in a tray and apply a smooth base coat of it using a roller, if your walls are too high you can use a paint roller extension pole to reach all surfaces. Make sure that you apply the primer evenly and cover the walls entirely. Let the primer dry for a few hours before you begin painting.
Paint your wall
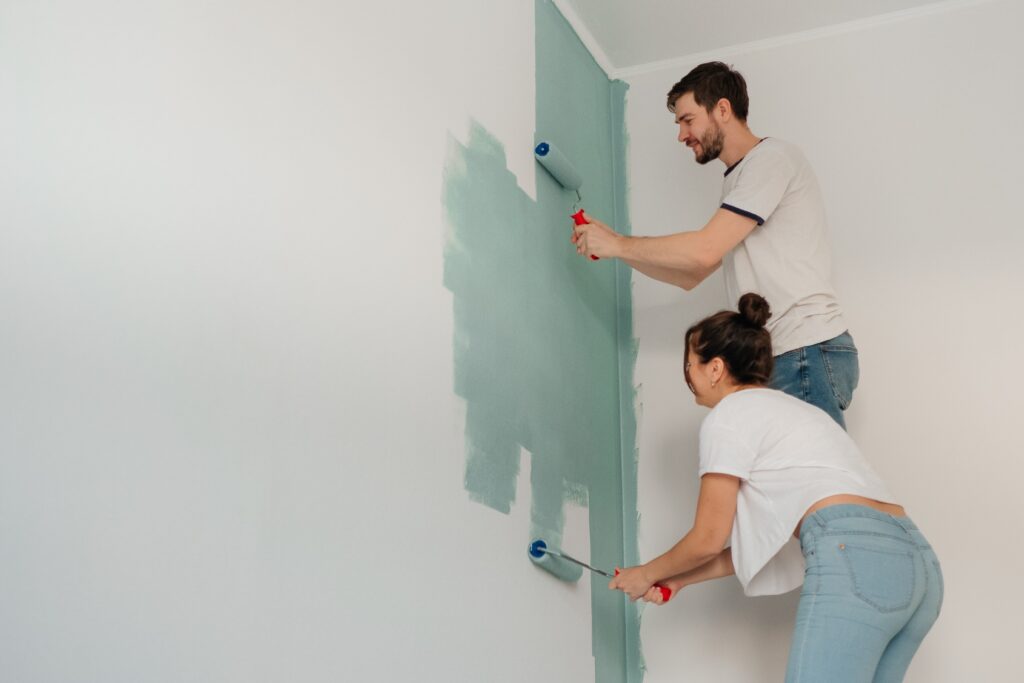
After doing all the necessary preparations you can now start painting your wall. First start by mixing your paint using a wooden stick to stir the paint to achieve an even texture. Pour some paint into your painting tray and then paint the room by starting at the top of your room down. Start with the ceiling then work your way down with your roller. Use a brush for edges and corners of the walls that your roller can’t reach. Let the paint dry for 24 hours first before proceeding to a second coat when needed.
Clean up

Once finished painting it is now time to clean up. Remove your painter’s tape, and gather dust sheets to reveal your brand new wall. Clean your brushes and rollers with soapy water before you store them away to keep them in good condition. If you have any remaining paint left just hammer the lid back on and store in a cool, dry place. When everything is clean, put back all the furniture and accessories that you moved and now you’re ready to show off your chic DIY home transformation.

