")
If you love spending time outdoors, a wooden planter bench combo is the perfect weekend project. It’s both functional and good-looking—a place to sit and enjoy your garden, framed by built-in planters full of flowers, herbs, or greenery. You don’t need fancy tools or advanced carpentry skills. Just a bit of patience, some basic materials, and a free afternoon.
What You’ll Need
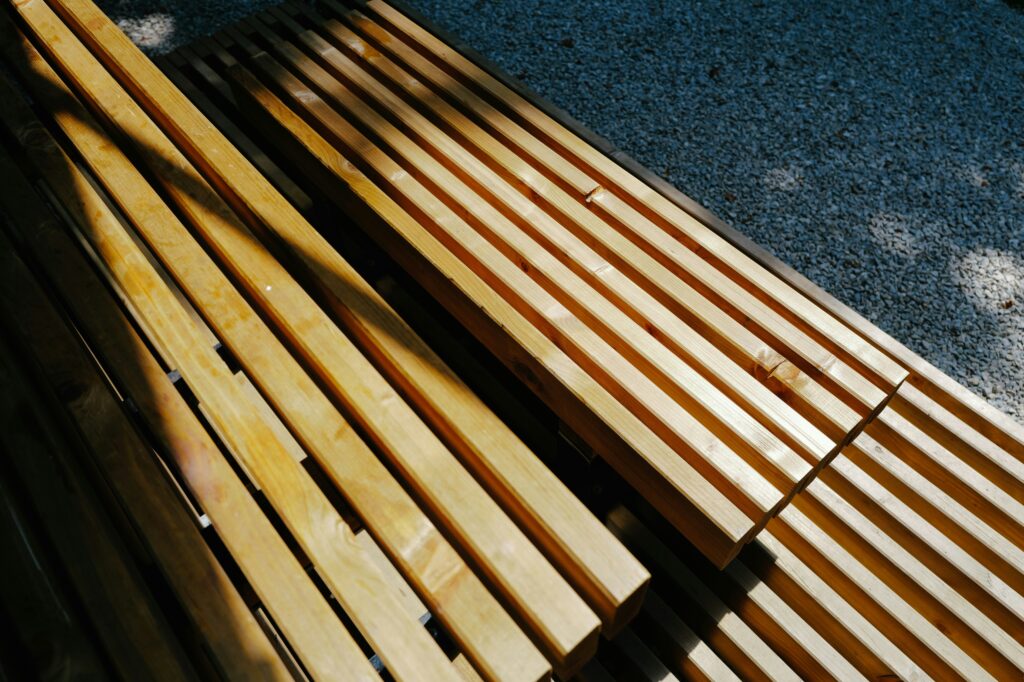
- Wood: Choose something weather-resistant like cedar, redwood, or treated pine.
- Screws: Outdoor-grade screws to prevent rust.
- Drill and bits: For drilling pilot holes and driving screws.
- Saw: A circular saw or hand saw will do.
- Sandpaper or sander: To smooth rough edges.
- Wood stain or sealant: To protect against rain and sun.
Step 1: Plan the Size and Shape
Decide where your bench will live. Measure the space and sketch a simple layout. Most planter benches have two planters on either end with a bench connecting them in the middle. Ensure the height feels comfortable for sitting—approximately 17 to 18 inches is standard.
Step 2: Build the Planter Boxes
Cut your boards to size and assemble the planters first. Screw the sides together to form rectangles, then attach a bottom panel. For drainage, drill a few holes in the base of each planter. Line the inside with landscape fabric before adding soil later.
Step 3: Build the Bench Seat
Cut boards to span the distance between your two planters. You can make a simple seat by laying boards side by side across the gap. Use support beams underneath if the bench is long—this keeps it strong and stable. Secure everything with screws.
Step 4: Connect Everything
Attach the bench seat to the planters by screwing it into the inner sides of each box. Double-check that everything is level before tightening the screws. The goal is a snug, solid fit with no wobble.
Step 5: Sand and Finish
Sand down any sharp edges or splinters. Then brush or wipe on your wood stain or sealant. This not only makes the wood look richer but also helps it last through rain and sun.
Step 6: Add Soil and Plants
Once the finish is dry, line the planters (if you haven’t already) and fill them with soil. Add your favorite plants—bright flowers for color, herbs for fragrance, or tall grasses for privacy.
Why It’s Worth It
A wooden planter bench combo doesn’t just add charm—it creates a spot to pause, relax, and enjoy your own handiwork. Plus, it’s customizable. You can make it longer, shorter, or even paint it to match your patio or garden style.
Building your own planter bench is one of those projects that feels good from start to finish. You get the satisfaction of working with your hands and the reward of something beautiful and useful. Whether it sits on your porch, patio, or in the garden, this simple DIY build adds warmth, life, and a personal touch to your outdoor space.