")
Creating a private and secure outdoor space is a priority for many homeowners. Whether you have a sprawling backyard or a cozy garden, installing a fence can provide the necessary privacy and security you desire. While hiring professionals for fence installation is an option, opting for a do-it-yourself (DIY) project can save you money and give you a sense of accomplishment. In this article, we will guide you through the steps of an easy DIY fence installation, enabling you to transform your outdoor area into a serene sanctuary.
Planning and Preparation
The first step in any successful DIY project is careful planning. Before you begin, consider the purpose of your fence. Are you aiming for privacy, security, or both? Assess your needs and evaluate the layout of your property. Take accurate measurements to determine the amount of material required. Research local regulations and homeowner association guidelines to ensure compliance with any fencing restrictions or specifications.
Choosing the Right Fence
Once you have a clear idea of your requirements, it’s time to choose the right fence for your outdoor space. Various fence materials are available, including wood, vinyl, metal, and composite options. Each material has its own advantages and considerations, such as durability, maintenance, and aesthetic appeal. Consider factors like climate, budget, and personal preference when making your selection.
Gathering Materials and Tools
With the type of fence decided, gather all the necessary materials and tools before starting the installation process. Typical materials include fence panels, posts, post caps, concrete mix (for securing the posts), nails or screws, and gate hardware if needed. Essential tools may include a tape measure, level, post hole digger, shovel, hammer, screwdriver, saw, and safety gear like gloves and goggles.
Marking and Digging Post Holes
Begin the installation process by marking the locations of the fence posts. Using a tape measure and level, carefully mark where each post will be placed, ensuring they are evenly spaced and in alignment. Digging the post holes is a physically demanding task, so be prepared for some labor. Use a post hole digger to create holes that are deep enough to support the fence posts securely.
Setting Fence Posts
After the post holes are dug, it’s time to set the fence posts. Place the posts in the holes and use a level to ensure they are perfectly plumb. To provide stability, pour concrete mix around each post, following the manufacturer’s instructions. Allow sufficient time for the concrete to cure before moving on to the next step.
Installing Fence Panels
Once the posts are set, it’s time to install the fence panels. Start at one end and attach the panels to the posts using nails or screws, depending on the material. Make sure the panels are level and properly aligned. Use a saw to trim the panels if needed. Continue this process until all the panels are securely attached.
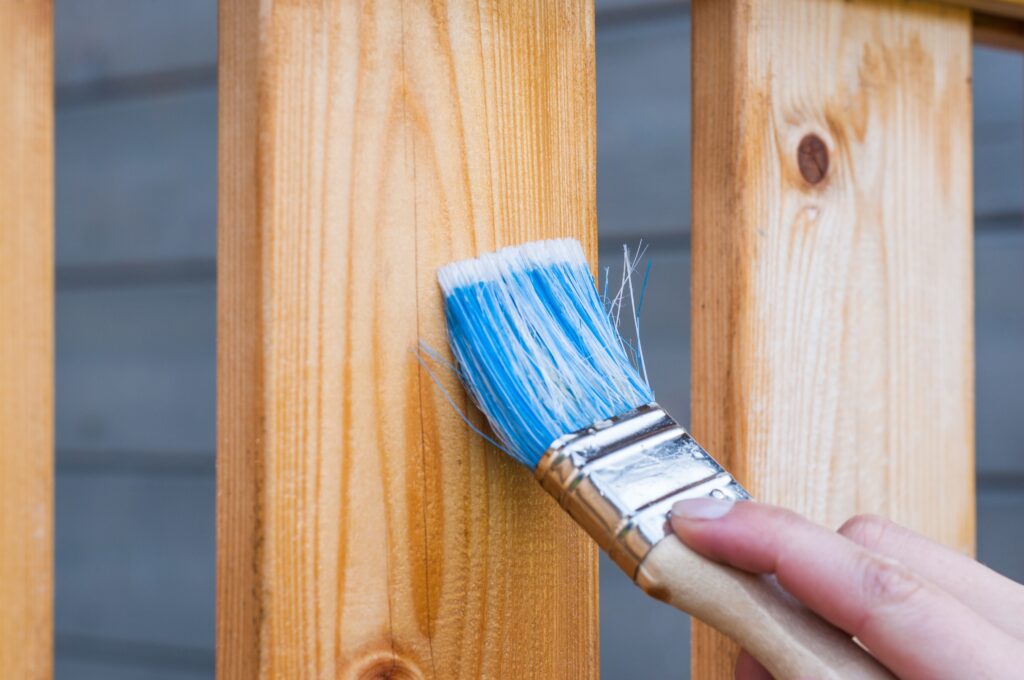
Adding Finishing Touches
To enhance the visual appeal and longevity of your fence, add some finishing touches. Install post caps on top of each post to protect them from moisture and provide a polished look. Consider applying a weather-resistant sealant or paint to protect the fence from the elements and extend its lifespan.
Gate Installation (If Required)
If your fence design includes a gate, follow the manufacturer’s instructions to install it properly. Ensure the gate is level and swings freely. Double-check the functionality of the gate latch or lock for added security.
By following these steps, you can easily embark on a DIY fence installation project, transforming your outdoor space into a private and secure oasis. Remember to plan carefully, select the right fence material, gather all the necessary tools and materials, and follow the installation process step by step. With some effort and attention to detail, you’ll be able to enjoy the benefits of privacy and security that a well-constructed fence provides while taking pride in your own handiwork.