
A leaking hose can be a frustrating and costly problem if left untreated. Not only does it waste water, but it can also damage your property and increase your water bill. Fortunately, fixing a leaking hose is a simple and straightforward process that can be done with just a few tools and some basic knowledge. In this article, we will guide you through the steps you need to take to fix a leaking hose.
Step 1: Turn off the Water Supply
The first thing you need to do is turn off the water supply to the hose. This can usually be done by turning off the valve that controls the water flow to the hose. If you can’t find the valve, turn off the main water supply to your home. This will ensure that no water flows through the hose while you are fixing it.
Step 2: Identify the Leak
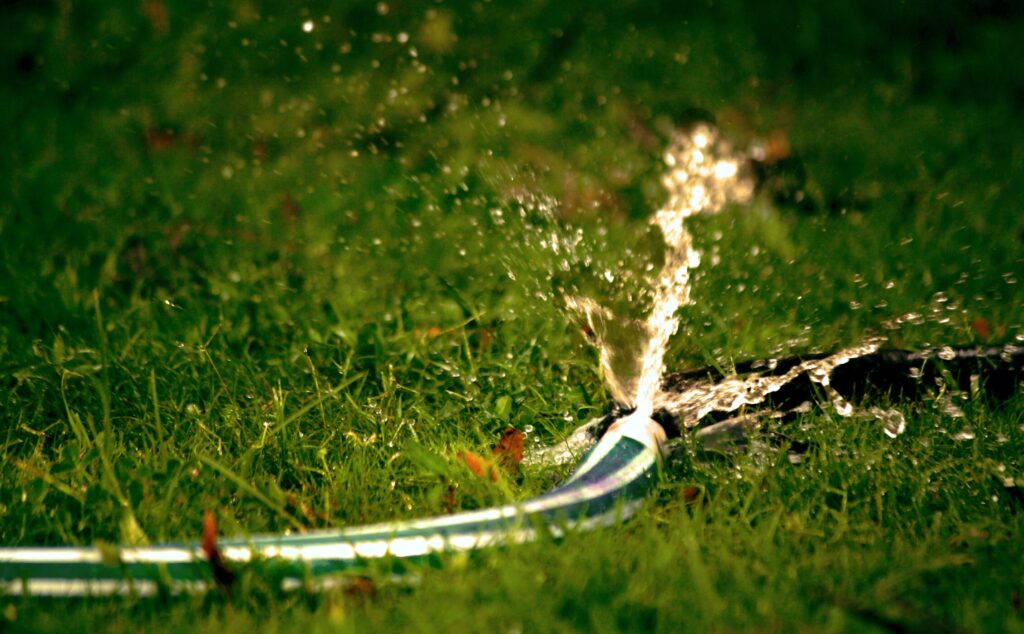
Once you have turned off the water supply, it’s time to identify where the leak is coming from. Start by inspecting the entire length of the hose for any visible signs of damage or wear. Look for holes, cracks, or other damage that may be causing the leak. If you can’t find any visible damage, turn on the water supply and look for water seeping out of the hose.
Step 3: Determine the Cause of the Leak
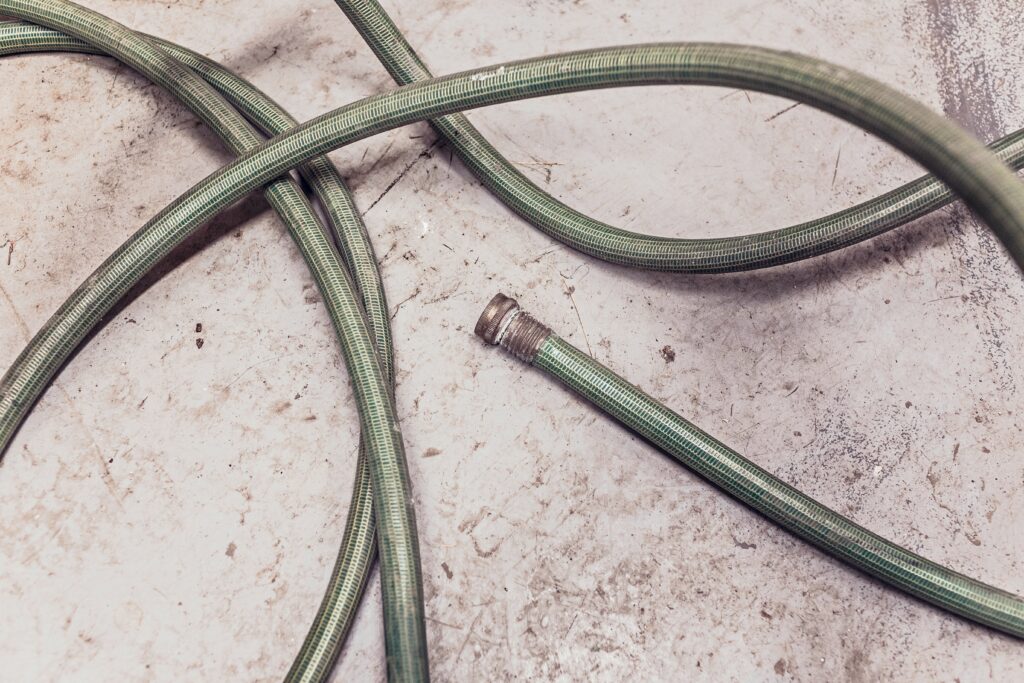
After identifying the leak, you need to determine the cause. If the leak is caused by a hole or tear in the hose, you will need to replace that section of the hose. If the leak is caused by a damaged or worn-out connector, you can either replace the connector or tighten it to stop the leak.
Step 4: Replace the Damaged Section of Hose
If the leak is caused by a hole or tear in the hose, you will need to cut out the damaged section and replace it with a new piece of hose. To do this, use a pair of scissors or a utility knife to cut out the damaged section. Make sure the cut is clean and straight. Then, measure the length of the section you cut out and purchase a new piece of hose that is the same length.
To replace the hose, simply slide one end of the new hose onto the connector and tighten the clamp. Then, slide the other end of the hose onto the other connector and tighten that clamp as well.
Step 5: Tighten the Connector
If the leak is caused by a damaged or worn-out connector, you can try tightening the connector to stop the leak. Use a pair of pliers to grip the connector and turn it clockwise to tighten it. Be careful not to over-tighten the connector as this can cause further damage.
Step 6: Turn on the Water Supply and Test

Once you have replaced the damaged section of hose or tightened the connector, turn on the water supply and test the hose for any leaks. If you still notice any leaks, repeat the process or consider replacing the entire hose if it’s too damaged.
In conclusion, fixing a leaking hose is a simple and straightforward process that can be done with just a few tools and some basic knowledge. By following these steps, you can save money on your water bill and prevent further damage to your property.


