")
Ever feel like the air in your home isn’t as fresh as it could be? Between dust, pet dander, and everyday pollutants, indoor air can get surprisingly stale. While store-bought air purifiers do a great job, they can be expensive and require frequent maintenance. The good news? Nature has a simple and beautiful solution—plants! Certain houseplants naturally filter toxins from the air, making them a perfect, low-maintenance alternative to traditional air purifiers. In this guide, we’ll walk you through creating your DIY air purifier using plants.
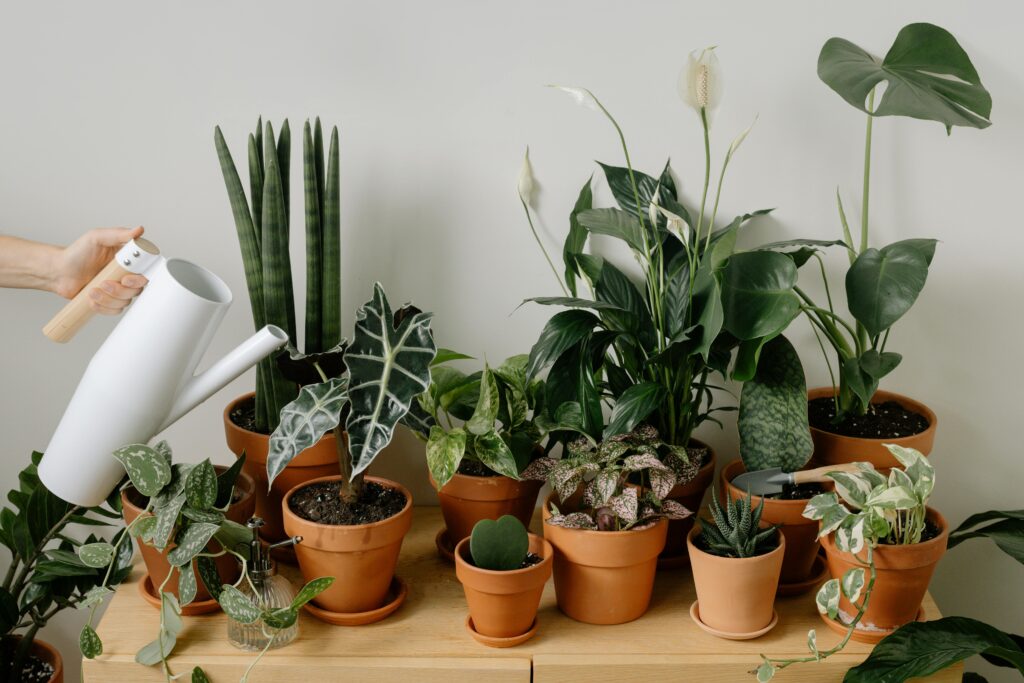
Step 1: Choose the Right Air-Purifying Plants
Not all plants have the same air-cleaning abilities. Some are particularly great at removing toxins like formaldehyde, benzene, and carbon monoxide. Here are a few superstar plants to consider:
- Spider Plant – Great for beginners, it removes toxins and is pet-friendly.
- Snake Plant – Filters out formaldehyde and works well in low light.
- Peace Lily – Absorbs harmful chemicals and adds humidity to the air.
- Aloe Vera – Clears toxins and doubles as a handy medicinal plant.
- Boston Fern – Acts as a natural humidifier and removes pollutants.
Step 2: Pick the Perfect Location
Where you place your plants makes a big difference. Spread them out in rooms where you spend the most time, like the living room, bedroom, and home office. Placing plants near windows helps them get natural light while also improving air circulation. If you’re using a high-humidity plant like a Boston Fern, the bathroom is a great spot!
Step 3: Boost Airflow with a DIY Plant Stand
While plants naturally clean the air, increasing airflow helps them work more effectively. Try these easy DIY ideas:
- Hanging Baskets – Save space while improving air circulation.
- Multi-Tier Stands – A stylish way to display multiple air-purifying plants.
- Wall-Mounted Planters – Perfect for small apartments or offices.
Adding a small fan near your plants can also help circulate the fresh air they produce.
Step 4: Maintain Your Plant Air Purifier
A little upkeep is needed for your green air filter to keep working. Here’s how:
- Water regularly – Each plant has different needs, so check soil moisture before watering.
- Dust the leaves – A quick wipe with a damp cloth keeps leaves free of dust so they can absorb pollutants more effectively.
- Repot when needed – Over time, roots outgrow their pots. Upgrade to a bigger container to keep your plant healthy.
- Prune dead leaves – Trim off yellow or dying leaves to keep plants looking fresh and thriving.
Step 5: Enhance Purification with Natural Additions
Want to take your DIY air purifier to the next level? Here are a few natural boosters:
- Activated Charcoal – Place a small bowl of activated charcoal near your plants to help absorb odors and toxins.
- Essential Oils – Diffuse natural oils like lavender or eucalyptus to complement the air-purifying effects of your plants.
- Beeswax Candles – These burn clean and help remove toxins from the air.
Improving your home’s air quality doesn’t have to be complicated or expensive. With just a few well-chosen plants and a little care, you can create a natural air purification system that’s beautiful, functional, and great for your well-being. Plus, plants add a touch of greenery that makes any space feel more inviting. So, why not give it a try? Breathe easy and enjoy the fresh, clean air—courtesy of Mother Nature!