")
From Stuffy to Fresh: How to Add a Ventilation Fan to Your Garage
If your garage feels like an oven in the summer or smells like gas and paint fumes year-round, you’re not alone. Garages trap heat, dust, and fumes fast. Installing a garage ventilation fan is one of the simplest ways to fix that.
The good news? You don’t need to be a contractor to do it. With basic tools and a free afternoon, most homeowners can handle this project.
Here’s exactly how to install a garage ventilation fan, step by step.
Why Install a Garage Ventilation Fan?
Before we get into the how-to, let’s talk about why this upgrade matters.
A ventilation fan helps:
-
Remove car exhaust fumes
-
Reduce heat buildup
-
Lower humidity and moisture
-
Improve air quality while working on projects
-
Prevent mold and rust on tools
If you use your garage as a workshop, gym, or storage space, better airflow makes a big difference.
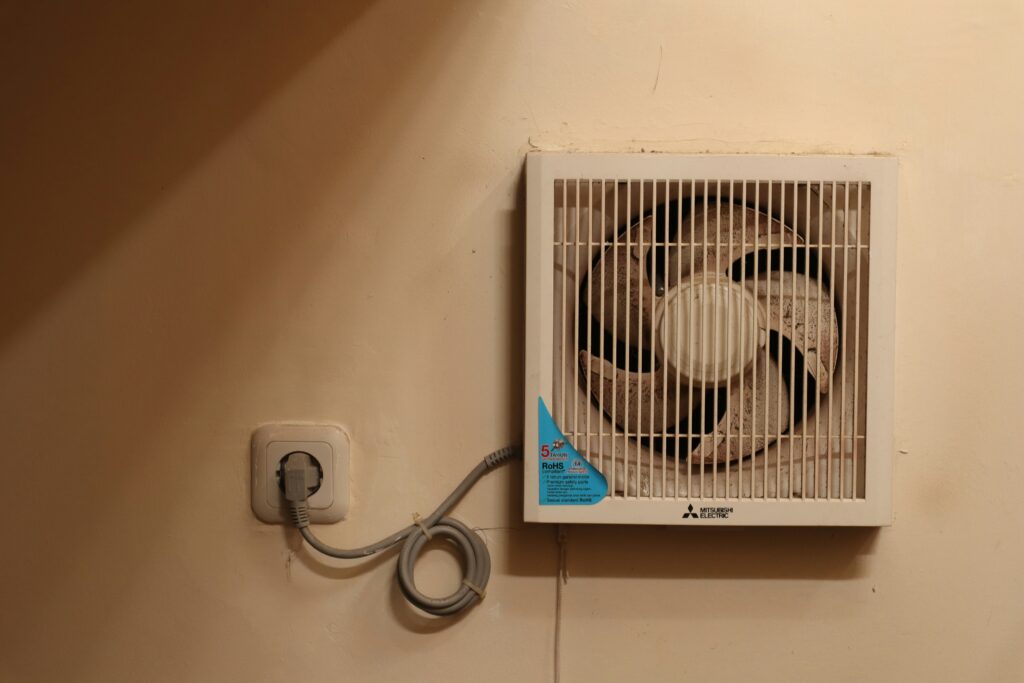
Choose the Right Garage Ventilation Fan
Not all fans are the same. The right one depends on your garage size and layout.
Here’s what to look for:
1. Airflow Capacity (CFM)
CFM stands for cubic feet per minute. It tells you how much air the fan moves.
To estimate what you need:
-
Multiply garage length × width × height
-
Divide that number by 7.5
That gives you a rough CFM target for decent airflow.
For a standard two-car garage, a fan rated between 1,000–1,500 CFM usually works well.
2. Mounting Style
Common options include:
-
Wall-mounted fans – Great if you have an exterior wall
-
Ceiling-mounted fans – Good for high garages
-
Window-mounted fans – Easiest option if you have a garage window
Wall-mounted fans are the most common choice.
Tools and Materials You’ll Need
Gather everything before you start:
-
Garage ventilation fan
-
Drill
-
Jigsaw or reciprocating saw
-
Measuring tape
-
Pencil
-
Level
-
Screws and anchors
-
Caulk or weather seal
-
Safety glasses and gloves
If your fan needs wiring, you may also need electrical wire, a switch, and a voltage tester.
Step-by-Step: How to Install a Garage Ventilation Fan
Step 1: Pick the Right Location
Choose a spot on an exterior wall. The higher the fan is placed, the better it removes hot air.
Make sure:
-
There are no studs, pipes, or wiring in the way
-
The outside area is clear
-
The fan will vent directly outdoors, not into an attic
Use a stud finder to double-check.
Step 2: Mark and Cut the Opening
Hold the fan housing against the wall and trace the outline.
Drill a pilot hole inside the outline. Then use a jigsaw to carefully cut along your marked line.
Take your time here. A clean cut makes installation much easier.
Step 3: Install the Fan Housing
Slide the fan into the opening.
Use a level to make sure it sits straight. Secure it with screws into wall studs or anchors.
From the outside, attach the exterior vent cover if your model includes one.
Seal around the edges with caulk to prevent drafts and water leaks.
Step 4: Wire the Fan (If Required)
If your fan plugs into a standard outlet, this step is simple.
If it needs hard wiring:
-
Turn off power at the breaker
-
Confirm power is off with a voltage tester
-
Connect wires according to the manufacturer’s instructions
-
Install a wall switch if desired
If you’re not comfortable with electrical work, it’s smart to hire a licensed electrician for this part.
Safety first.
Step 5: Test the Fan
Turn the power back on.
Flip the switch and let it run for a few minutes. Check:
-
Air is blowing outward
-
No unusual noise
-
No vibration or loose mounting
Step outside and confirm air is venting properly.
Tips for Better Garage Ventilation
Installing the fan is just part of the solution.
To improve airflow even more:
-
Leave a small gap under the garage door
-
Install a small intake vent on the opposite wall
-
Keep clutter away from the fan
-
Clean the fan blades every few months
Good airflow needs both exhaust and intake.
Common Mistakes to Avoid
Here are a few problems people run into:
-
Installing the fan too low on the wall
-
Venting into the attic instead of outside
-
Choosing a fan that’s too small
-
Skipping weather sealing
Avoid these and your fan will work much better.
Is Installing a Garage Ventilation Fan Worth It?
In most cases, yes.
You’ll notice:
-
Cooler temperatures in summer
-
Less lingering fumes
-
Better comfort while working
It’s one of those upgrades you don’t think about again once it’s done. The air just feels better.
Final Thoughts
Installing a garage ventilation fan isn’t complicated. With the right tools and a careful approach, you can complete it in a few hours.
The result? A cooler, safer, and more comfortable garage you’ll actually want to spend time in.
If your garage feels stuffy or overheated, this simple project might be the fix you’ve been looking for.