")
A custom bookshelf is not only a practical storage solution for your books but also a beautiful addition to any room. Building your own bookshelf allows you to create a unique piece that perfectly fits your space and reflects your personal style. In this DIY tutorial, we will guide you step-by-step on how to build a custom bookshelf that is sturdy, functional, and visually appealing.
Materials Needed:
- 3/4-inch plywood sheets
- 1×2-inch and 1×4-inch lumber boards
- Wood screws
- Wood glue
- Measuring tape
- Circular saw or table saw
- Drill
- Screwdriver
- Sandpaper
- Paint or wood stain (optional)
- Paintbrush or stain applicator (optional)
- Level
Step 1: Planning and Design
Before you start building, determine the dimensions and design of your custom bookshelf. Consider the available space in the room, the height and width you desire, and the number of shelves you need. Sketch out the design and take accurate measurements to guide you during the construction process.
Step 2: Cutting the Materials
Using a circular saw or table saw, cut the plywood sheets into the desired dimensions for the sides, top, bottom, and shelves of the bookshelf. Cut the 1×2-inch and 1×4-inch lumber boards to the appropriate lengths for the support brackets and trim.
Step 3: Assembling the Frame
Begin by attaching the sides to the top and bottom pieces of plywood. Apply wood glue to the edges and use wood screws to secure them together. Ensure the corners are square by using a level or a carpenter’s square. Repeat the process to attach the other side.
Step 4: Adding the Shelves
Measure and mark the desired positions for the shelves inside the bookshelf frame. Use the 1×2-inch lumber boards as support brackets. Attach them to the sides of the bookshelf using wood screws and wood glue. Make sure they are level and provide adequate support for the shelves. Place the plywood shelves on top of the brackets and secure them in place with screws.
Step 5: Finishing Touches
Sand the entire bookshelf to smooth any rough edges or surfaces. Wipe away the dust with a clean cloth. If desired, you can apply a coat of paint or wood stain to enhance the appearance of the bookshelf. Allow the paint or stain to dry completely before proceeding.
Step 6: Installation
Once the bookshelf is completely dry, move it to the desired location in the room. Use a level to ensure it is perfectly straight and adjust as necessary. Attach the bookshelf to the wall using screws and wall anchors for stability and to prevent tipping.
Step 7: Organizing and Styling
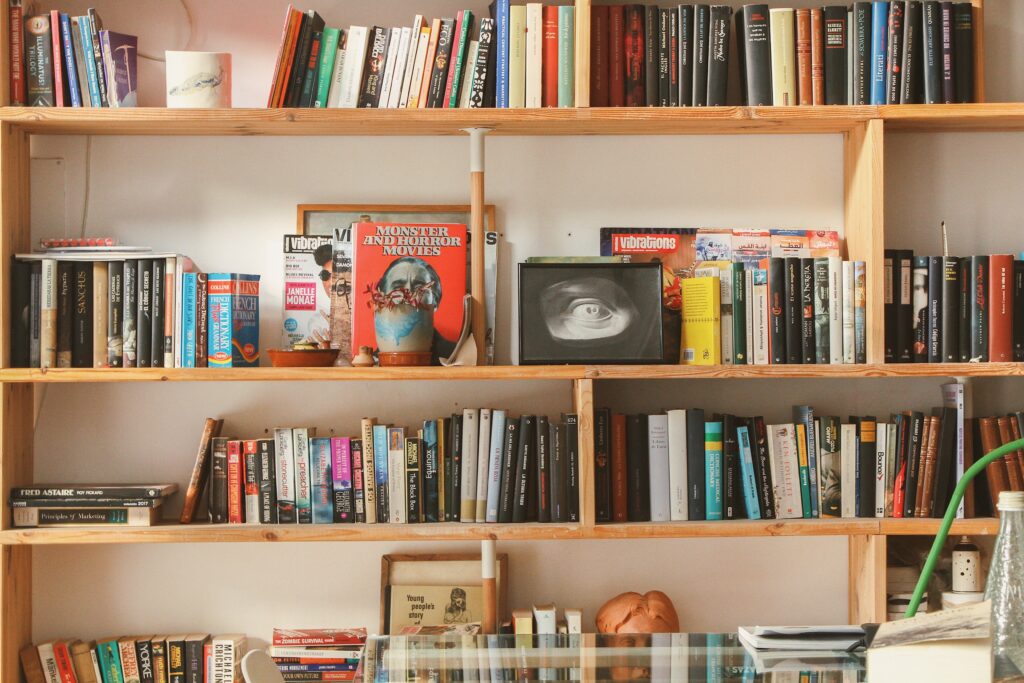
Now that your custom bookshelf is complete and securely installed, it’s time to arrange your books and other decorative items. Organize the shelves according to your preference, using bookends or baskets for added organization. Consider adding personal touches, such as framed photos, small plants, or decorative objects, to make the bookshelf a focal point of the room.
In conclusion, building a custom bookshelf not only provides you with a functional storage solution but also allows you to showcase your creativity and craftsmanship. By following this DIY tutorial, you can construct a sturdy and visually appealing bookshelf that perfectly fits your space and meets your unique style and needs. Enjoy the process of building your custom bookshelf, and relish in the satisfaction of displaying your favorite books and treasures for all to see.