")
The Simple Way to Build a Wooden Gate with a Latch (No Experience Needed)
A wooden gate does more than just keep things in (or out). It’s the finishing touch that makes your fence look complete and adds character to your yard. The good news? You don’t have to be a pro carpenter to build one.
With some basic tools, a little patience, and a clear plan, you can build a gate that swings smoothly, latches easily, and looks like you bought it from a hardware store—except you didn’t. You built it yourself.
What You’ll Need
Materials
- Pressure-treated wood (2x4s or 2x6s for the frame)
- Fence boards or pickets
- Gate latch kit
- Hinges (use heavy-duty ones for wider gates)
- Outdoor screws
- Wood glue (optional but helpful)
Tools
- Tape measure
- Circular or hand saw
- Drill and bits
- Level
- Clamps
- Screwdriver
Pro tip: If you’ve got a cordless drill and a good set of driver bits, you’ll fly through this project.
Step 1: Measure the Opening
Start by measuring the space between your fence posts. You’ll want to make your gate about ½ inch narrower than that width so it has room to swing freely without scraping the posts.
Check the height as well, and ensure it aligns with your fence boards. If your posts lean a little (and most do), measure at both the top and bottom—go with the smaller number.
Step 2: Build the Frame
Cut your 2x4s to size for the top, bottom, and sides of the frame. Lay them out on a flat surface and screw them together into a rectangle.
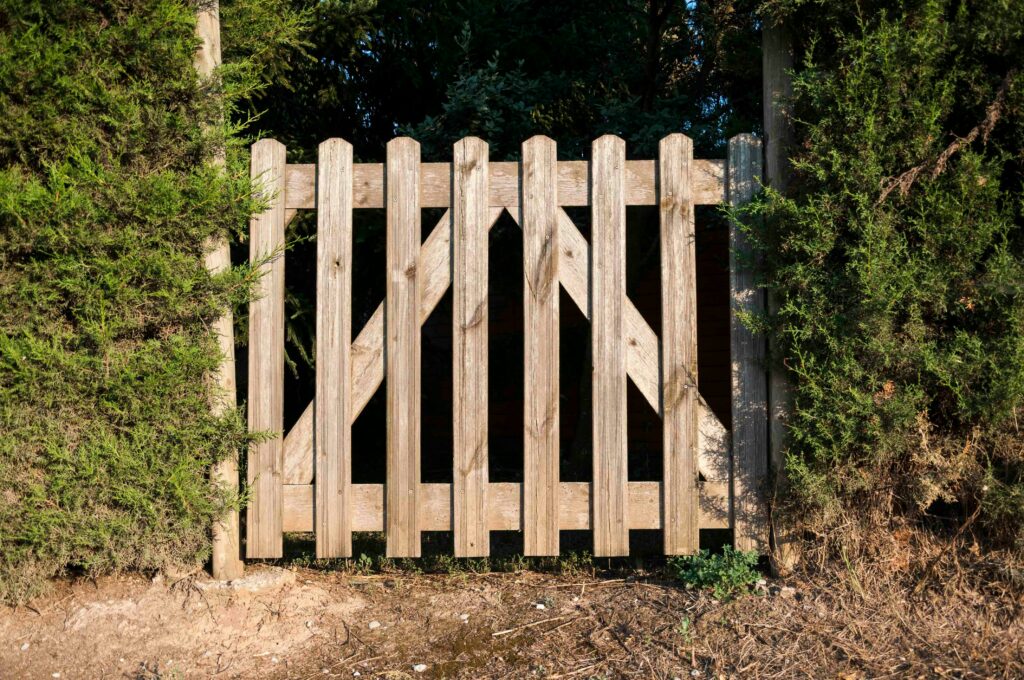
Next, cut a diagonal brace from one corner to the opposite side. This simple step keeps your gate from sagging later—a must for any solid gate build.
Step 3: Add the Boards
Lay your fence boards over the frame and space them evenly. Use your level to keep everything straight as you screw them into place.
Want a cleaner finish? Trim the tops of the boards into a uniform line—or get creative and cut a gentle arch for a bit of style.
Step 4: Hang the Gate
Mark where your hinges will go—one near the top, one near the bottom, and a third in the middle if your gate is heavy.
Screw the hinges to the gate first, then attach them to the post. It helps to have a friend hold the gate level while you secure it.
Once it’s hung, give it a few test swings. It should move easily and close without rubbing.
Step 5: Install the Latch
Now for the latch—the satisfying part.
Mount the latch handle on the gate, then line up the catch piece on the post so they click together cleanly. Adjust if needed until it latches smoothly every time.
If you’re adding a lockable latch, make sure there’s enough clearance for the padlock before tightening everything down.
Step 6: Seal or Paint (Optional but Smart)
To help your gate handle the weather, brush on a good wood sealer or exterior paint. It’ll protect the wood from moisture, sun damage, and warping.
Let it dry completely before using the gate regularly.
Final Touches
Give it one last check. Swing it. Latch it. Lean on it a little. If it feels solid, you did it right.
You’ve built a real, working wooden gate—with your own hands. That’s something to be proud of.
Building a wooden gate isn’t just a weekend project—it’s a quick win that adds a ton of curb appeal (and satisfaction). It’s one of those jobs where the effort pays off every time you walk through it.
Plus, now you know the process, you can easily build a matching one for the other side of your yard.
Grab your tools and make it happen—your fence (and your future self) will thank you.